Category Archives: DIY Projects

Garage born and raised projects that are done because no one else seems to be able to build it like you would. In another words, you did it yourself and it rocked!

Mossberg 590 Velcro Side Saddle / Shot Shell Tray How To

by GunGuy

I’m a big fan of Mossberg shotguns. I’ve owned several over the last twenty years except for a brief stint with the Remington 870’s. I’ve apologized for my cheating ways and now I’m back in the loving embrace of a Mossberg.

I added a Velcro HSGI shotshell tray to a used Mossberg 590 that I picked up recently. Here are some notes and pictures to get you on your way to duplicating this project.

Supplies Needed

Step 1: I prepped the side of the shotgun by wiping it down with Isopropyl alcohol several times and then let it dry.

Velcro_Side_Saddle_1

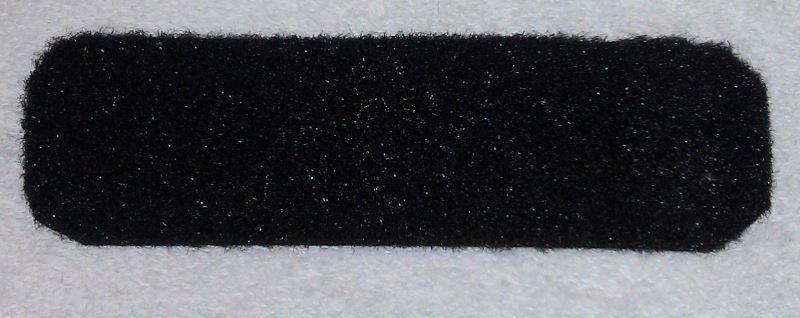
Step 2: Using the ruler and utility knife I cut the Velcro a little longer than the shot shell carrier and a little shorter then the height of the side of the receiver. The size of the Velcro strip was 5 .25 inches wide and 1.5 inches high. I used scissors to round the corners so they would not curl up.

Velcro_Side_Saddle_2

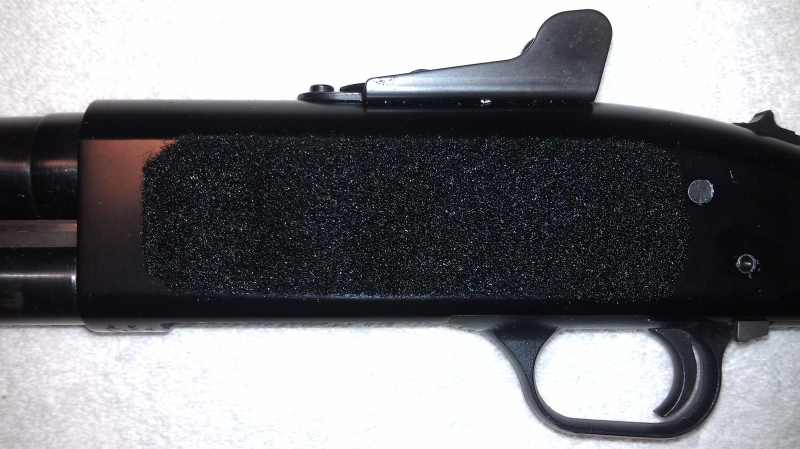
Step 3: Carefully I placed the Velcro just in front of the trigger group pins so I could have access to them when field stripping and also allow the serial number to be seen. The adhesive is very tacky so and it won’t come up once you put it down on the gun.

Velcro_Side_Saddle_3

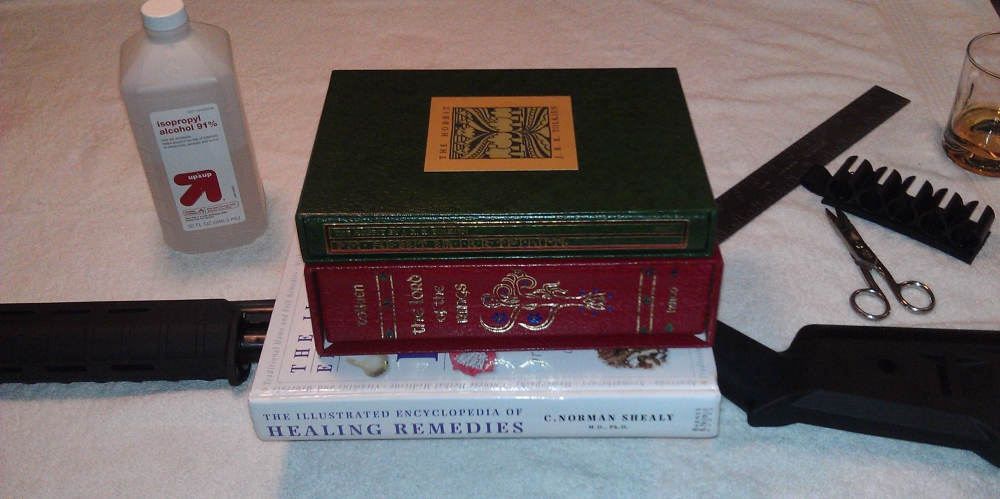
Step 4:  I stacked several books on top of the newly laid piece of Velcro and let it sit for 24 hours until it cured.

Velcro_Side_Saddle_4

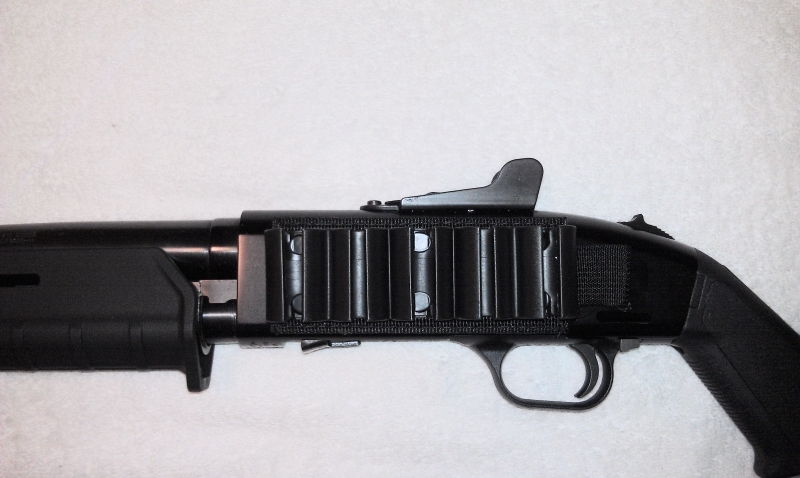
Step 5: Once the adhesive cured I put the shot shell carrier on the shotgun and gave it a test run by pulling it off and putting it on several times. I have a shotgun class coming up shortly and I’ll give it a thorough breaking in then.

Velcro_Side_Saddle_5

  • Share on Tumblr

Knife Handles- MP Seax and Wolf Creek Forge Patch Knife

by Woodsbum

I figured I would take the time to explain the whole process involved with putting a handle on a full tang knife. Even though it seems like a very scary proposition, it is MUCH easier than one would believe.

The first couple steps in the process involve getting the right materials collected. You will need:

  1. Some sort of epoxy to glue the scales down.
  2. A couple of pins for the handle.
  3. Use of a drill press.
  4. Some wood working clamps of some sort.
  5. A belt sander.
  6. A couple of fine tooth files.

The first step with putting a handle one a knife blank deals with cleaning up the tang and making sure the scales are squared up enough to drill with your press. I used some sand paper to clean up the tang and get rid of all the black scaling left over after the forging process. Once I got it down to a decent metal, I then scored up the tang a bit with a grinder (my choice and not needed) so that there was a rougher texture for the epoxy to adhere.

Then, I lined everything up and drilled the holes for the pins. The secret that I found with regard to getting straight and properly drilled holes was through the use of good scales to begin with. Each time I used a set of wood scales that were not squared up well, the holes would be off enough to leave a huge gap between the scales and the tang. When I finally used decent scales I got a good fit. Only went through a couple chunks of wood before I figured that out.

Next, contour the front of the scales where they will meet the blade. If you do not, you will have to sand right next to the blade and potentially remove some of the dark scale left after forging. If you want to keep this look, it will not last when sandpaper hits it. Please look at how I removed some of the dark coloring on this Wolf Creek Forge because I didn’t contour the handles before I epoxied them on.
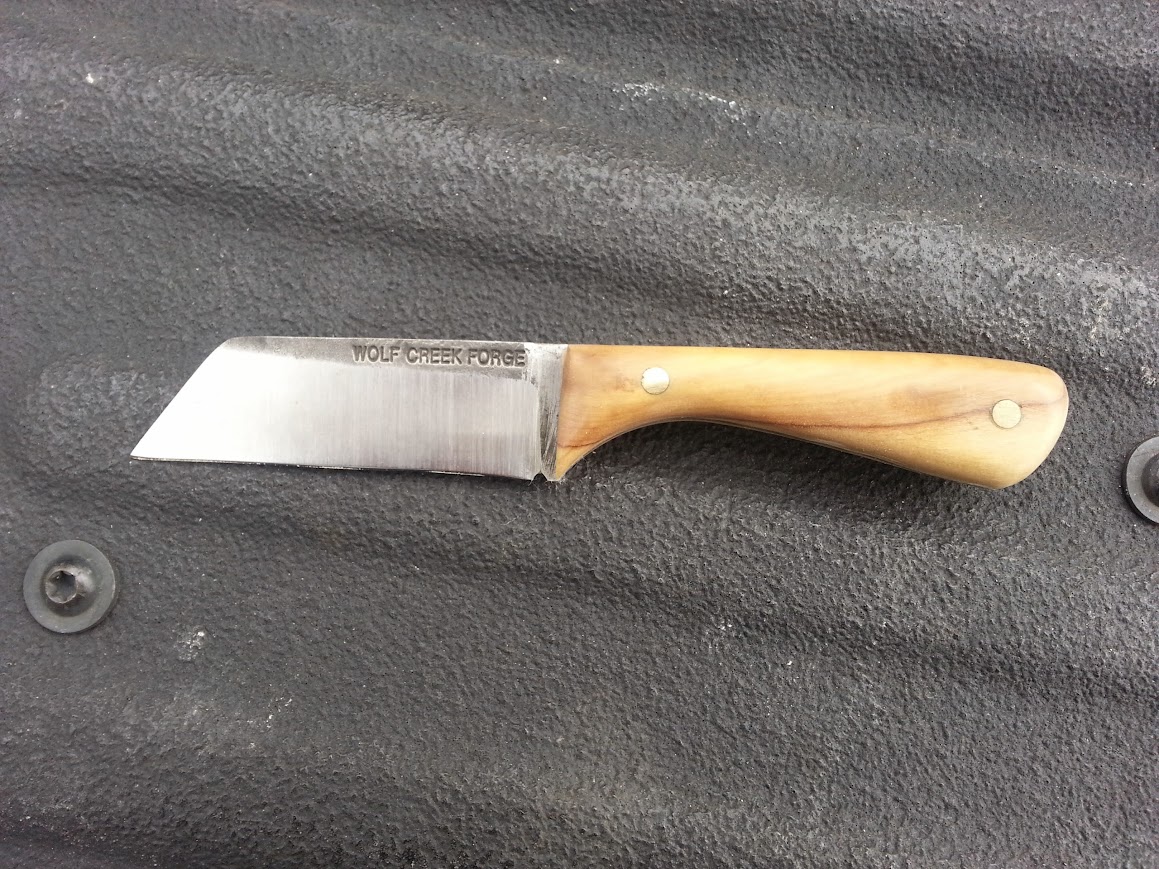
Wolf Creek Forge with rogue sanding marks

Wolf Creek Forge with rogue sanding marks

When you get your holes drilled, the edges that will meet the blade are contoured correctly and all looks good, bust out your epoxy and get things glued together. I put the pins in during the epoxy/glue process so that the pins get permanently attached with epoxy the same time that scales get glued as well. Once all is glued up, grab some clamps and squeeze it all together. don’t worry if you get some epoxy that squishes out the sides. That will come off during the sanding phase. Do clean up the part next to the blade where you won’t be sanding, however.

MP Seax getting scales

MP Seax getting scales

Here it is from a different angle. Notice how there is a thin line of epoxy that has squeezed out along the line between the scales and the tang.

MP Seax all glued up

MP Seax all glued up

After the epoxy dries you can remove the clamps, saw off the excess pin stock and start to shaping the handle. Now I did most of the shaping through the use of a belt sander. If I had a band saw I would have used that to remove any excess handle material. Since I don’t I just went to town with the sander and let the dust fly.

When you get to the point where you are trying to take the pins down a bit you can use a fine tooth file and then smooth things out with sandpaper afterwards. It worked quite well and didn’t leave any major marks on anything. I did learn something about the use of pins, however. Matt from MP knives showed some pictures of his process and it seemed to make sense. He peens the ends of the pin so that it works like a rivet to hold the handles on better. If you look at this picture you can see a touch of a gap around the pins on this knife.

MP Seax

MP Seax

If I would have known about the peening thing, it would have been a much cleaner handling job.

Here are a couple more pictures of the handle after I was done with it.

MP Seax

MP Seax with a touch of epoxy still on the tang.

MP Seax with a good look at the contours

MP Seax with a good look at the contours

As you can see, I did a lot of contour work on this to make it really fit the hand for those long hours of bushcrafting. This bad boy ended up being the most comfortable feather/fuzz stick maker I have ever used. The contours just made holding the blade almost effortless and like everything Matt makes, it is incredible at cutting. This baby is an absolute dream.

Now other than the peening of the pins and ensuring that the front of the handle scales are contoured before they are glued into place, these two projects were actually quite successful. I was quite pleased as was GunGuy, who’s Seax is pictured in this post. My last bit of advice is to use the long drying epoxy and not the 5 minute stuff. The quick drying stuff seems to be more brittle and I had to reglue the handle on my Wolf Creek four times until I was smart enough to try a longer drying epoxy. The scales would crack loose during the sanding if it chattered at all. This was not a problem with the long drying time epoxy.

Now that you have a good idea of how this process is done go get yourself a quality knife blank and get to playing around. I love my knives that the makers fully built, but somehow I have a soft spot for those that I handled myself.

Go get dirty!!!!

  • Share on Tumblr

Oilcloth Tarp – Fail (Take 1)

by Woodsbum

Ok, folks. I decided that I was going to make myself a nice oilcloth tarp. Not because I NEED one, but because I wanted one due to the supreme COOL factor of using one. I know that it would be heavy and completely impractical. Really, it doesn’t matter. Being able to show up and put up an oilcloth tarp would just make me incredibly happy.

Now on to the story…….

My first step was to read several forum posts and blogs about how to make oilcloth. Most of the tutorials involved either boiling some chemicals with wax or using some sort of linseed oil. Both methods talked about the destruction of the fibers in the cloth after a period of time. Then I found a method that looked like it works quite well, doesn’t destroy the fabric, and seemed to be very easy. I opted for this method.

With this tutorial printed and embedded into my brain, I went shopping.

I went to Harbor Freight and picked up one of these:

Cavas Dropcloth

Canvas Dropcloth

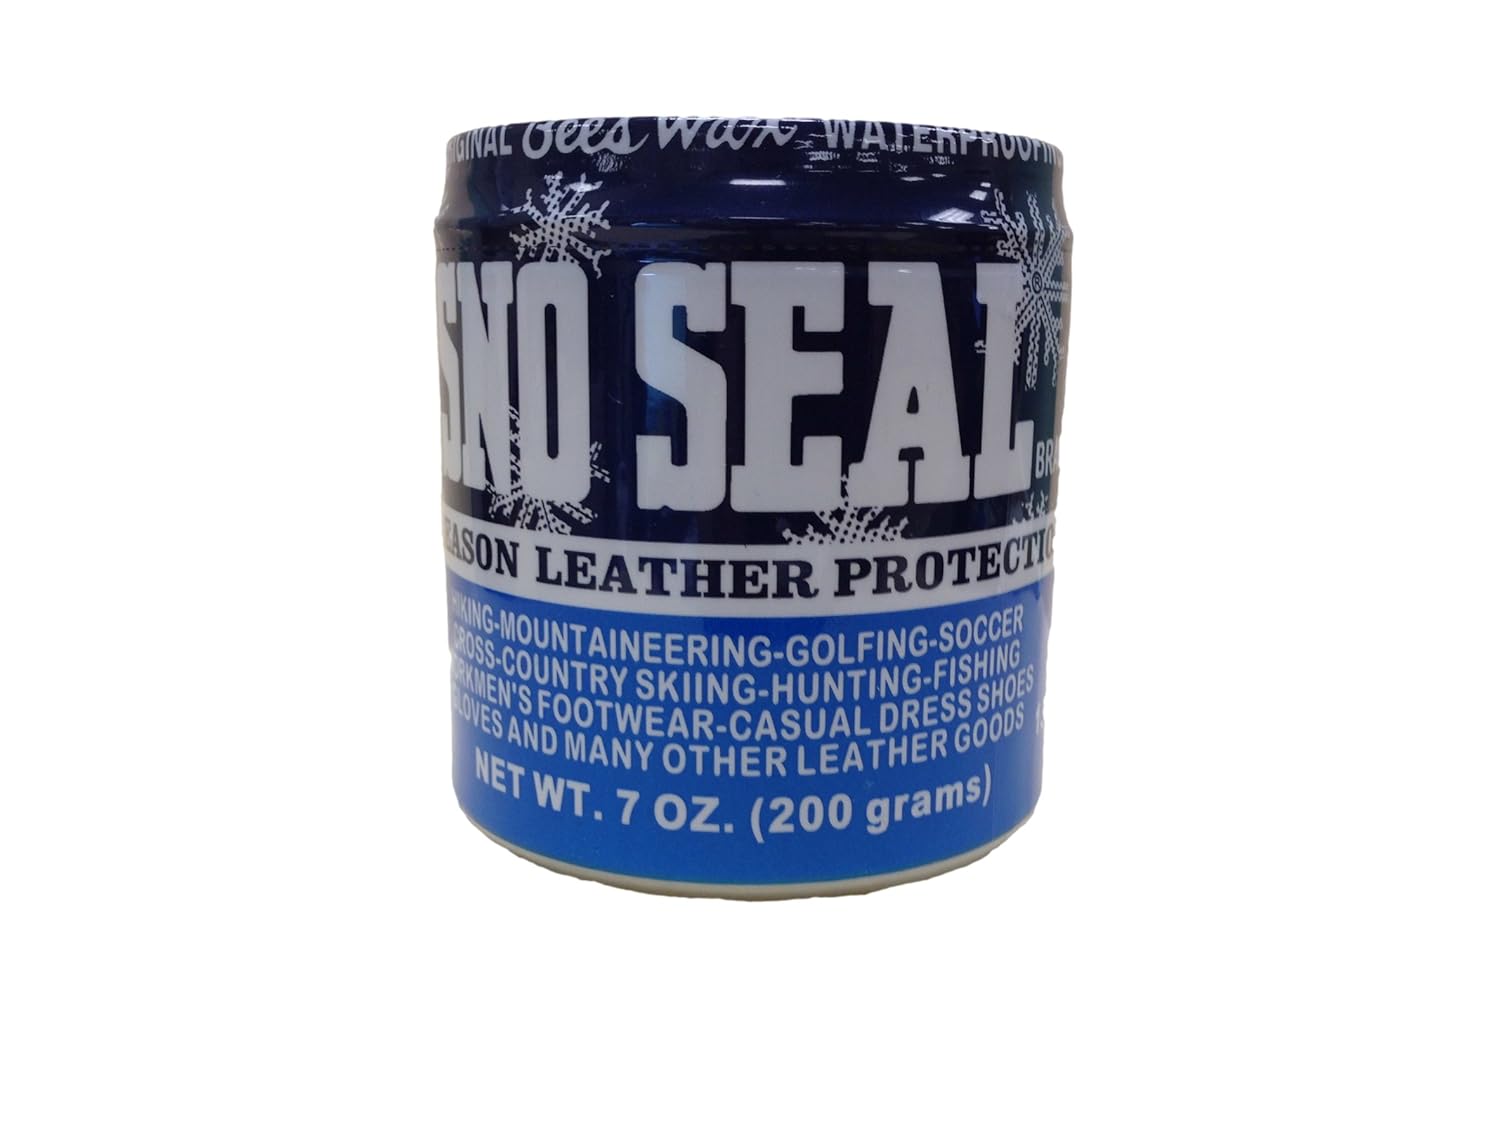
I also picked up several (5) jars of Sno-Seal:

Sno-Seal

Sno-Seal

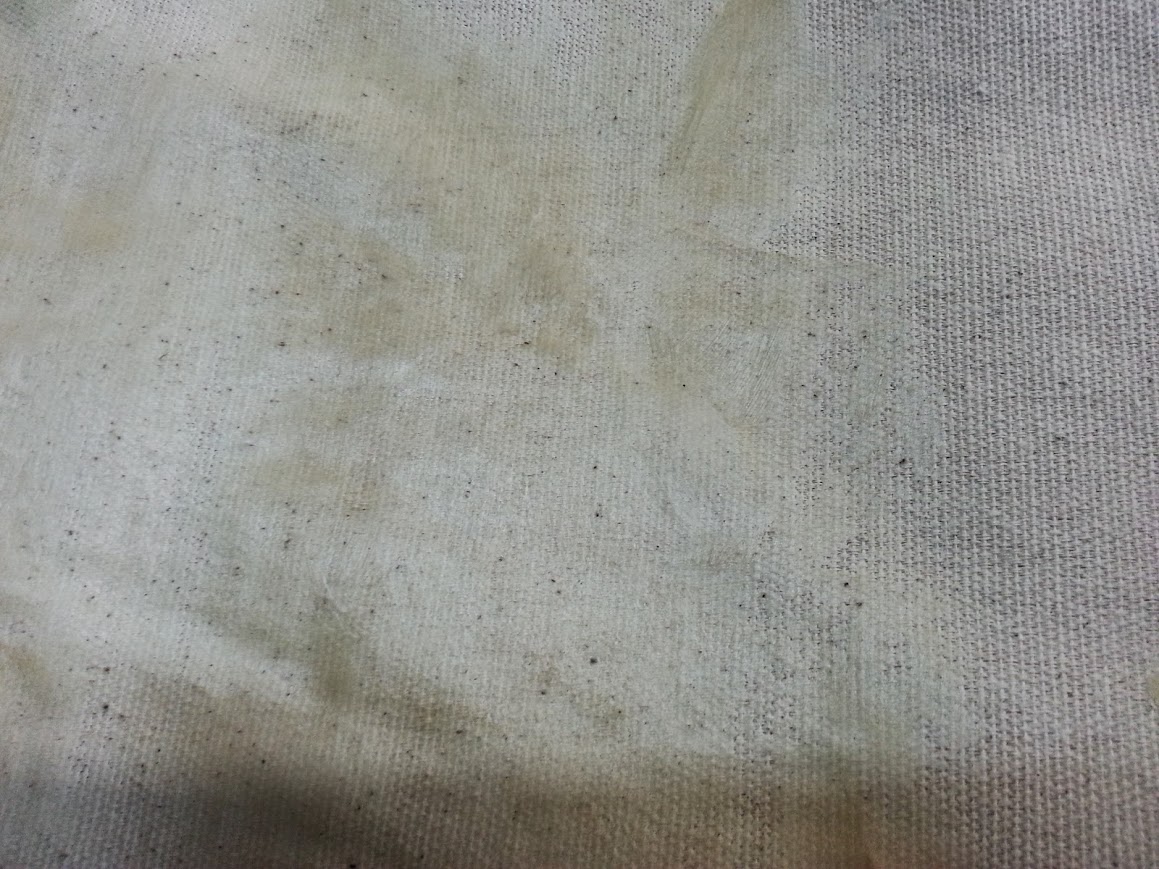
The first real step was to smear Sno-Seal all over the fabric like this:

Smeared Sno-Seal

Smeared Sno-Seal

That was easy enough, so I used up about 2 (2 1/2) jars of the paste to just coat the heck out of the canvas. Being a tough and manly, man I didn’t care about wearing gloves……  (Use gloves, people) 

After scraping all the waxy substance off my hands, I then started to heat up the fabric and melt the Sno-Seal into the cloth.

Melting the Sno-Seal

Melting the Sno-Seal

It was at this point that I discovered a few things:

  1. Wash and dry the fabric first to close up the fibers.
  2. Sno-Seal melts and drips everywhere.
  3. You have to use A LOT of Sno-Seal for this method.
  4. It doesn’t work if you are not aware of 1-3.
  5. Wear gloves when smearing.

Needless to say, I don’t have an oilcloth tarp at this time. I will need to start my search for a better method in addition to taking the tarp to a laundry mat in the middle of the night to wash out the Sno-Seal, close up the fibers, and fix my mess. When my wife saw the failed attempt, she promptly told me that I was not going to be able to use our household washing facilities unless I wanted to get beat severely. I think this attempt at oilcloth making has beat me enough.

Thank you for reading through this and I will post up my next attempt. Hopefully it goes much better than this one, is less messy, and adds to the sheer awesomeness of my bushcrafting gear.

  • Share on Tumblr

Beginning Gardening

by Evil Jackalope

Hello gardeners, future gardeners and Woodsbum’s Mom. To give a brief introduction of the gardening section of this blog, my mission is to document my gardening season for the year and share some tips that have helped me be successful in growing vegetables. In no way am I a master gardener or claim to be, I just know what has worked and what hasn’t worked for me in the past. Most importantly, I do this all while living in the suburbs.

To give a quick background description, this will be my 5th year gardening. The first year I just literally picked up plants from True Value and stuck them straight in the ground. Surprisingly, I had pretty decent success. Second year I had an idea in my head of what a garden looked like so I made this big 50×10 foot garden. I rototilled up the dirt and made mounds of dirt in rows with stepping stones and managed to grow nothing but a bunch of weeds that year. Complete failure. The third year is when I built myself a fenced in 9×15 foot garden and started putting plants in containers. I had a really successful garden season that year and started getting into preserving my harvest. Last year I pretty much knocked it out of the park and by far had my most impressive gardening season yet. This year I feel I have a pretty good grasp on gardening going into the season. Which I’m really excited about.

I plan on doubling if not tripling my production this year as long as mother nature is on my side. She ultimately sets the rules. I will have 2 gardens going this year as well as all my container plants. One is at my home and the other is at a community garden in the park.

This is last year’s garden.

EJ Garden

Suburban gardening


My plans for the gardening sections of this blog are to cover everything from starting seeds to preserving your harvest for the year, whether it be canning or dehydrating, and everything that goes along with gardening in-between. A gardener told me a few weeks back to remember “KISS”. Keep It Simple Stupid. So I plan on keeping that in mind as good advice as I enter into this gardening season and document it here.

Happy Gardening!

  • Share on Tumblr

Building a Bushcrafting Pack

by Woodsbum

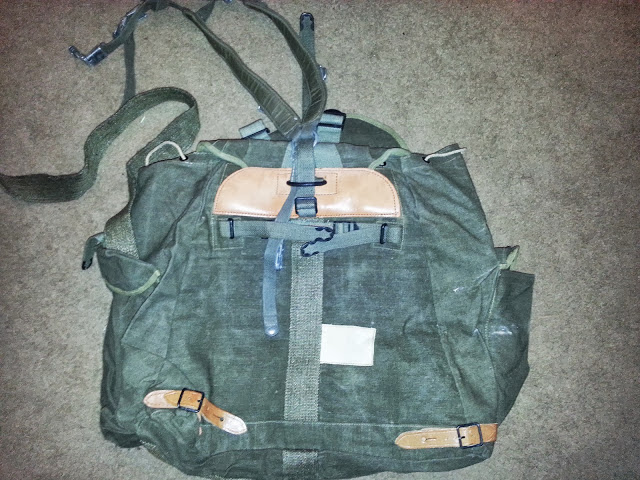
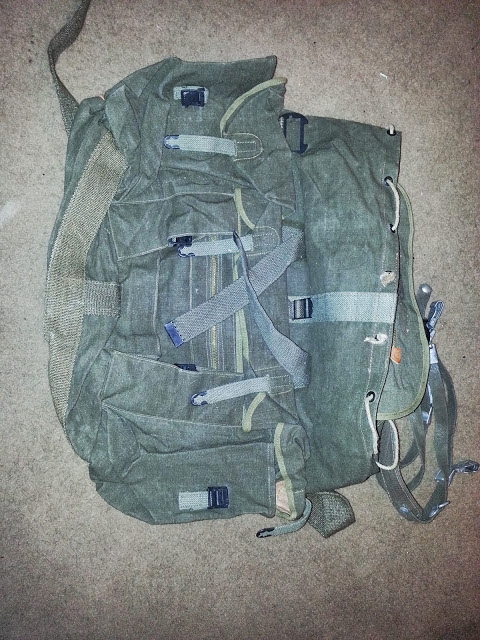
I ended up getting one of the French Air Force Tap canvas packs from Sportsmans Guide. When I got it there were about 4 extra lbs of steel, webbing, a horrible strap system, and general fat that needed trimming. The 3 lbs referenced by Sportsmans Guide description must reference only the amount of crap you have to chop off this thing. The scale at home said that it was almost 10 lbs when I took it out of the packaging.

This is the picture of what they say it is supposed to look like.

French Air Force Tap Pack

French Air Force Tap Pack


Here is what it really looked like:

French Air Force Tap Pack

French Air Force Tap Pack

As you can see there are some really odd things strapped on and sewn on this pack. Here is a look at the outside/back.

French Air Force Tap Pack

French Air Force Tap Pack

I immediately cut off the extra straps and unnecessary hardware to drop the weight by (no joke) almost 4 lbs. It’s new, slimmer figure weighs in about 5 lbs with the couple of rings, axe carrier, and leather reinforcements.

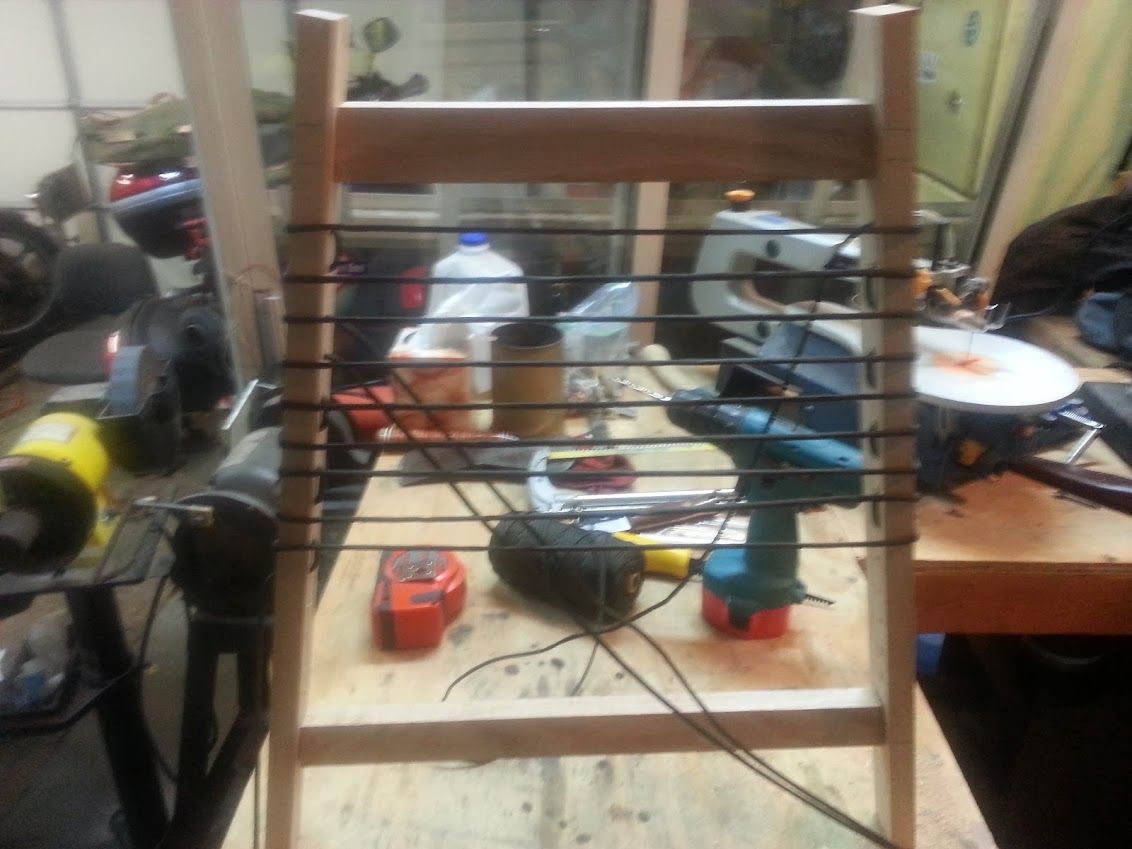
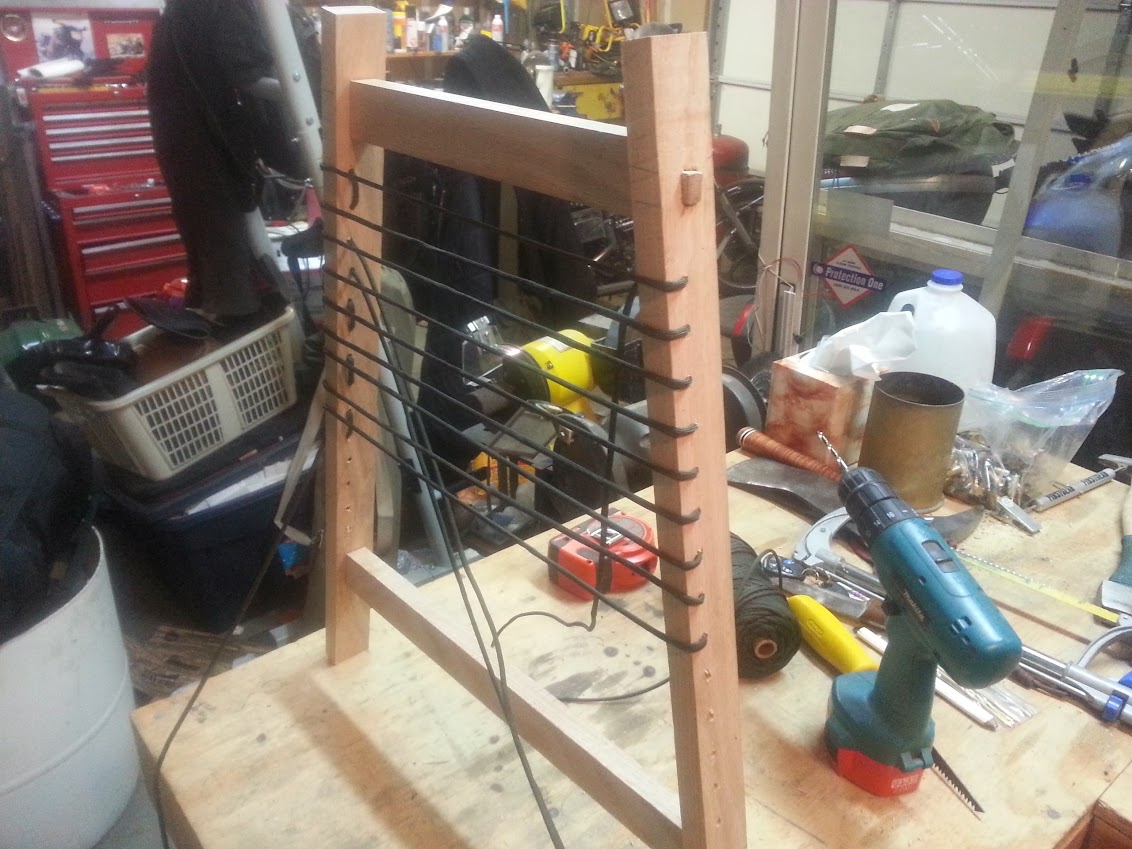
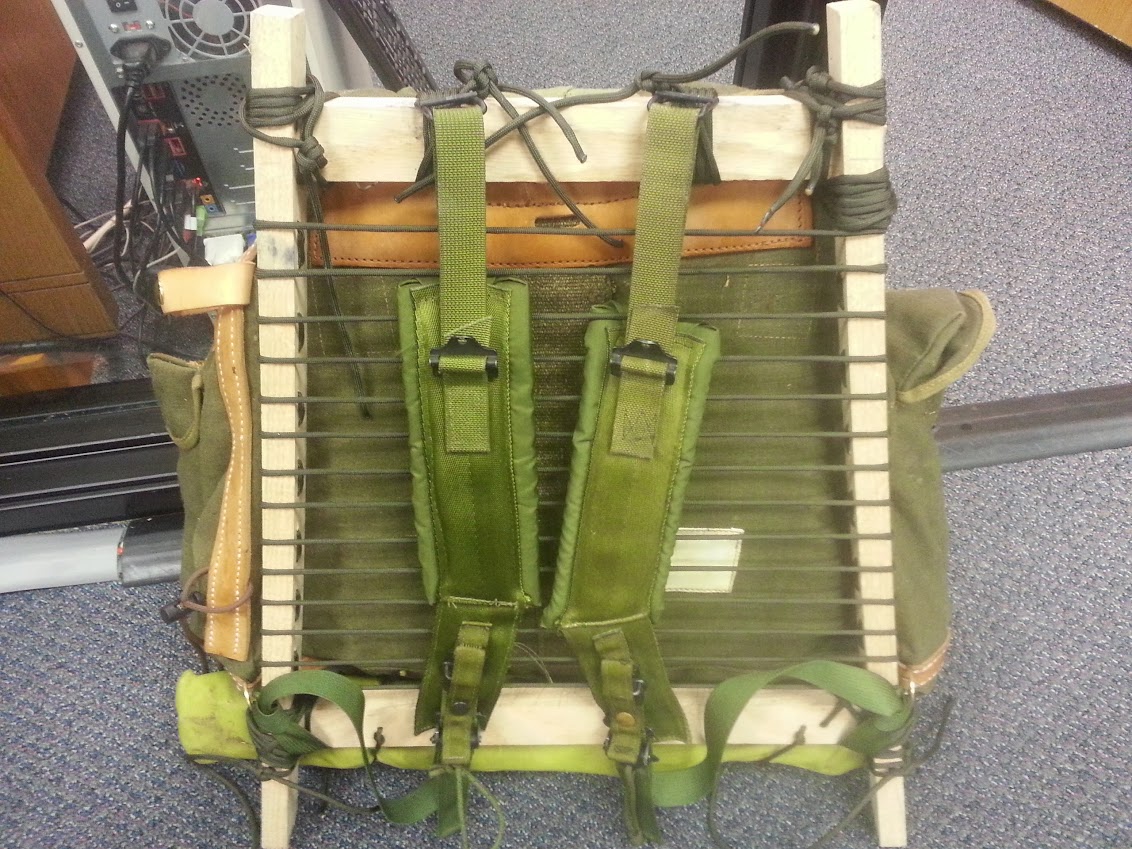
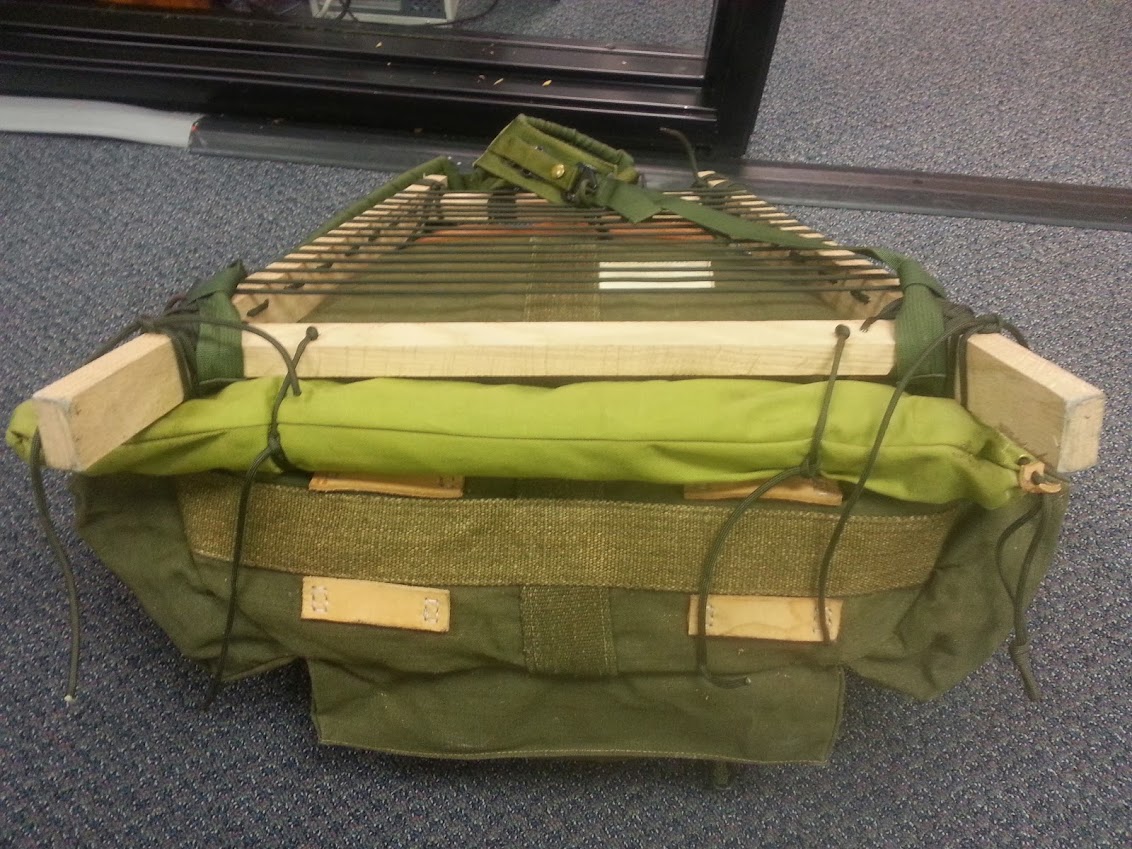
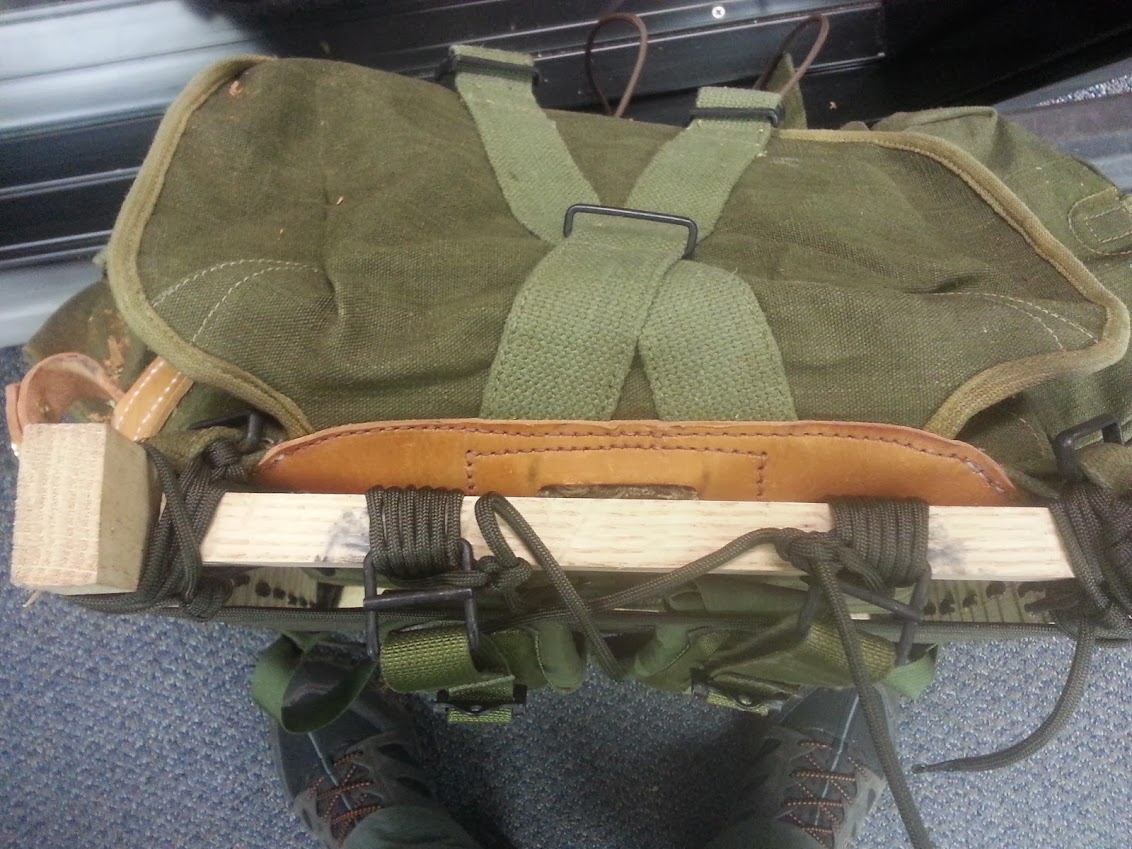
I then went to town with building a frame.

DIY Homemade pack frame

DIY Homemade pack frame

DIY Homemade pack frame

DIY Homemade pack frame

After all was said and done, I used some 550 cord and strapped it to the frame. I might revisit this later, but so far it works really well.

DIY Homemade pack frame

DIY Homemade pack frame


Here it is all loaded up with the BigDaddyHoss saw strapped onto the bottom.

DIY Homemade pack frame

DIY Homemade pack frame

DIY Homemade pack frame

DIY Homemade pack frame

DIY Homemade pack frame

DIY Homemade pack frame

DIY Homemade pack frame

DIY Homemade pack frame

Here it is on an outing. The canvas keeps the water out very well and it rides quite nicely on trips. I do have to add some all thread or something to the back side of the frame. The 550 cord laces are torquing the frame and I don’t want my tabs on the frame cross pieces to break. Here it is with an M39 pack for comparison. Overall, this thing is pretty big.

DIY Homemade pack frame

DIY Homemade pack frame

In conclusion, I spent about $36 for the pack and another $15 in materials to put it all together. I did recycle the original shoulder straps to make a harness for a quiver. It works quite well and is amazingly comfortable with several adjustments that I kept from the original straps. I will eventually post some pictures of that as well.

Thank you for looking!

  • Share on Tumblr