by Woodsbum
It is a long story, but just suffice it to say that I ended up taking over a Meetup.com Bushcraft, Survival and Tracking group here in the Portland, OR area. Many who know me are probably blowing coffee out their nose and onto their keyboards at the moment. You’re welcome……
Well, we did a meetup last night. The topic was gear and what was truly needed to be able to go out bushcrafting. It was a decent turnout and there were a few new faces. That is always refreshing and exciting to see.
Without further ado, here is some of the gear that we showed and talked about:
First category is the “Hard Use” Bushcrafting knife. These knives are built to baton wood, pry out chunks of wood for notches when making things like pot hooks, and chores that would make any hidden or partial tang knife shudder.
This is the Condor Bushlore:

Condor Bushlore
This knife is a full tang and can take a beating. I have had one for years and know others that have them as well. Really truly, it is a hard use knife for the money. It is made of 1075 high carbon steel and has a hard wood handle. I have found that you will probably need to do a finish sanding job on the handle if you are as OCD as I am, but it is a great starter knife to learn with. This would be the knife used when you baton wood for fire prep and general, hard use type chores.
Here is the Condor Woodlaw:

Condor Woodlaw
When you are looking for an inexpensive knife to carve as well as do fire prep, this is a great choice. The thinner point works well for making holes or getting into those tight spots where the Bushlore just seems to not quite reach.
More Condor products that rate an “honorable mention” are their Kephart, Nessmuk, and Bushcraft Basic.
Then there are the Beckers. The Becker line can all take one heck of a beating and have gained a tremendous following. There are some die hard fans out there and rightfully so. There are very few production knives that can perform as well as the Becker line can.
Becker BK2
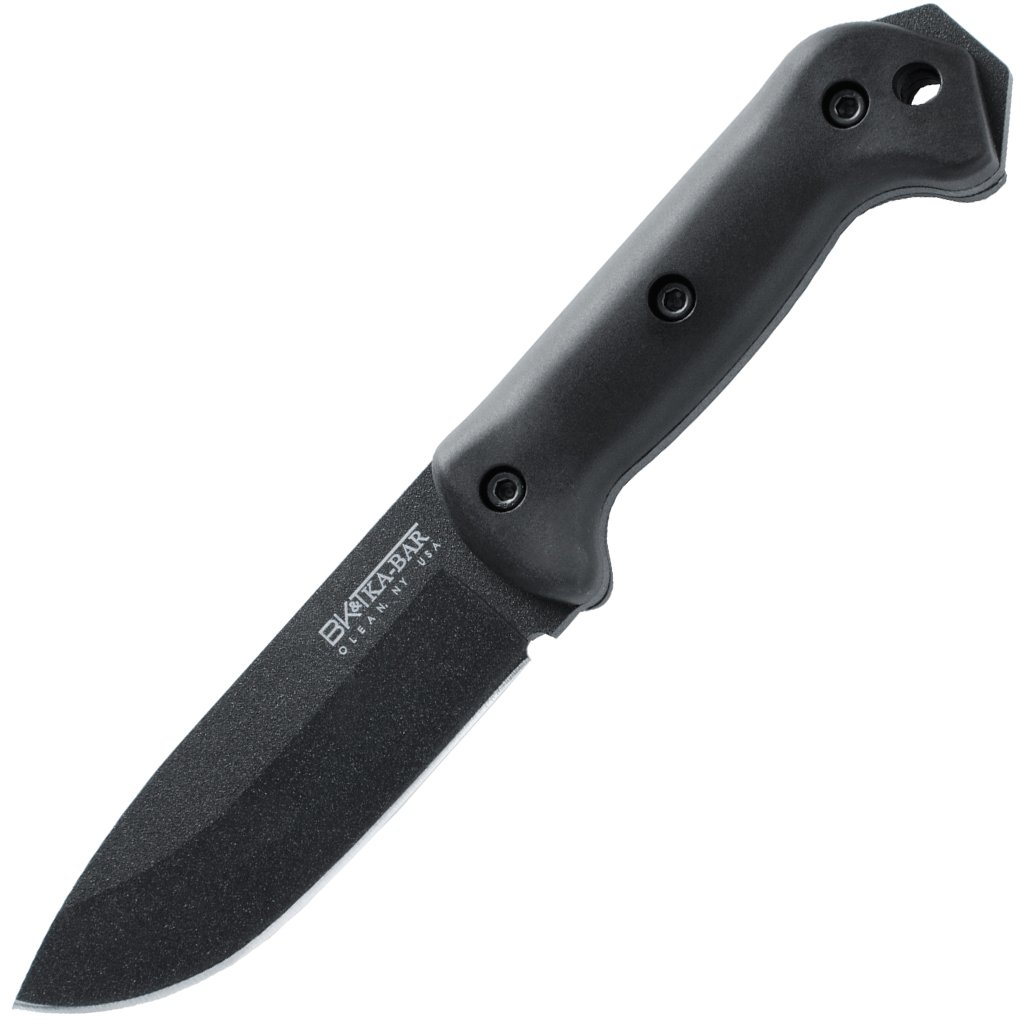
Becker BK2
The BK2 is a solid performer, but commands a higher price than the Condor line. This solid knife will take about anything you can dish out without hardly a scratch. One thing to note, however, is the coating that is put on the blade. To use this knife with a firesteel this coating needs to be removed. That is no big deal, but it needs to be mentioned.
Becker BK5
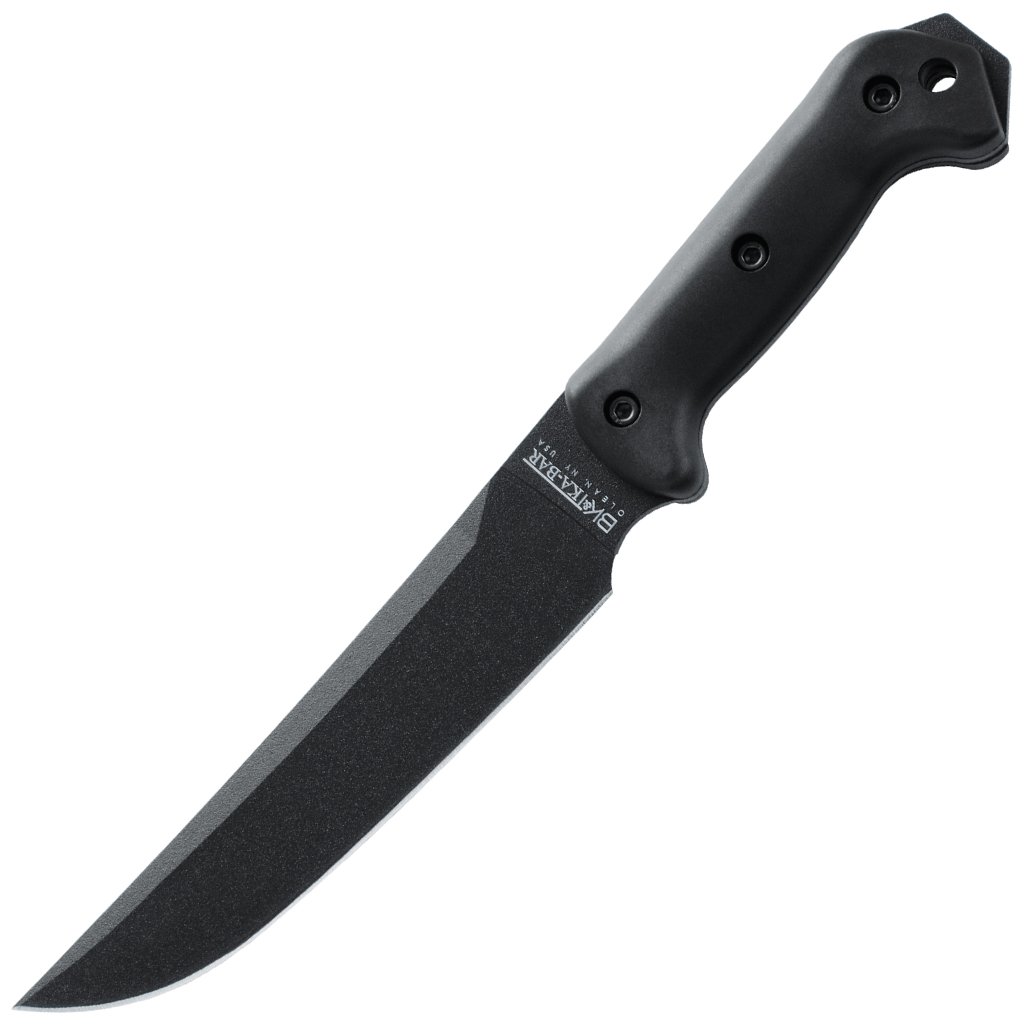
Becker BK5
The BK5 is also a good option, but the point is more pointed and tapered. This helps with carving chores, but makes it a bit more susceptible to breakage when driving it through things. Most people don’t do such things with their knives, but it can and does happen.
Becker BK16
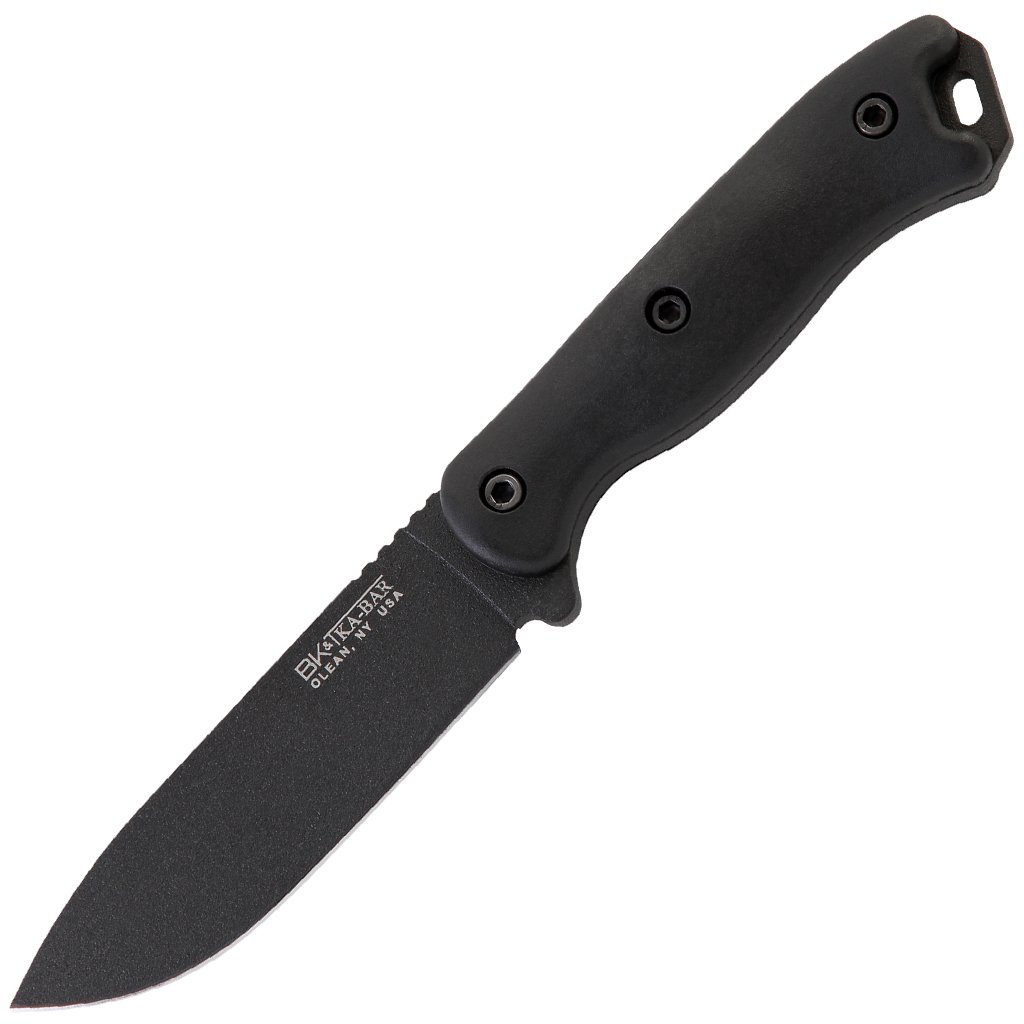
Becker BK16
The BK16 is also a favorite knife among many bushcrafters due to its durability and nimble feel during use. When using a pinch grip it is not as exacting as many other model knives, but it is a great all around choice.
There are many other options in the Becker line. If you do an Amazon search for them, you will see the other models. About anything in this line that doesn’t fall under the “combat” moniker will perform quite well for you.
In any bushcraft knife discussion ESEE knives will be brought up at some point. They have a phenomenal reputation and are really a tough knife that can take a beating. Now remember that there are two models that resemble each other. Ontario and ESEE both have knives that look almost identical. Many will argue that the Ontario is just as good as the ESEE. I personally like the ESEE better and have had much better luck with them.
ESEE 3

ESEE 3
The 3 is a great knife, but a little small for many people. It will, however, take a beating. It’s bigger brother, the 4, is much more suited to hard use chores because of its added size.
ESEE 4

ESEE 4
The ESEE 4 is the knife I use as my survival blade while hunting. It is lightweight and you can get several really nice Kydex sheaths for it that make it a phenomenal neck knife. I even have a firesteel loop on my configuration. Like the Beckers, you will have to take off the coating on the spine of the blade if you plan on using it with a firesteel.
ESEE also makes variations with larger blades. Their ESEE 5 and ESEE 6 are great choices as well.
My personal preference is to stay away from the models with serrated edges for hard use. They are great for EDC type knives like the Spyderco. When used with a baton or when trying to make feather sticks the variance in the edge make it difficult to properly assess the depth and direction of the cut.
ESEE Junglas

ESEE Junglas
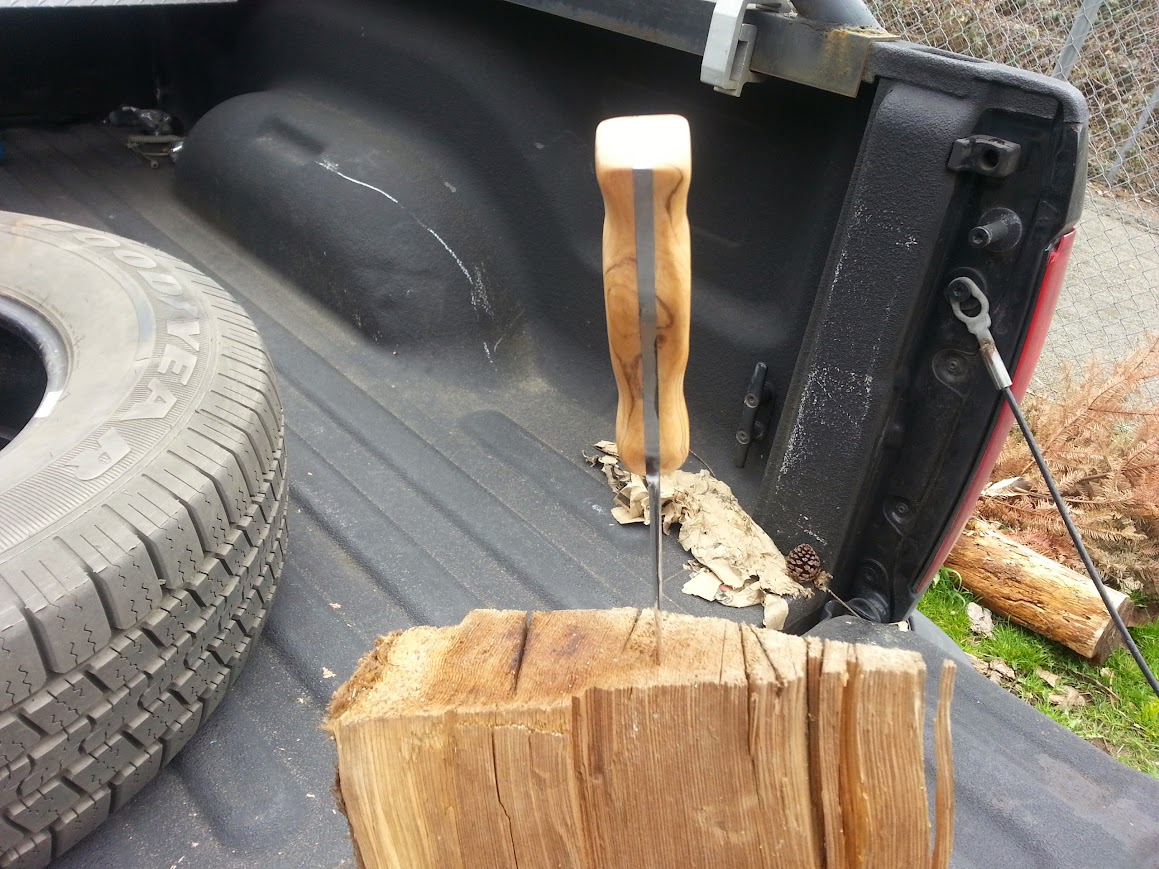
The Junglas is a chopper among choppers. Having only had a few chances to use one it quickly made my short list for future purchases. I am currently using a custom MP Knives Direwolf for chopping and heavy camp work, but the Junglas might become my “second” for the task.
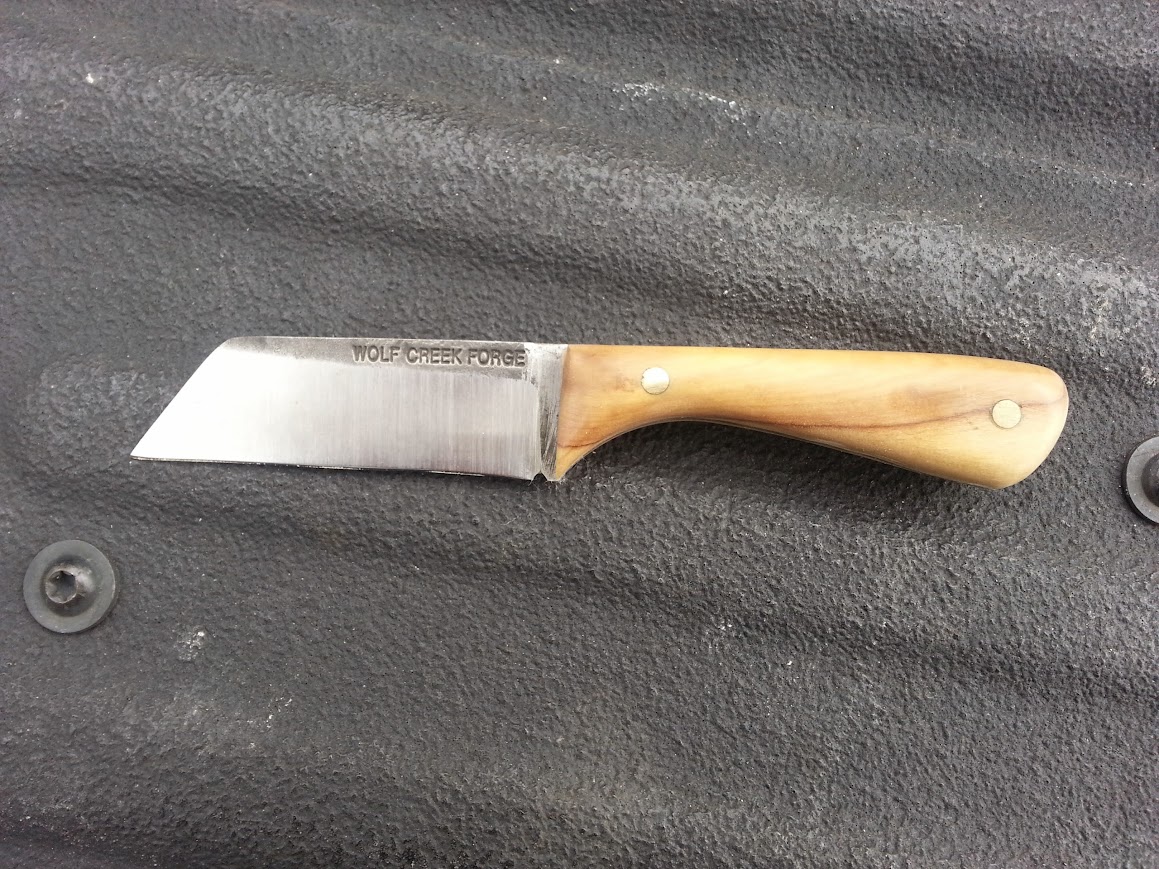
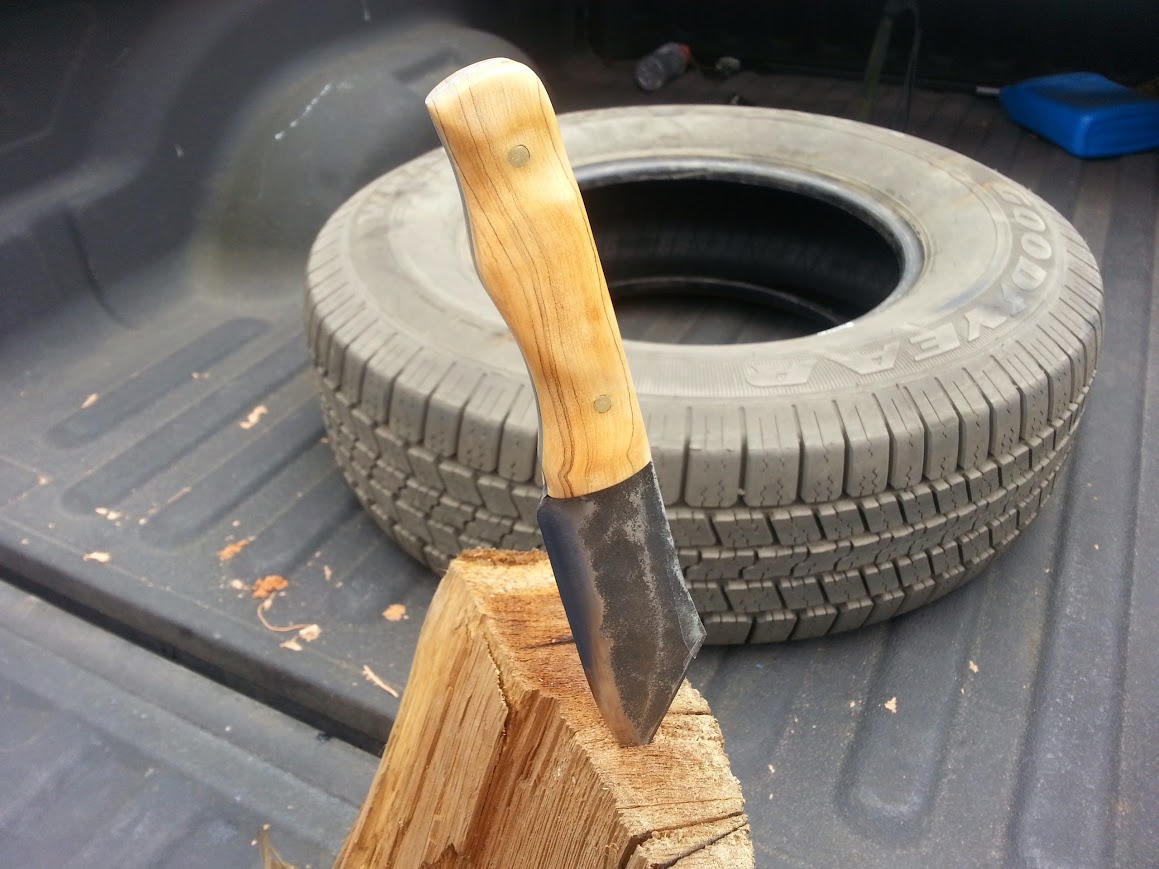
Customs:
There are many custom knife makers out there that make a great knife. I have several from various makers such as MP Knives, Wolf Creek Forge, Adventure Sworn, SLP Knives and Wild Boar Forge. They all fit the bill and can be made specifically for your desired purpose.
Here are a couple pictures.

MP Knives Direwolf

AS Mountaineer
The amount of money that you spend on a good, hard use knife is only limited by your budget and desired configuration. I used to think that any knife was ok as long as you could get it sharp. After having broken several and then used some customs my thoughts changed. Spending $100’s of dollars on a knife is as much of an investment in your safety as it is in the beauty of the tool. Either way or no matter what you decide to buy, just make sure you get as good of a quality item as what your budget can afford.
The next part of the series will be on your general use camp knife.