by Woodsbum
Actually, this is my son’s pipe that I made.
In woodworking, I have always had problems with finishing the project. For some reason, I can bend metal or carve very intricate things without issue. Getting it to look all nice and shiny after I am done has always been an issue. The folks over at Woodcraft actually steered me in the right direction this time.
The product and method that the Woodcraft guys suggested was similar to the method that people turning pens use. Doctor’s Woodshop Pens Plus polish and finish is what they suggested. Here is what they had me do:
- Load up a polishing wheel on my bench polisher.
- Polish up the pipe using several loads to the polishing pad.
- Coat the pipe, let it dry, and then buff it back out.
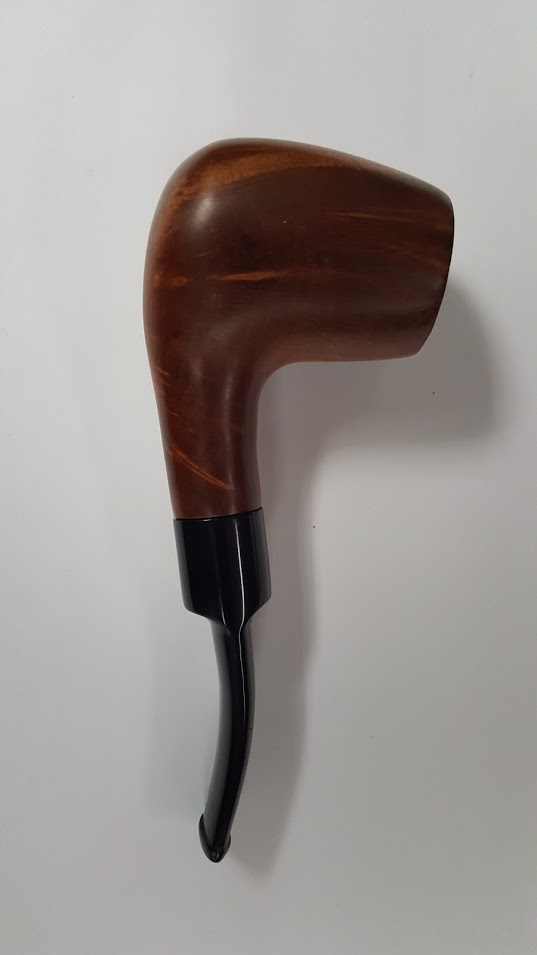
I still have to do the final polish/buff on the pipe and apply a couple more coats. It did turn out really nice, however. The final wood color was only a shade or two darker than when the wood was wet.
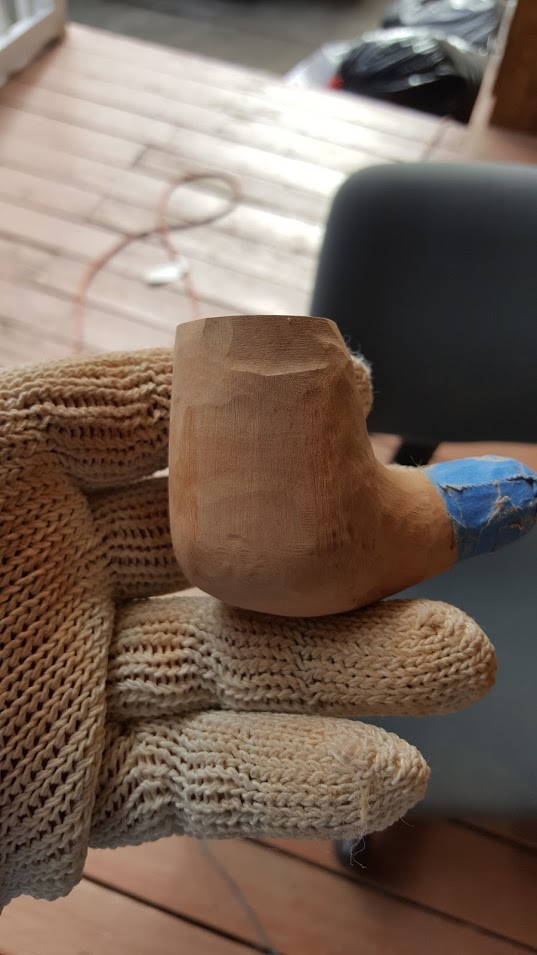
Mostly finished pipe
The color and the way that the grain was made to just pop is really exciting. Both of the other blanks I did had a much lighter colored wood. With the etching that Jerry is doing I am thinking a dark stain to the etched area and then use this polish for the rest will be perfect.
Due to my son’s inability to wait to test the pipe out I still have another coat and some polishing to do on this build. He said that the draw was actually quite nice and the tobacco stayed lit longer than his other pipes. This made me feel pretty good about the time and energy I spent building this thing.
Here is a good picture to the polish/finish that I used:

Polish/finish
Again, just load your pad and go to buffing. It will polish and apply the finish all through the use of the buffing wheel.