Tag Archives: Wolf Creek Forge

Wolf Creek Forge – Bushcraft Knife

by Woodsbum

Not that I am revealing any great secrets here, but I am a bit of a knife freak. I love the simplicity and functionality of a good knife. In all seriousness, knives have saved my hind quarters more than any other tool I use. Due to this harsh reality of me doing stupid things that require solid tools to bail me out, I have NO problem spending large sums of money on quality knives. Enter….  The Wolf Creek Forge.

This was actually my first custom knife that I purchased. I have taken more than my share of production knives and customized them, but until I got this I had never actually purchased a hand made knife.

I got this used (because that was what I could justify on a knife) so I don’t have many specs at this time. I contacted the maker to see if they did and will update this post if/when those specs are sent. Instead, I will look at the knife and tell you about it from a use perspective.

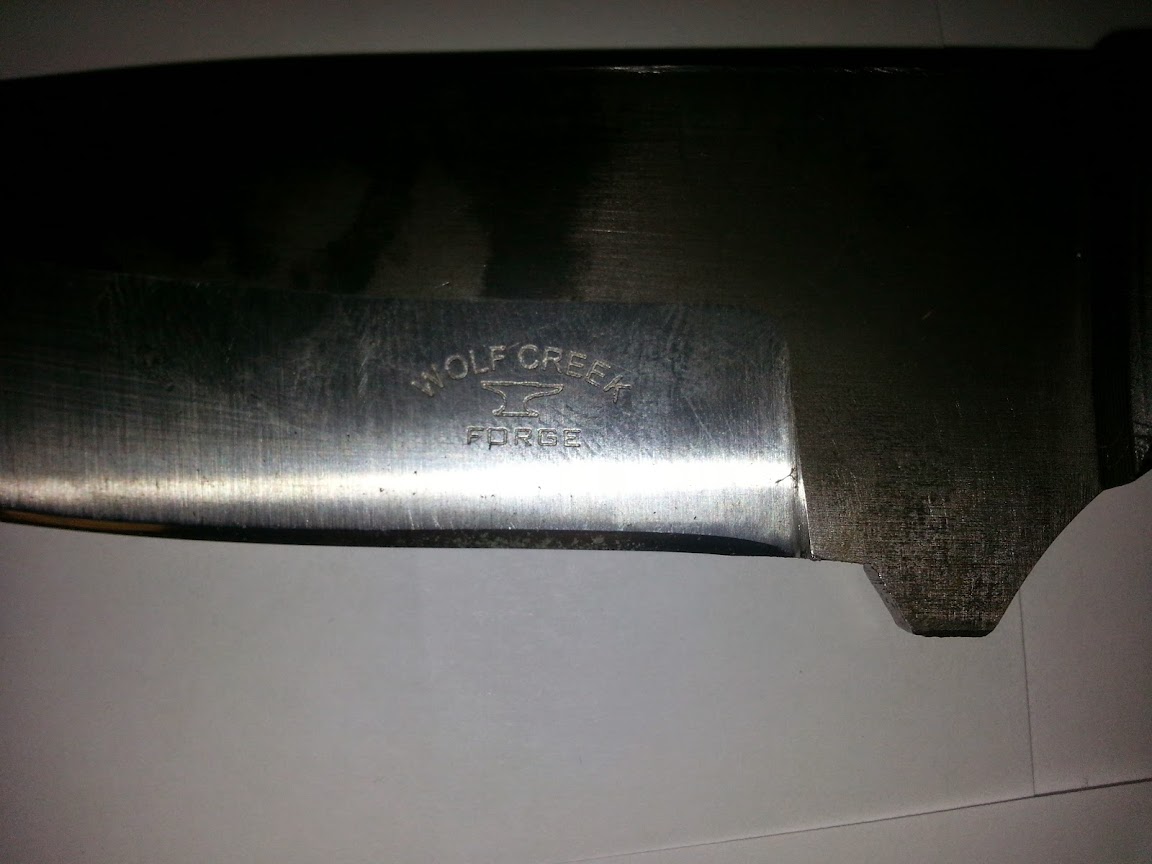
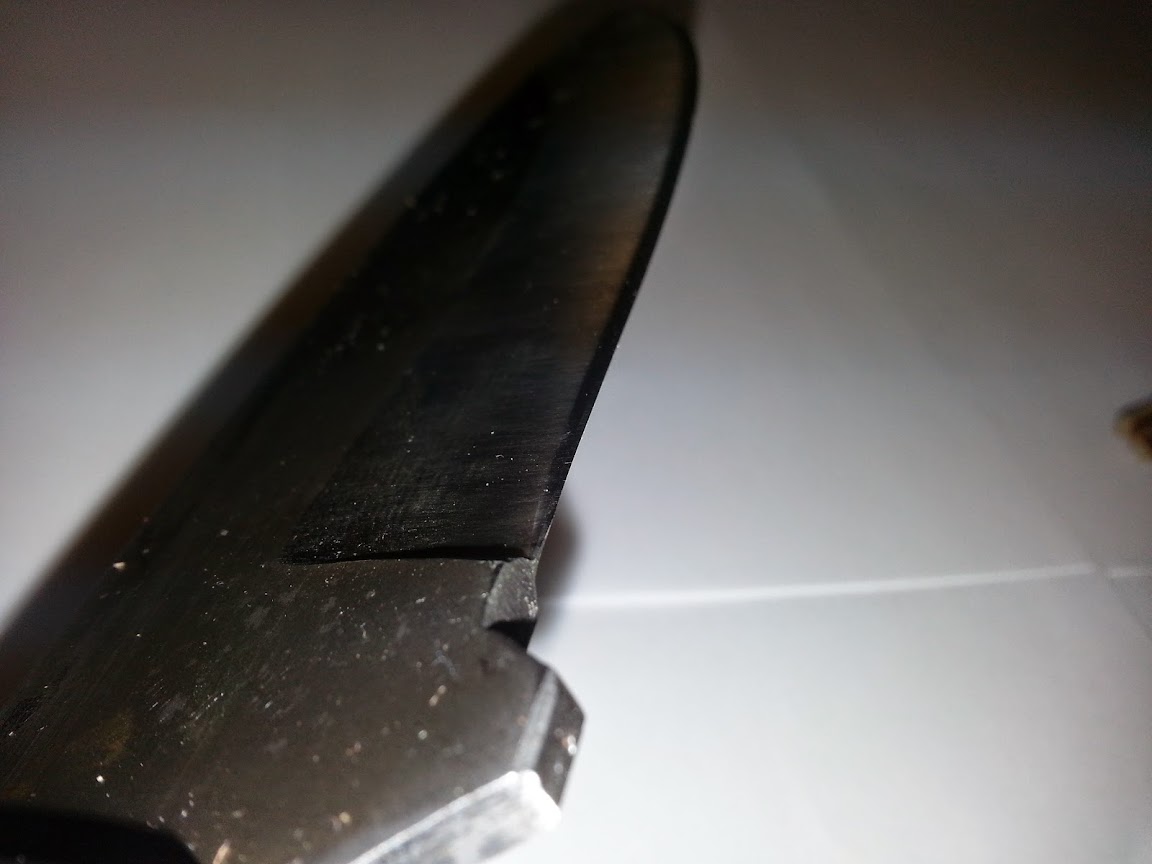
First off, this knife has seen a fair amount of field use. If you look at the pictures it is fairly evident from the small rust spots and discoloration at the tip from batoning/prying wood apart with it. Yes, there are a few rust spots. Remember that I live in a VERY wet part of the country where I swear even iron rich blood will rust in your arteries.

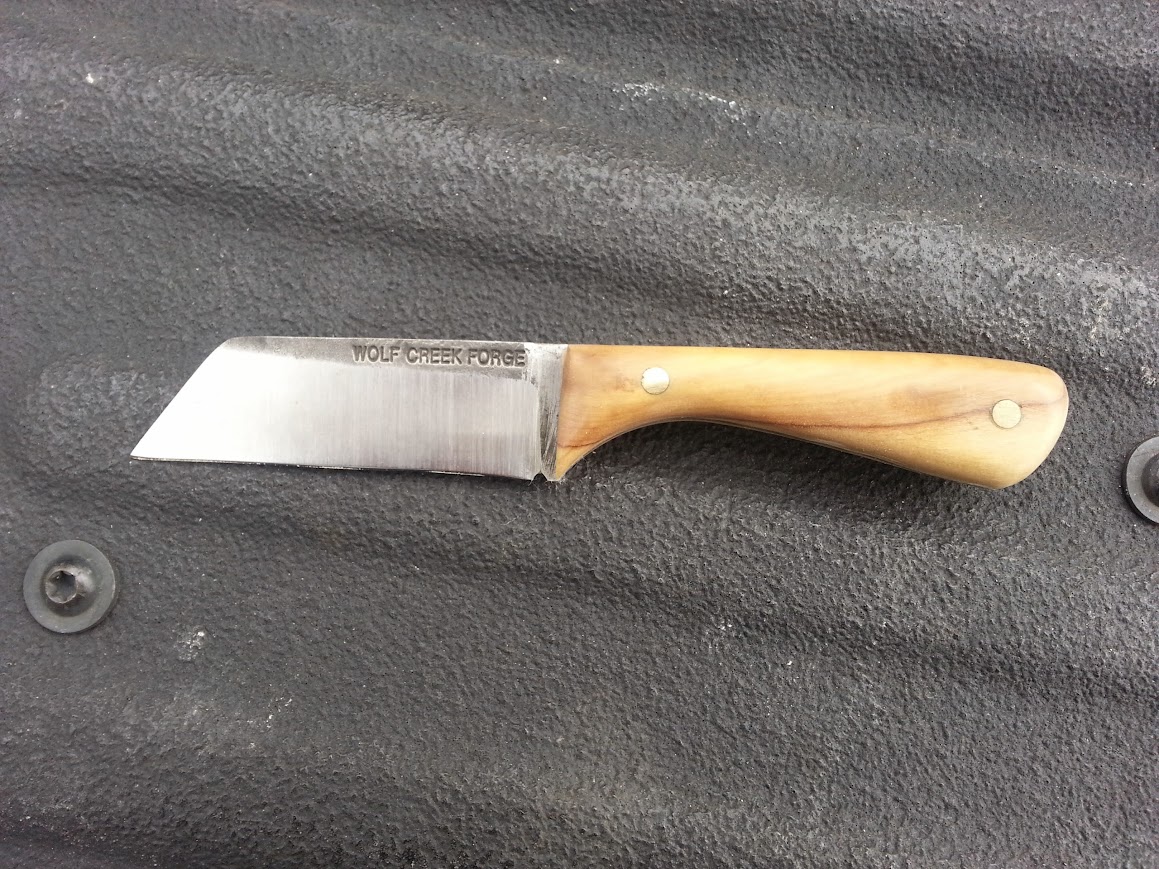
Wolf Creek Forge Bushcrafter

Wolf Creek Forge Bushcrafter

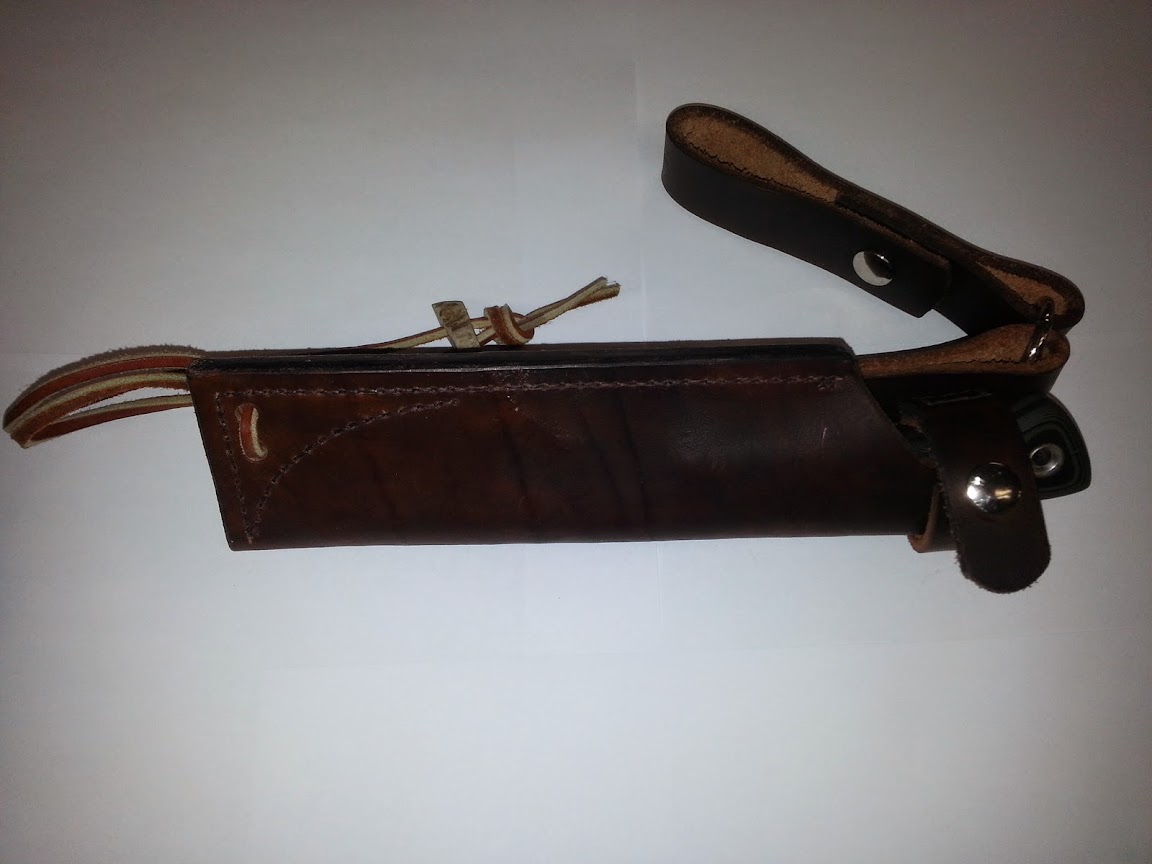
Because of the way the sheath is made, I use this knife a lot while backpacking. The belt loop will actually fit all the way around the webbing on my Osprey waist belt. This makes it really nice to access when wearing the pack. Even though I am not fond of sheaths that use a snap for knife retention this knife fits quite deeply into the sheath pocket. It makes inserting and removal from the sheath quite easy, especially when fighting with bulky gear.

WCF - Sheath

WCF – Sheath

In order for my knives to stay relatively rust free I spray oil down my knife sheaths. This keeps them conditioned and helps with the squishy environment in which I live. Unfortunately, it doesn’t always work so keep that in mind while checking out my pictures. Most of the “patina” and discoloration occurred during field use over periods of time where I had no access to oil, polishers, etc. Remember….  I USE my gear, but don’t ABUSE my gear. Most knife makers will tell you that high carbon steel knives are going to get discolored if you use them.

WCF - Bushcrafter

WCF – Bushcrafter

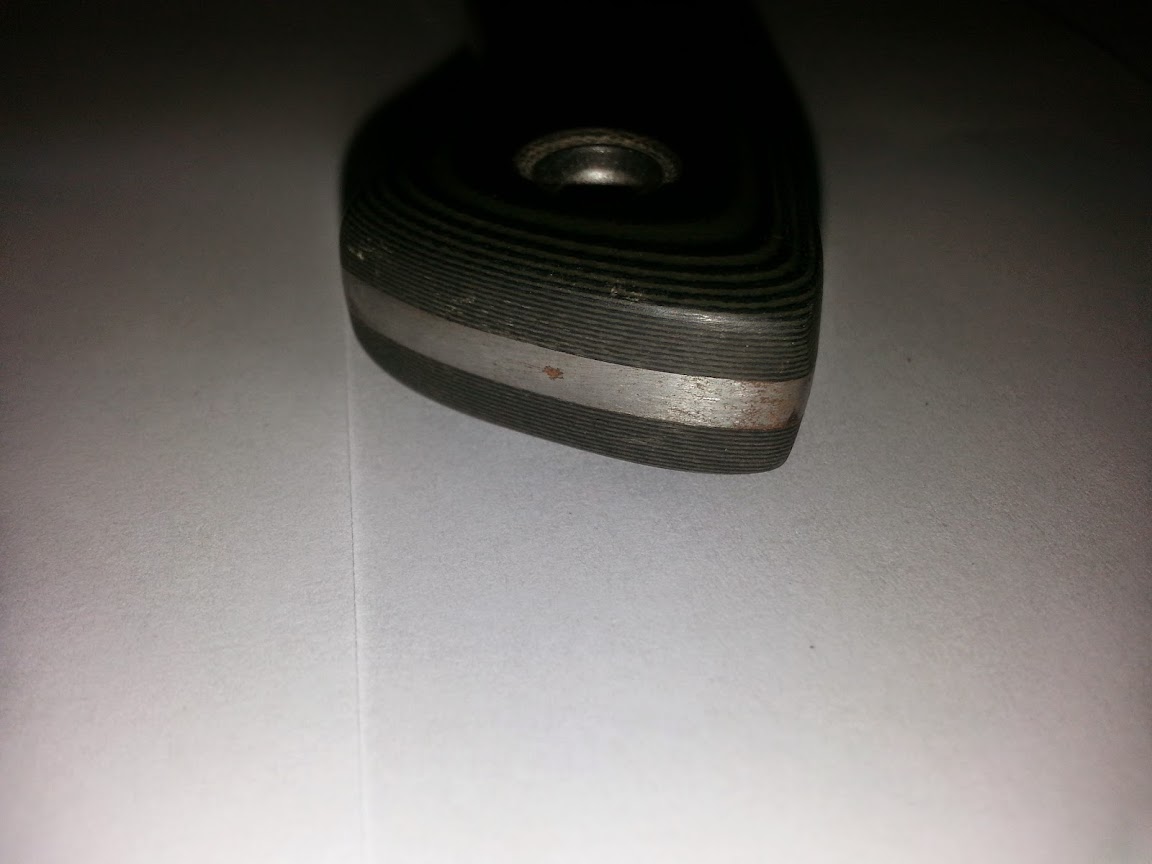
The micarta handles actually hold up quite well to heavy field use. You can see where I have knocked the handle around a bit while out in the bush.

WCF - Bushcrafter

WCF – Bushcrafter

The only complaints I have at all about this knife is the fact that it doesn’t get as sharp as many other customs I have nor is the spine squared off so I can use it with a firesteel. It gets sharp, but not that hair popping sharp that you get with Adventure Sworn or Turley customs. I have been looking and I think that it has to do with the way that they are ground. This guy will stay the same sharpness for what seems like FOREVER without getting dull. It just won’t get quite as sharp. My Adventure Sworn will sharpen back up to crazy levels quickly, but it will dull quicker than this one does. The same goes with my daughter’s Turley, my Matt Paul, son’s Primitive Edge, the SBT I used for a while, and a few others I ran across in the bush. This characteristic really makes this knife a great field choice for hard work. I tend to use the heck out of it during a trip and just strop it as needed on the inside of my belt. This works wonders.

WCF - Bushcrafter

WCF – Bushcrafter

All said and done, I like this knife for hard use camping. It doesn’t need as much care or upkeep as other bushcraft knives I have or have used. Feather/fuzz sticks, split wood fires, general use cutting, prying, cleaning fish/grouse, are all easy chores for this guy and it does its job well. I could think of numerous other, higher priced knives that don’t do as good of a job as this does.

WCF - Bushcrafter

WCF – Bushcrafter

I would recommend this as a great all around knife for those new to bushcrafting. It does everything you would want it to do and does it without making you modify your techniques. Really and truly it is a great and solid knife.

WCF and Mora Classic

WCF and Mora Classic

  • Share on Tumblr

Knife Handles- MP Seax and Wolf Creek Forge Patch Knife

by Woodsbum

I figured I would take the time to explain the whole process involved with putting a handle on a full tang knife. Even though it seems like a very scary proposition, it is MUCH easier than one would believe.

The first couple steps in the process involve getting the right materials collected. You will need:

  1. Some sort of epoxy to glue the scales down.
  2. A couple of pins for the handle.
  3. Use of a drill press.
  4. Some wood working clamps of some sort.
  5. A belt sander.
  6. A couple of fine tooth files.

The first step with putting a handle one a knife blank deals with cleaning up the tang and making sure the scales are squared up enough to drill with your press. I used some sand paper to clean up the tang and get rid of all the black scaling left over after the forging process. Once I got it down to a decent metal, I then scored up the tang a bit with a grinder (my choice and not needed) so that there was a rougher texture for the epoxy to adhere.

Then, I lined everything up and drilled the holes for the pins. The secret that I found with regard to getting straight and properly drilled holes was through the use of good scales to begin with. Each time I used a set of wood scales that were not squared up well, the holes would be off enough to leave a huge gap between the scales and the tang. When I finally used decent scales I got a good fit. Only went through a couple chunks of wood before I figured that out.

Next, contour the front of the scales where they will meet the blade. If you do not, you will have to sand right next to the blade and potentially remove some of the dark scale left after forging. If you want to keep this look, it will not last when sandpaper hits it. Please look at how I removed some of the dark coloring on this Wolf Creek Forge because I didn’t contour the handles before I epoxied them on.

Wolf Creek Forge with rogue sanding marks

Wolf Creek Forge with rogue sanding marks

When you get your holes drilled, the edges that will meet the blade are contoured correctly and all looks good, bust out your epoxy and get things glued together. I put the pins in during the epoxy/glue process so that the pins get permanently attached with epoxy the same time that scales get glued as well. Once all is glued up, grab some clamps and squeeze it all together. don’t worry if you get some epoxy that squishes out the sides. That will come off during the sanding phase. Do clean up the part next to the blade where you won’t be sanding, however.

MP Seax getting scales

MP Seax getting scales

Here it is from a different angle. Notice how there is a thin line of epoxy that has squeezed out along the line between the scales and the tang.

MP Seax all glued up

MP Seax all glued up

After the epoxy dries you can remove the clamps, saw off the excess pin stock and start to shaping the handle. Now I did most of the shaping through the use of a belt sander. If I had a band saw I would have used that to remove any excess handle material. Since I don’t I just went to town with the sander and let the dust fly.

When you get to the point where you are trying to take the pins down a bit you can use a fine tooth file and then smooth things out with sandpaper afterwards. It worked quite well and didn’t leave any major marks on anything. I did learn something about the use of pins, however. Matt from MP knives showed some pictures of his process and it seemed to make sense. He peens the ends of the pin so that it works like a rivet to hold the handles on better. If you look at this picture you can see a touch of a gap around the pins on this knife.

MP Seax

MP Seax

If I would have known about the peening thing, it would have been a much cleaner handling job.

Here are a couple more pictures of the handle after I was done with it.

MP Seax

MP Seax with a touch of epoxy still on the tang.

MP Seax with a good look at the contours

MP Seax with a good look at the contours

As you can see, I did a lot of contour work on this to make it really fit the hand for those long hours of bushcrafting. This bad boy ended up being the most comfortable feather/fuzz stick maker I have ever used. The contours just made holding the blade almost effortless and like everything Matt makes, it is incredible at cutting. This baby is an absolute dream.

Now other than the peening of the pins and ensuring that the front of the handle scales are contoured before they are glued into place, these two projects were actually quite successful. I was quite pleased as was GunGuy, who’s Seax is pictured in this post. My last bit of advice is to use the long drying epoxy and not the 5 minute stuff. The quick drying stuff seems to be more brittle and I had to reglue the handle on my Wolf Creek four times until I was smart enough to try a longer drying epoxy. The scales would crack loose during the sanding if it chattered at all. This was not a problem with the long drying time epoxy.

Now that you have a good idea of how this process is done go get yourself a quality knife blank and get to playing around. I love my knives that the makers fully built, but somehow I have a soft spot for those that I handled myself.

Go get dirty!!!!

  • Share on Tumblr

Gear Check Meetup (Part 1 – Hard Use Knives)

by Woodsbum


It is a long story, but just suffice it to say that I ended up taking over a Meetup.com Bushcraft, Survival and Tracking group here in the Portland, OR area. Many who know me are probably blowing coffee out their nose and onto their keyboards at the moment. You’re welcome……

Well, we did a meetup last night. The topic was gear and what was truly needed to be able to go out bushcrafting. It was a decent turnout and there were a few new faces. That is always refreshing and exciting to see.

Without further ado, here is some of the gear that we showed and talked about:

First category is the “Hard Use” Bushcrafting knife. These knives are built to baton wood, pry out chunks of wood for notches when making things like pot hooks, and chores that would make any hidden or partial tang knife shudder.

This is the Condor Bushlore:

Condor Bushlore

Condor Bushlore

This knife is a full tang and can take a beating. I have had one for years and know others that have them as well. Really truly, it is a hard use knife for the money. It is made of 1075 high carbon steel and has a hard wood handle. I have found that you will probably need to do a finish sanding job on the handle if you are as OCD as I am, but it is a great starter knife to learn with. This would be the knife used when you baton wood for fire prep and general, hard use type chores.

Here is the Condor Woodlaw:

Condor Woodlaw

Condor Woodlaw

When you are looking for an inexpensive knife to carve as well as do fire prep, this is a great choice. The thinner point works well for making holes or getting into those tight spots where the Bushlore just seems to not quite reach.

More Condor products that rate an “honorable mention” are their Kephart, Nessmuk, and Bushcraft Basic.

Then there are the Beckers. The Becker line can all take one heck of a beating and have gained a tremendous following. There are some die hard fans out there and rightfully so. There are very few production knives that can perform as well as the Becker line can.

Becker BK2

Becker BK2

Becker BK2

The BK2 is a solid performer, but commands a higher price than the Condor line. This solid knife will take about anything you can dish out without hardly a scratch. One thing to note, however, is the coating that is put on the blade. To use this knife with a firesteel this coating needs to be removed. That is no big deal, but it needs to be mentioned.

Becker BK5

Becker BK5

Becker BK5

The BK5 is also a good option, but the point is more pointed and tapered. This helps with carving chores, but makes it a bit more susceptible to breakage when driving it through things. Most people don’t do such things with their knives, but it can and does happen.

Becker BK16

Becker BK16

Becker BK16

The BK16 is also a favorite knife among many bushcrafters due to its durability and nimble feel during use. When using a pinch grip it is not as exacting as many other model knives, but it is a great all around choice.

There are many other options in the Becker line. If you do an Amazon search for them, you will see the other models. About anything in this line that doesn’t fall under the “combat” moniker will perform quite well for you.

In any bushcraft knife discussion ESEE knives will be brought up at some point. They have a phenomenal reputation and are really a tough knife that can take a beating. Now remember that there are two models that resemble each other. Ontario and ESEE both have knives that look almost identical. Many will argue that the Ontario is just as good as the ESEE. I personally like the ESEE better and have had much better luck with them.

ESEE 3

ESEE 3

ESEE 3

The 3 is a great knife, but a little small for many people. It will, however, take a beating. It’s bigger brother, the 4, is much more suited to hard use chores because of its added size.

ESEE 4

ESEE 4

ESEE 4

The ESEE 4 is the knife I use as my survival blade while hunting. It is lightweight and you can get several really nice Kydex sheaths for it that make it a phenomenal neck knife. I even have a firesteel loop on my configuration. Like the Beckers, you will have to take off the coating on the spine of the blade if you plan on using it with a firesteel.

ESEE also makes variations with larger blades. Their ESEE 5 and ESEE 6 are great choices as well.

My personal preference is to stay away from the models with serrated edges for hard use. They are great for EDC type knives like the Spyderco. When used with a baton or when trying to make feather sticks the variance in the edge make it difficult to properly assess the depth and direction of the cut.

ESEE Junglas

ESEE Junglas

ESEE Junglas

The Junglas is a chopper among choppers. Having only had a few chances to use one it quickly made my short list for future purchases. I am currently using a custom MP Knives Direwolf for chopping and heavy camp work, but the Junglas might become my “second” for the task.

Customs:

There are many custom knife makers out there that make a great knife. I have several from various makers such as MP Knives, Wolf Creek Forge, Adventure Sworn, SLP Knives and Wild Boar Forge. They all fit the bill and can be made specifically for your desired purpose.

Here are a couple pictures.

MP Knives Direwolf

MP Knives Direwolf

AS Mountaineer

AS Mountaineer

The amount of money that you spend on a good, hard use knife is only limited by your budget and desired configuration. I used to think that any knife was ok as long as you could get it sharp. After having broken several and then used some customs my thoughts changed. Spending $100’s of dollars on a knife is as much of an investment in your safety as it is in the beauty of the tool. Either way or no matter what you decide to buy, just make sure you get as good of a quality item as what your budget can afford.

The next part of the series will be on your general use camp knife.

  • Share on Tumblr