
by Woodsbum
I figured I would take the time to explain the whole process involved with putting a handle on a full tang knife. Even though it seems like a very scary proposition, it is MUCH easier than one would believe.
The first couple steps in the process involve getting the right materials collected. You will need:
- Some sort of epoxy to glue the scales down.
- A couple of pins for the handle.
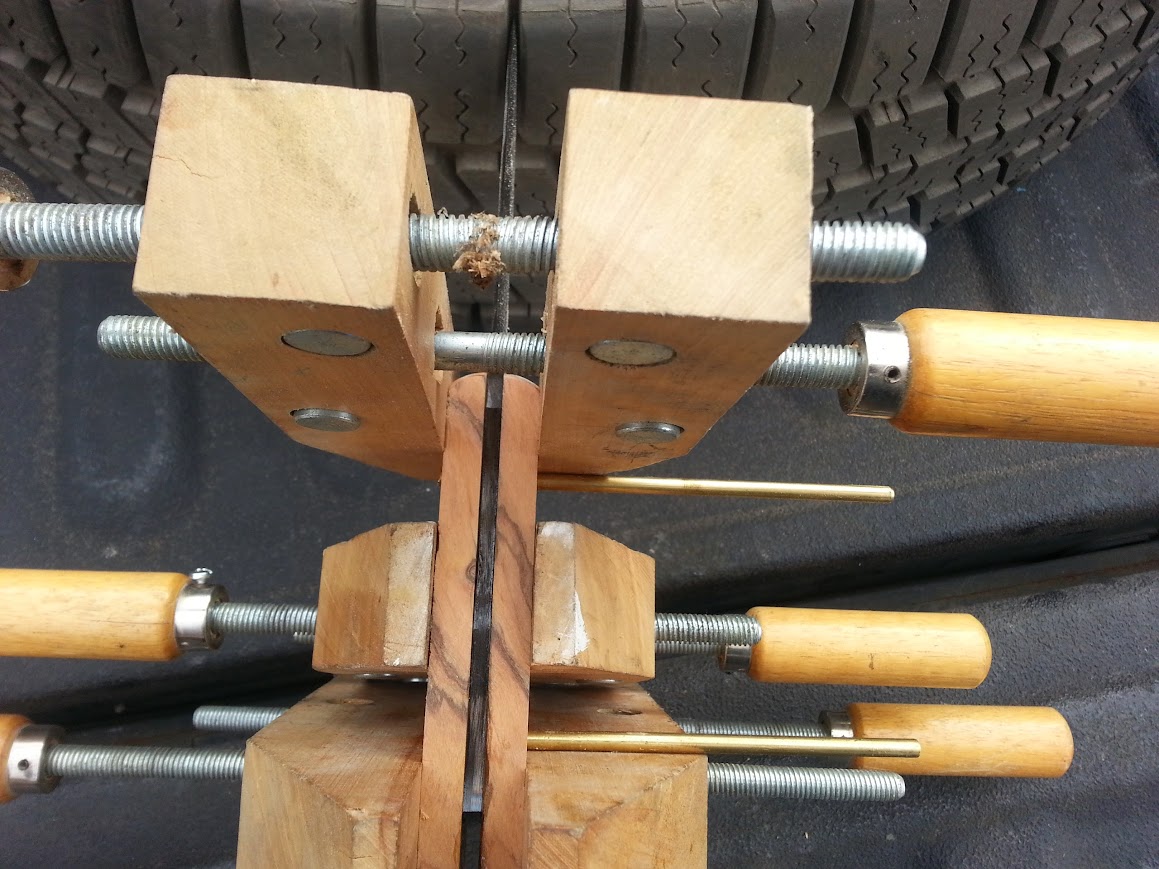
- Use of a drill press.
- Some wood working clamps of some sort.
- A belt sander.
- A couple of fine tooth files.
The first step with putting a handle one a knife blank deals with cleaning up the tang and making sure the scales are squared up enough to drill with your press. I used some sand paper to clean up the tang and get rid of all the black scaling left over after the forging process. Once I got it down to a decent metal, I then scored up the tang a bit with a grinder (my choice and not needed) so that there was a rougher texture for the epoxy to adhere.
Then, I lined everything up and drilled the holes for the pins. The secret that I found with regard to getting straight and properly drilled holes was through the use of good scales to begin with. Each time I used a set of wood scales that were not squared up well, the holes would be off enough to leave a huge gap between the scales and the tang. When I finally used decent scales I got a good fit. Only went through a couple chunks of wood before I figured that out.
Next, contour the front of the scales where they will meet the blade. If you do not, you will have to sand right next to the blade and potentially remove some of the dark scale left after forging. If you want to keep this look, it will not last when sandpaper hits it. Please look at how I removed some of the dark coloring on this Wolf Creek Forge because I didn’t contour the handles before I epoxied them on.
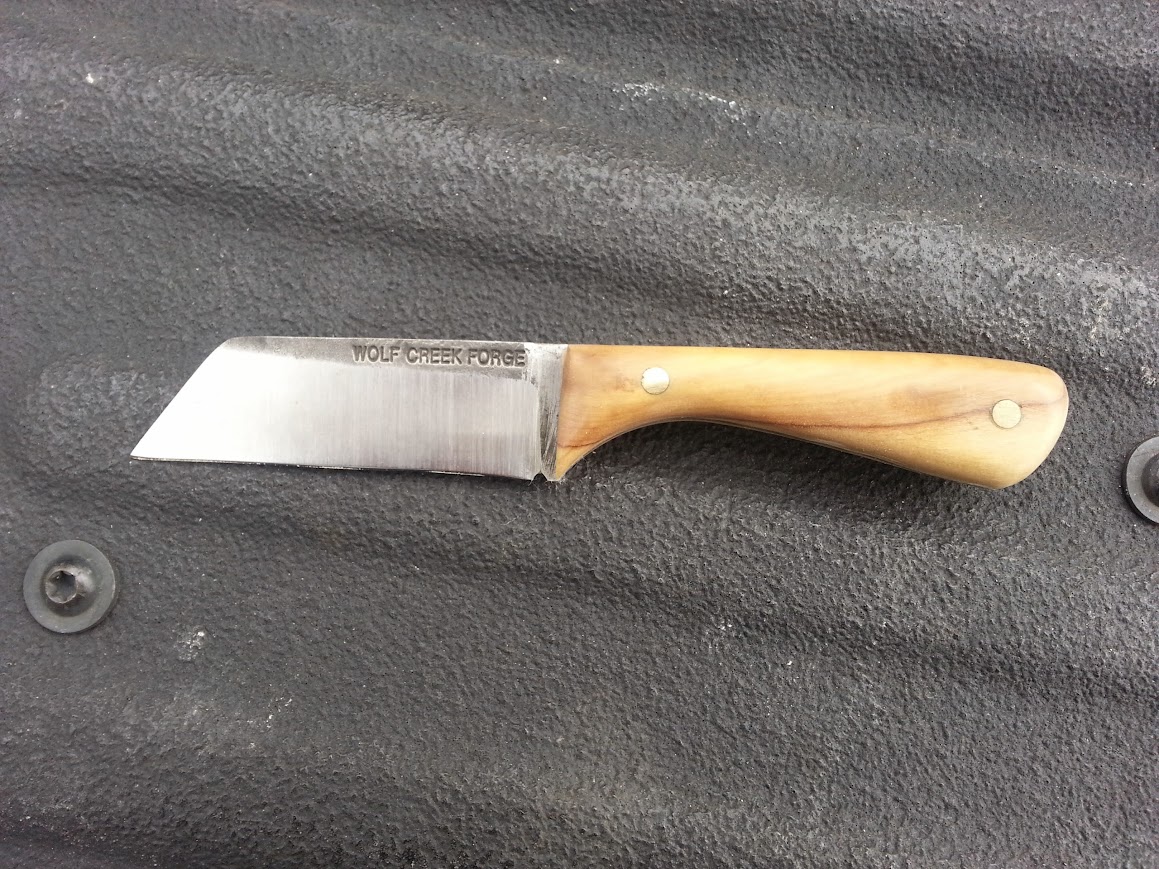
Wolf Creek Forge with rogue sanding marks

MP Seax getting scales
Here it is from a different angle. Notice how there is a thin line of epoxy that has squeezed out along the line between the scales and the tang.
MP Seax all glued up
When you get to the point where you are trying to take the pins down a bit you can use a fine tooth file and then smooth things out with sandpaper afterwards. It worked quite well and didn’t leave any major marks on anything. I did learn something about the use of pins, however. Matt from MP knives showed some pictures of his process and it seemed to make sense. He peens the ends of the pin so that it works like a rivet to hold the handles on better. If you look at this picture you can see a touch of a gap around the pins on this knife.
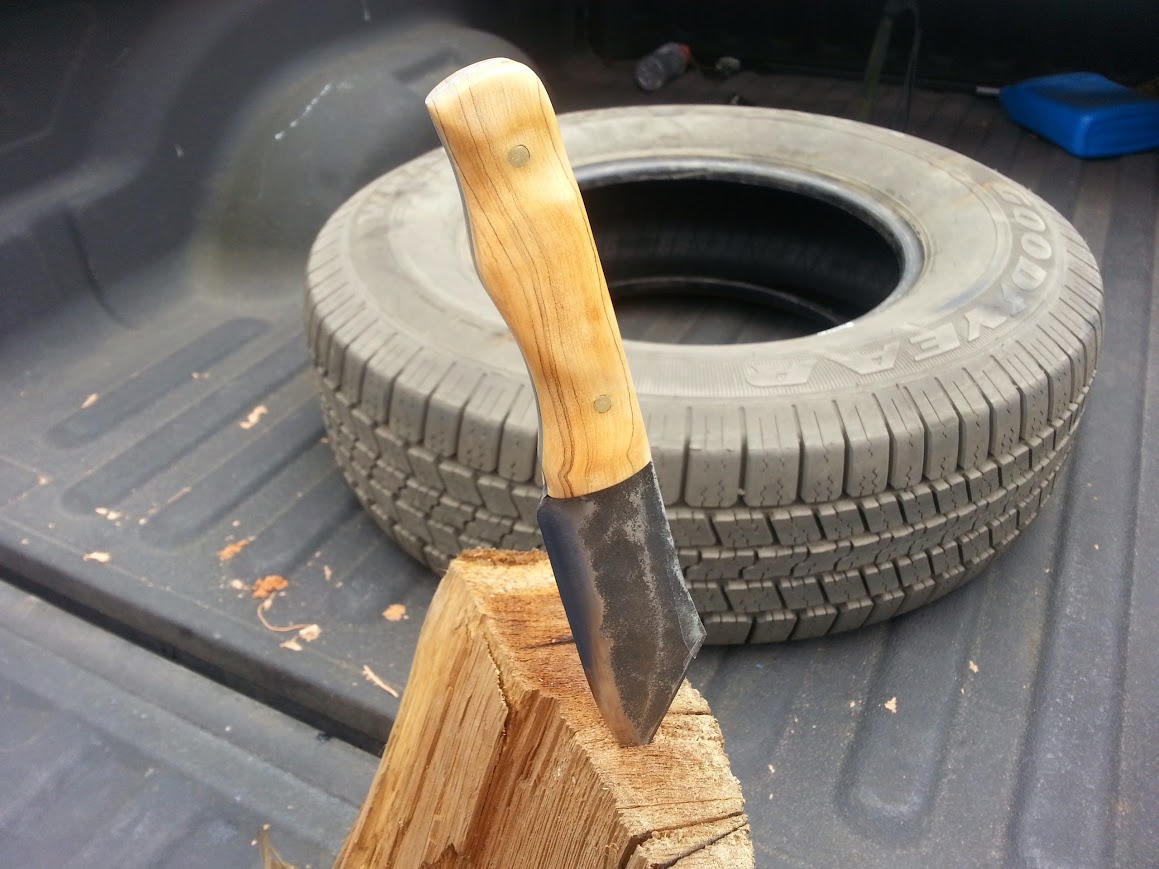
MP Seax
Here are a couple more pictures of the handle after I was done with it.
MP Seax with a touch of epoxy still on the tang.

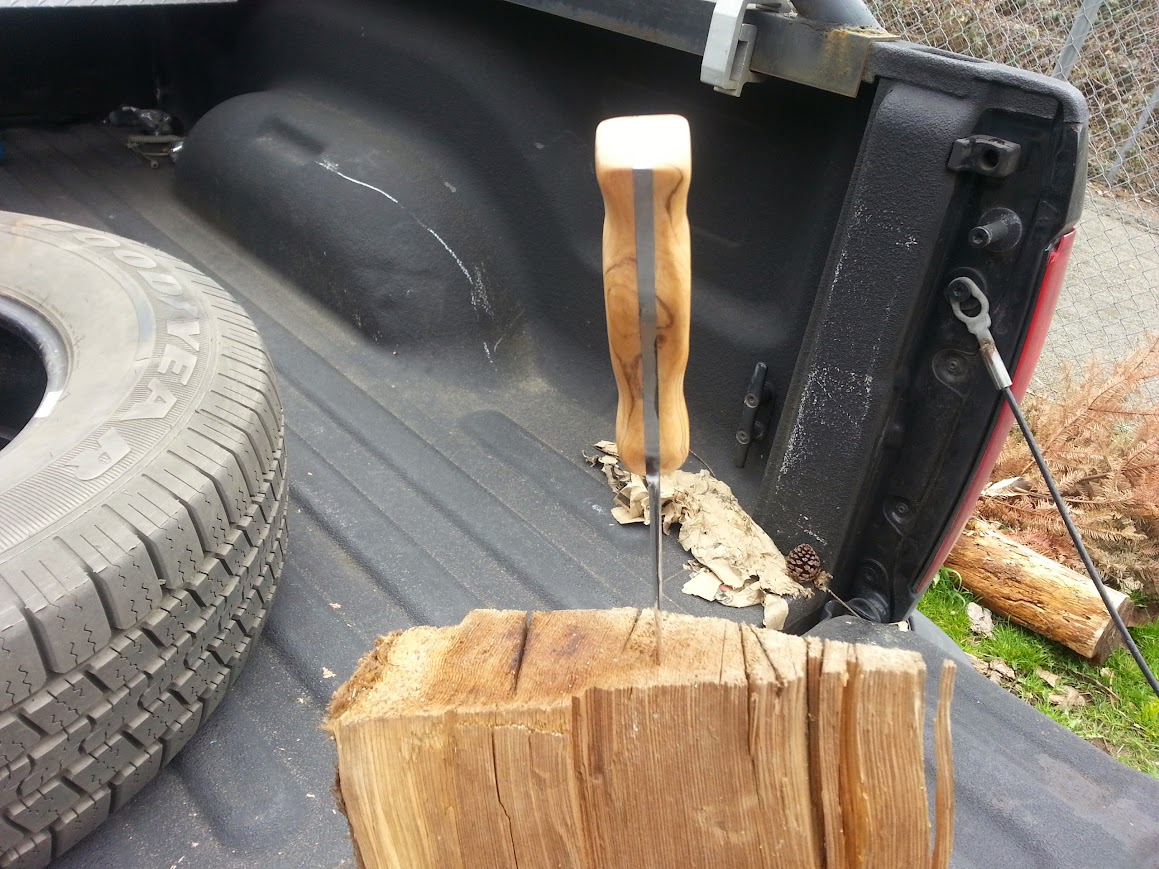
MP Seax with a good look at the contours
Now other than the peening of the pins and ensuring that the front of the handle scales are contoured before they are glued into place, these two projects were actually quite successful. I was quite pleased as was GunGuy, who’s Seax is pictured in this post. My last bit of advice is to use the long drying epoxy and not the 5 minute stuff. The quick drying stuff seems to be more brittle and I had to reglue the handle on my Wolf Creek four times until I was smart enough to try a longer drying epoxy. The scales would crack loose during the sanding if it chattered at all. This was not a problem with the long drying time epoxy.
Now that you have a good idea of how this process is done go get yourself a quality knife blank and get to playing around. I love my knives that the makers fully built, but somehow I have a soft spot for those that I handled myself.
Go get dirty!!!!
