by Woodsbum
When I was in the Navy, I carried the M9 constantly. I qualified Expert with it several times, got really proficient with it, and after discharge I finally settled on version this pistol as a personal firearm. The one gripe I had with it was the lack of steel parts and over use (in my opinion) of plastic and MIM. The first chance I had, I purchased the steel parts kit from Beretta and got to swapping things out.
The steel parts kit is about $70 and includes the following:
- Trigger
- Magazine release
- Safety lever assembly
- Recoil guide rod
After ordering and installing the recoil guide rod, I see that the website says that the recoil guide rod doesn’t fit the 92a1. It seems fine on mine, but I will have to research and figure out why it “doesn’t fit.”
Now here is the kit. The packaging was a lot to be desired. The parts were just tossed into the box and the plastic bag that you would think should contain the parts was empty. The parts were just bouncing around.
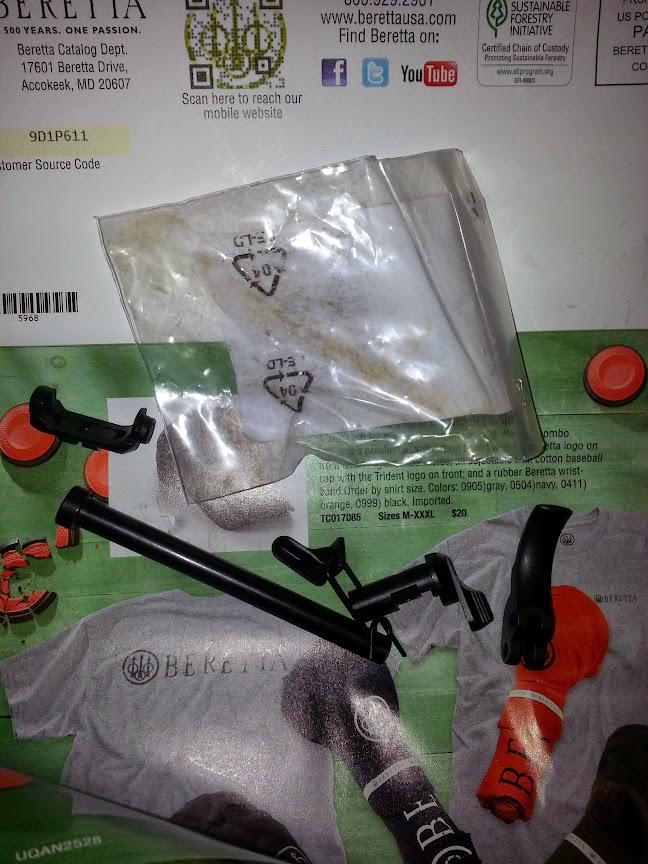
Kit as it was just shoved in a box.
Old MIM trigger and magazine release
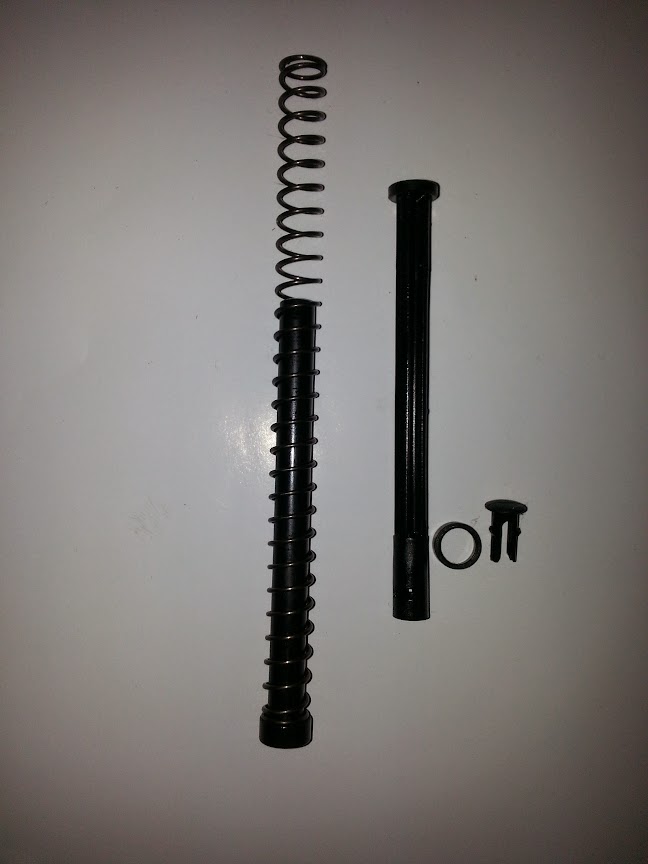
Guide rods

Old trigger

Trigger assembly without springs
Trigger assembled
The next pain is the installation of the magazine release. There IS a trick to it. Check out this video to see how it works. Once you figure out to put in the correct side first, the rest is easy.
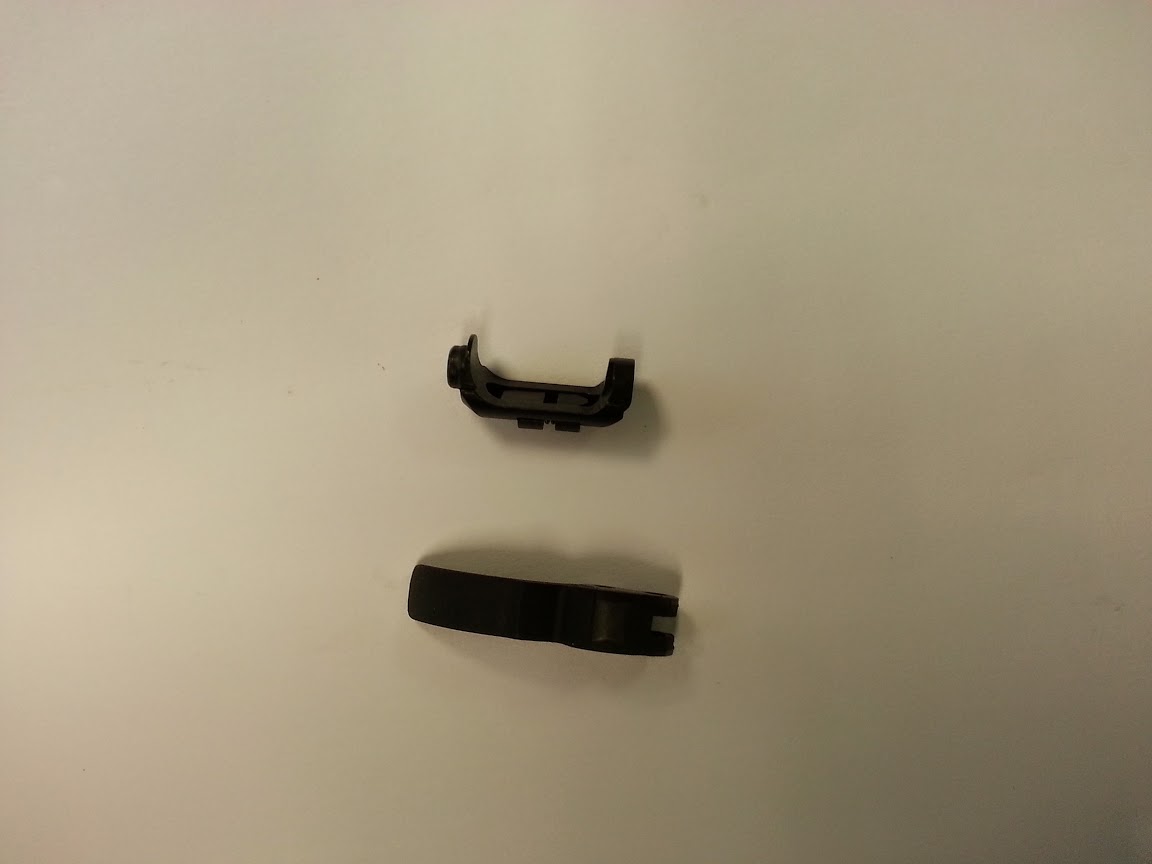
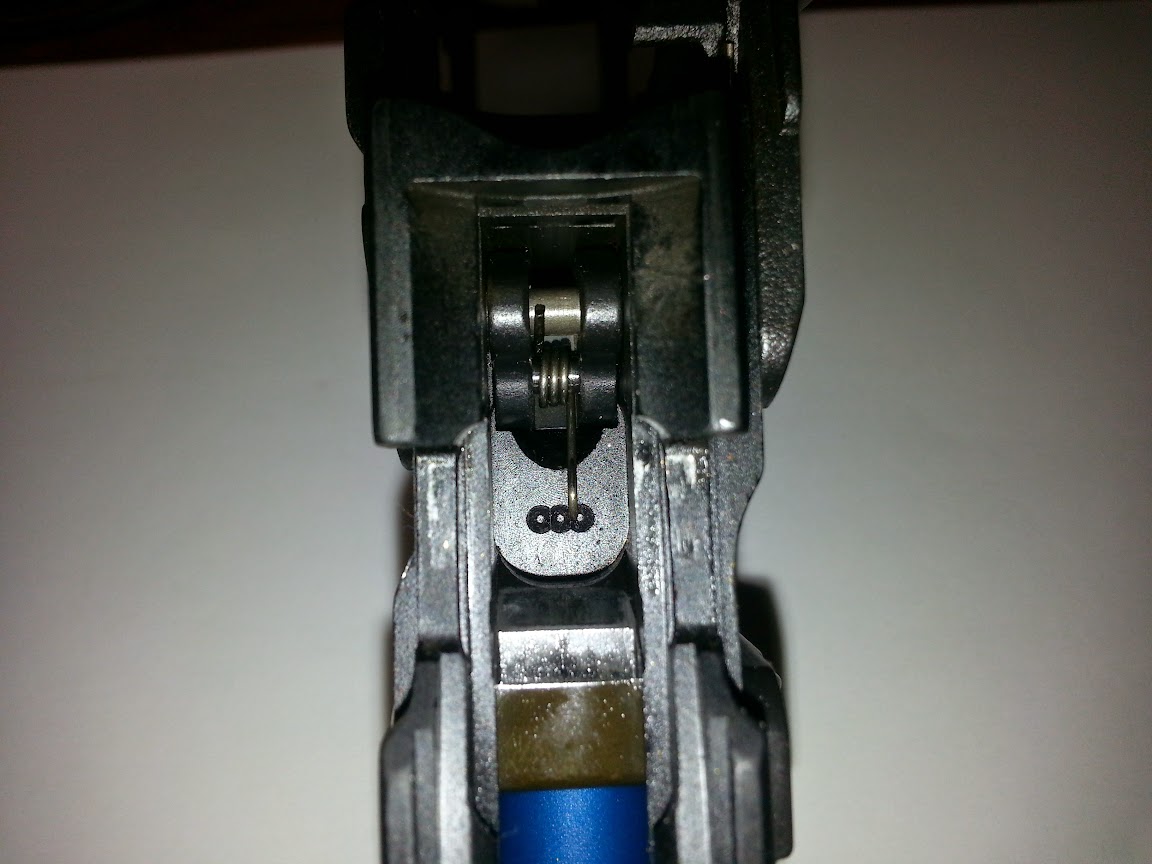
Next comes the REALLY tough part. I have to swap out the decocking mechanism. This is a bit on the rough to do side. As you can see, this is definitely MIM.
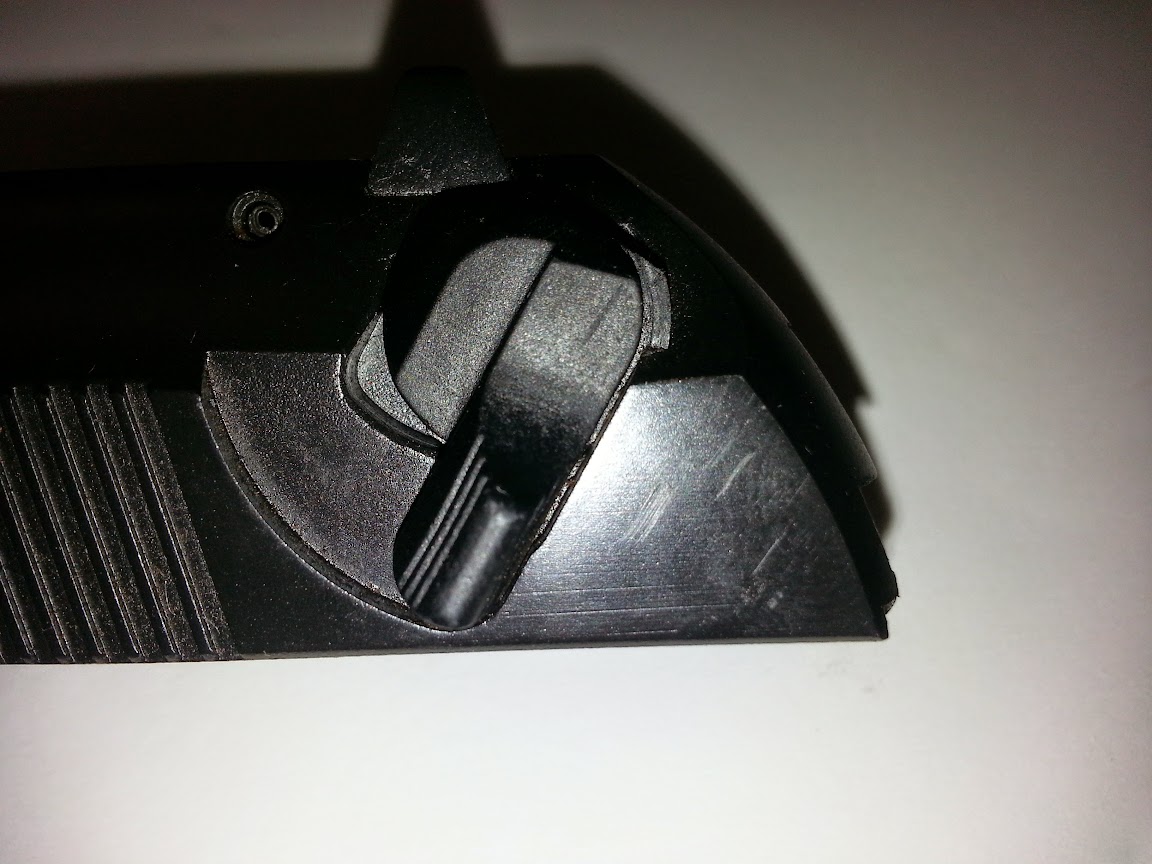
Decocking lever
Now I only have a few more modifications to make this the way I want it. I will be getting a skeletonized trigger, VZ G10 grips, and a couple Wilson Combat springs to finalize this build.
This last video is a complete (except for the safety lever) upgrade of the Beretta parts. I used this initially, but found that the guy doing the work was almost too good at putting the parts in. He made it look way too easy. It really was much more difficult than he made it seem.
I really love the feel and function of the Beretta 92/96 frame pistols. Many people tend to hate on them for whatever reason. Considering the abuse I put mine through while Active Duty and then still qualified Expert with it at the range on a consistent basis, I feel that these are great systems.