Monthly Archives: April 2014

Gun Safe Best Practices

by GunGuy

GET A SAFE

I know, it seems expensive, but it’s worth it! It helps make sure criminals don’t get your guns. This is good for you, good for society and good for gun rights. Also get a safe that’s at least twice as big as you’d expect you’d ever need. It will fill up quick.

So now you own a safe big enough to hold your long guns and you filled it with guns, papers and valuables…but…are you really using it right? Here is a summary of information I cobbled together from various sources on the internet (so it must be true!). This is not a discussion about what style/brand of safe to buy. I hope this provokes a bit of thought – additions and feedback welcome.

STATS

More than 99% of all robberies in homes with a locked gun sized safe (400lbs or larger) resulted in no loss of the contents inside the safe. The majority of the fraction left was people who stole the entire safe (mostly due to not being bolted down). Less than 0.05% were successfully broken into on location at the home or were removed when properly bolted.

Most common attack methods on safes are (in order of most to least common).

  1. Attempted theft of entire safe
  2. Pry bar attack on door
  3. Fire ax to side of safe
  4. Cutting side/back with diamond saw
  5. Cutting torch

Most common damage to safe (ordered most to least common)

  1. Hammered removal of dial or keypad
  2. Pry marks/bent metal around door edges
  3. Side/back damage


SAFE LOCATIONS BEST PRACTICES

  1. Out of sight from exterior windows and doors.
  2. Away from public or entertaining spaces such as kitchens and living rooms.
  3. If safe is visible from outside the house, face it so contents cannot be seen when it is open.
  4. Downstairs locations are ideal to lower heat from house fires. (heat goes up…unless its an inferno and the whole house comes down…)
  5. Rule of thumb – the bigger the hassle to get it to that spot – the harder it will be to steal. The more stairs they have to carry it up or doorways and corners they have to navigate, the less likely it will be stolen.
  6. The cheaper the safe, the smaller the space you should choose to locate it. This is to minimize attack options on the thinner metal on the sides and back.


BOLTING BEST PRACTICES

  1. Ideal – concrete floor (…duh)
  2. For ground floor locations over a crawl space – Drill ¼ pilot hole through pre-made holes in safe bottom. Glue a 2×6 boards to underside of the floor. Nail board ends to the support beams on each side so the pilot holes are centered. Using larger drill bit to drill all the way through flooring and 2×6. Fasten using 2 large washers and long round head bolts (aka timber bolts).
  3. For upstairs locations with standard home flooring – Open ceiling under safe location and do the same as #2 above.
  4. If bolting to floor is not an option, but the safe can be located in a small closet – Buy a piece of metal plate 3/8 to 1/2inch thick large enough to fit entire floor area of closet. Bolt the safe to the plate using round head bolts. Safe cannot be removed due to the oversize metal square bolted to bottom – at worst it can be tipped over onto its face through the doorway. (this method is difficult and requires 2-3 people to implement and floor must be strong enough to support this increased weight)

Note: Bolting can be successfully negated on elevated safes (i.e. with legs) by cutting the bolt between the safe and the floor with a hacksaw. Consider this when buying a safe.


ITEM STORAGE BEST PRACTICES

  1. Store breakables on bottom shelf if you safe is not bolted down. Most unbolted safes are knocked over at some point during the robbery attempt.
  2. Put most valuable objects on very bottom shelf. Most attempts to pry/cut/torch/chop into a safe are performed near the top of the safe between waist and chest high.
  3. If you have large amounts of ammo, store it at the top of safe. A top heavy safe is more unwieldy to steal than a bottom heavy safe.
  4. Use metal cash boxes inside safe to hold cash and important papers – they will provide an additional 10-30 minutes of fire protection, plus it requires taking much more time to cut/torch a much larger hole so they can be removed. (contents are a pita to get out while the box is inside the safe unless it’s a vertically spacious shelf). Store jewelry and watches separately the same way.
  5. Use a dehumidifier to prevent rust. There are many plug in models for less than $100 and less effective/less costly ones for cheaper.
  6. Do not put a gun into the safe that is a dramatically different temperature physically – condensation can form and cause rust.

SAFE COMBO BEST PRACTICES

A touch pad can be coated with different things to reveal which keys are frequently used. From there a savvy burglar can make a few educated guesses before being locked out for several minutes. You should clean your keypad regularly.

  1. Use 6 or more digits that are not a phone number and doesn’t form a word
  2. One repetitive number is ok. e.g 567784.
  3. Do not use multiple repetitive numbers. E.g 588774 – these have a slightly higher probability of being guessed if they know what keys are being used. (don’t ask me why – I ain’t a math guy)
  4. Do not end the code in 0 (zero) this is the most common last digit.
  5. Do not start your code with 1 since this is the most common starting digit
  6. Second most common starting digit is 0 due to the usage of birth dates (e.g. 031475) as codes…don’t do that.


Lastly, doing all of the above is not help whatsoever if you leave the bypass key where it can be found. The contents of your safe is only as secure as your bypass key.

Here is a video about choosing the right safe.

  • Share on Tumblr

Knife Handles- MP Seax and Wolf Creek Forge Patch Knife

by Woodsbum

I figured I would take the time to explain the whole process involved with putting a handle on a full tang knife. Even though it seems like a very scary proposition, it is MUCH easier than one would believe.

The first couple steps in the process involve getting the right materials collected. You will need:

  1. Some sort of epoxy to glue the scales down.
  2. A couple of pins for the handle.
  3. Use of a drill press.
  4. Some wood working clamps of some sort.
  5. A belt sander.
  6. A couple of fine tooth files.

The first step with putting a handle one a knife blank deals with cleaning up the tang and making sure the scales are squared up enough to drill with your press. I used some sand paper to clean up the tang and get rid of all the black scaling left over after the forging process. Once I got it down to a decent metal, I then scored up the tang a bit with a grinder (my choice and not needed) so that there was a rougher texture for the epoxy to adhere.

Then, I lined everything up and drilled the holes for the pins. The secret that I found with regard to getting straight and properly drilled holes was through the use of good scales to begin with. Each time I used a set of wood scales that were not squared up well, the holes would be off enough to leave a huge gap between the scales and the tang. When I finally used decent scales I got a good fit. Only went through a couple chunks of wood before I figured that out.

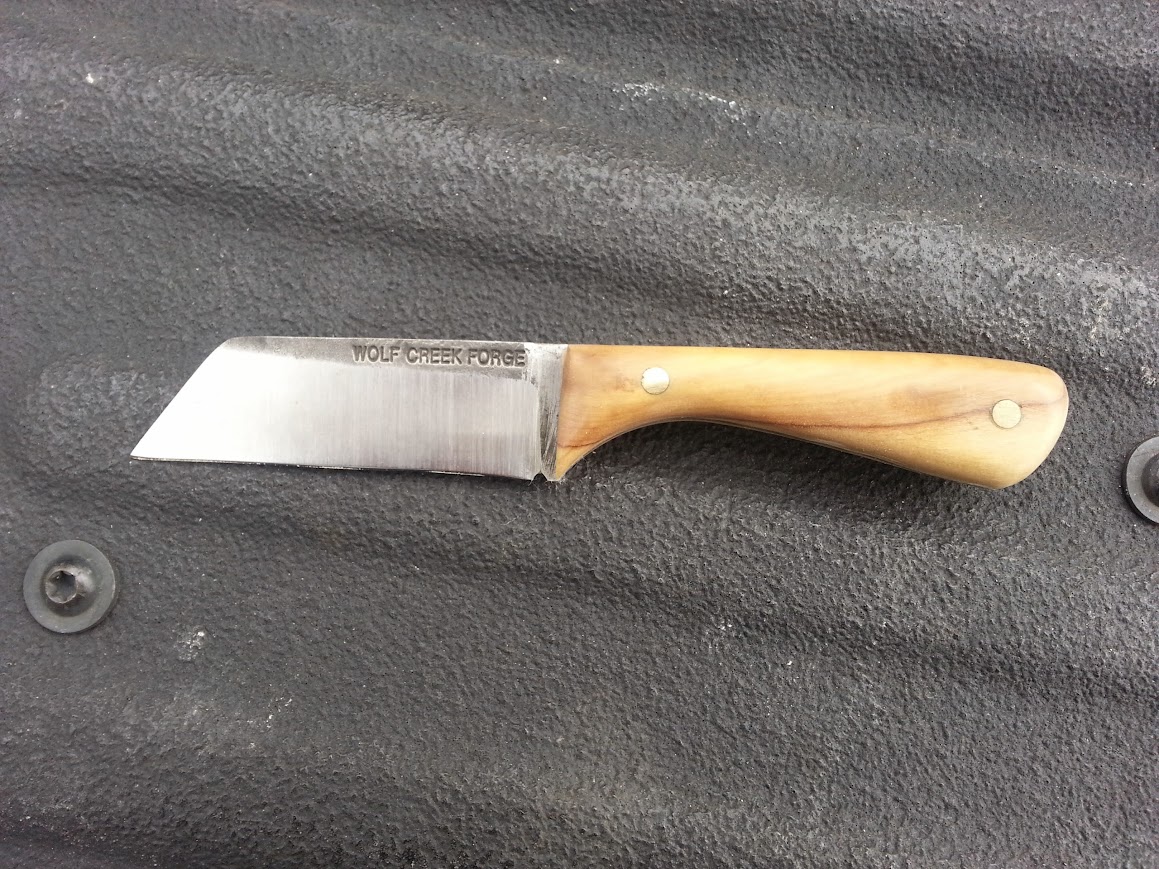
Next, contour the front of the scales where they will meet the blade. If you do not, you will have to sand right next to the blade and potentially remove some of the dark scale left after forging. If you want to keep this look, it will not last when sandpaper hits it. Please look at how I removed some of the dark coloring on this Wolf Creek Forge because I didn’t contour the handles before I epoxied them on.

Wolf Creek Forge with rogue sanding marks

Wolf Creek Forge with rogue sanding marks

When you get your holes drilled, the edges that will meet the blade are contoured correctly and all looks good, bust out your epoxy and get things glued together. I put the pins in during the epoxy/glue process so that the pins get permanently attached with epoxy the same time that scales get glued as well. Once all is glued up, grab some clamps and squeeze it all together. don’t worry if you get some epoxy that squishes out the sides. That will come off during the sanding phase. Do clean up the part next to the blade where you won’t be sanding, however.

MP Seax getting scales

MP Seax getting scales

Here it is from a different angle. Notice how there is a thin line of epoxy that has squeezed out along the line between the scales and the tang.

MP Seax all glued up

MP Seax all glued up

After the epoxy dries you can remove the clamps, saw off the excess pin stock and start to shaping the handle. Now I did most of the shaping through the use of a belt sander. If I had a band saw I would have used that to remove any excess handle material. Since I don’t I just went to town with the sander and let the dust fly.

When you get to the point where you are trying to take the pins down a bit you can use a fine tooth file and then smooth things out with sandpaper afterwards. It worked quite well and didn’t leave any major marks on anything. I did learn something about the use of pins, however. Matt from MP knives showed some pictures of his process and it seemed to make sense. He peens the ends of the pin so that it works like a rivet to hold the handles on better. If you look at this picture you can see a touch of a gap around the pins on this knife.

MP Seax

MP Seax

If I would have known about the peening thing, it would have been a much cleaner handling job.

Here are a couple more pictures of the handle after I was done with it.

MP Seax

MP Seax with a touch of epoxy still on the tang.

MP Seax with a good look at the contours

MP Seax with a good look at the contours

As you can see, I did a lot of contour work on this to make it really fit the hand for those long hours of bushcrafting. This bad boy ended up being the most comfortable feather/fuzz stick maker I have ever used. The contours just made holding the blade almost effortless and like everything Matt makes, it is incredible at cutting. This baby is an absolute dream.

Now other than the peening of the pins and ensuring that the front of the handle scales are contoured before they are glued into place, these two projects were actually quite successful. I was quite pleased as was GunGuy, who’s Seax is pictured in this post. My last bit of advice is to use the long drying epoxy and not the 5 minute stuff. The quick drying stuff seems to be more brittle and I had to reglue the handle on my Wolf Creek four times until I was smart enough to try a longer drying epoxy. The scales would crack loose during the sanding if it chattered at all. This was not a problem with the long drying time epoxy.

Now that you have a good idea of how this process is done go get yourself a quality knife blank and get to playing around. I love my knives that the makers fully built, but somehow I have a soft spot for those that I handled myself.

Go get dirty!!!!

  • Share on Tumblr

Oilcloth Tarp – Fail (Take 1)

by Woodsbum

Ok, folks. I decided that I was going to make myself a nice oilcloth tarp. Not because I NEED one, but because I wanted one due to the supreme COOL factor of using one. I know that it would be heavy and completely impractical. Really, it doesn’t matter. Being able to show up and put up an oilcloth tarp would just make me incredibly happy.

Now on to the story…….

My first step was to read several forum posts and blogs about how to make oilcloth. Most of the tutorials involved either boiling some chemicals with wax or using some sort of linseed oil. Both methods talked about the destruction of the fibers in the cloth after a period of time. Then I found a method that looked like it works quite well, doesn’t destroy the fabric, and seemed to be very easy. I opted for this method.

With this tutorial printed and embedded into my brain, I went shopping.

I went to Harbor Freight and picked up one of these:

Cavas Dropcloth

Canvas Dropcloth

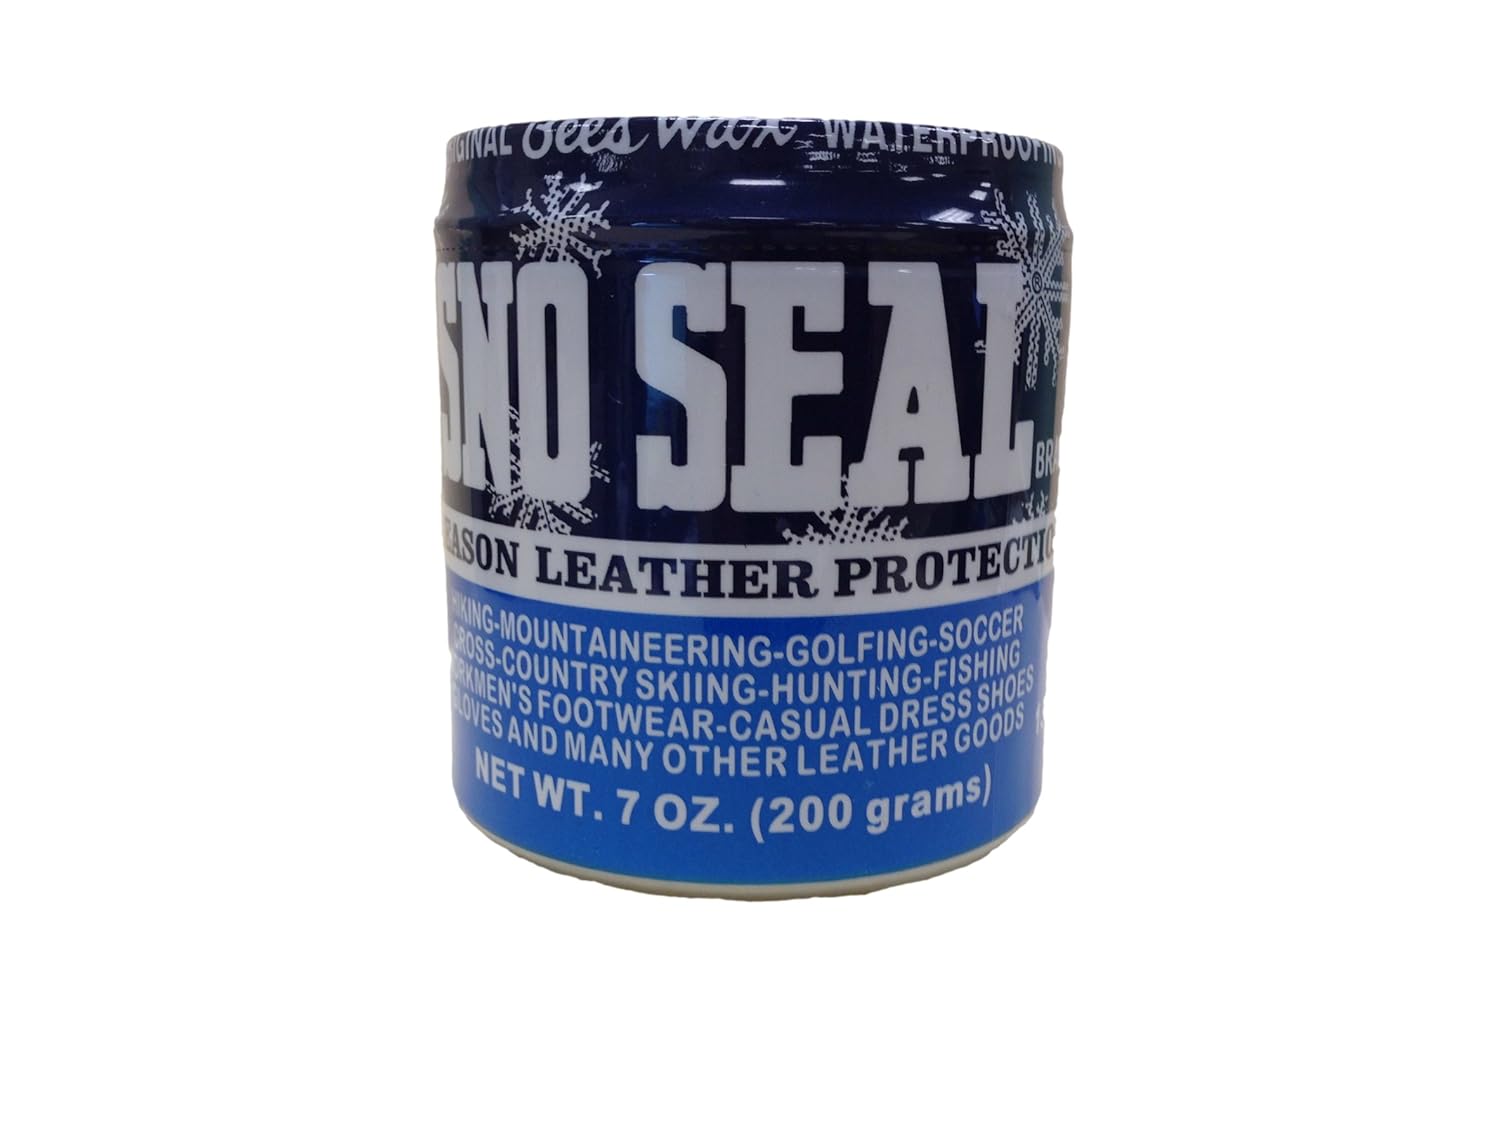
I also picked up several (5) jars of Sno-Seal:

Sno-Seal

Sno-Seal

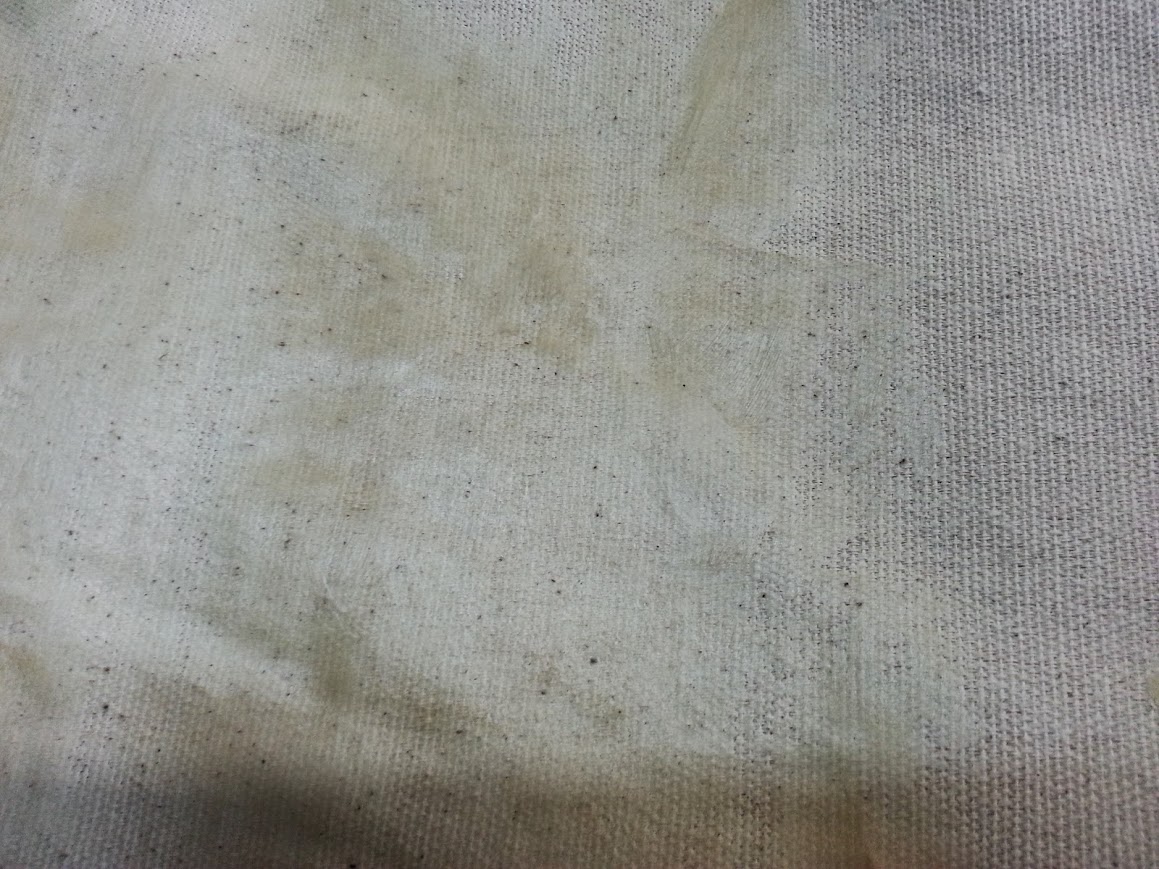
The first real step was to smear Sno-Seal all over the fabric like this:

Smeared Sno-Seal

Smeared Sno-Seal

That was easy enough, so I used up about 2 (2 1/2) jars of the paste to just coat the heck out of the canvas. Being a tough and manly, man I didn’t care about wearing gloves……  (Use gloves, people) 

After scraping all the waxy substance off my hands, I then started to heat up the fabric and melt the Sno-Seal into the cloth.

Melting the Sno-Seal

Melting the Sno-Seal

It was at this point that I discovered a few things:

  1. Wash and dry the fabric first to close up the fibers.
  2. Sno-Seal melts and drips everywhere.
  3. You have to use A LOT of Sno-Seal for this method.
  4. It doesn’t work if you are not aware of 1-3.
  5. Wear gloves when smearing.

Needless to say, I don’t have an oilcloth tarp at this time. I will need to start my search for a better method in addition to taking the tarp to a laundry mat in the middle of the night to wash out the Sno-Seal, close up the fibers, and fix my mess. When my wife saw the failed attempt, she promptly told me that I was not going to be able to use our household washing facilities unless I wanted to get beat severely. I think this attempt at oilcloth making has beat me enough.

Thank you for reading through this and I will post up my next attempt. Hopefully it goes much better than this one, is less messy, and adds to the sheer awesomeness of my bushcrafting gear.

  • Share on Tumblr

Magpul Dynamic Carbine 1 Review

by GunGuy

I spent 3 great days in Yakima last month taking Magpul’s Dynamic Carbine 1 course taught by Jon Canipe and Caylen Wojcik. It was the ammo panic that made it possible, some students cancelled making room for those of us who contacted Magpul later. Magpul asked us to fill out some non-disclosure and other information forms that had to be submitted along with the proof of citizenship etc. docs about 3 months prior the class. After a few weeks I finally heard back from Magpul, but with the good news: they accepted my friend and I to the class and we were offered the required count (1250 rounds) of 5.56 ammo at $7 per box of 20.

The class took place at the range on Sun Targets road about 20 minutes from Yakima. The weather was quite warm and during the day progressively got warmer (60F in the morning to about 75F during the day). After a brief introduction the instructors reminded to us about the ITAR and said that the regulations are enforced more and more now, with some heavy charges for stuff like sending a plastic stock to Norway.

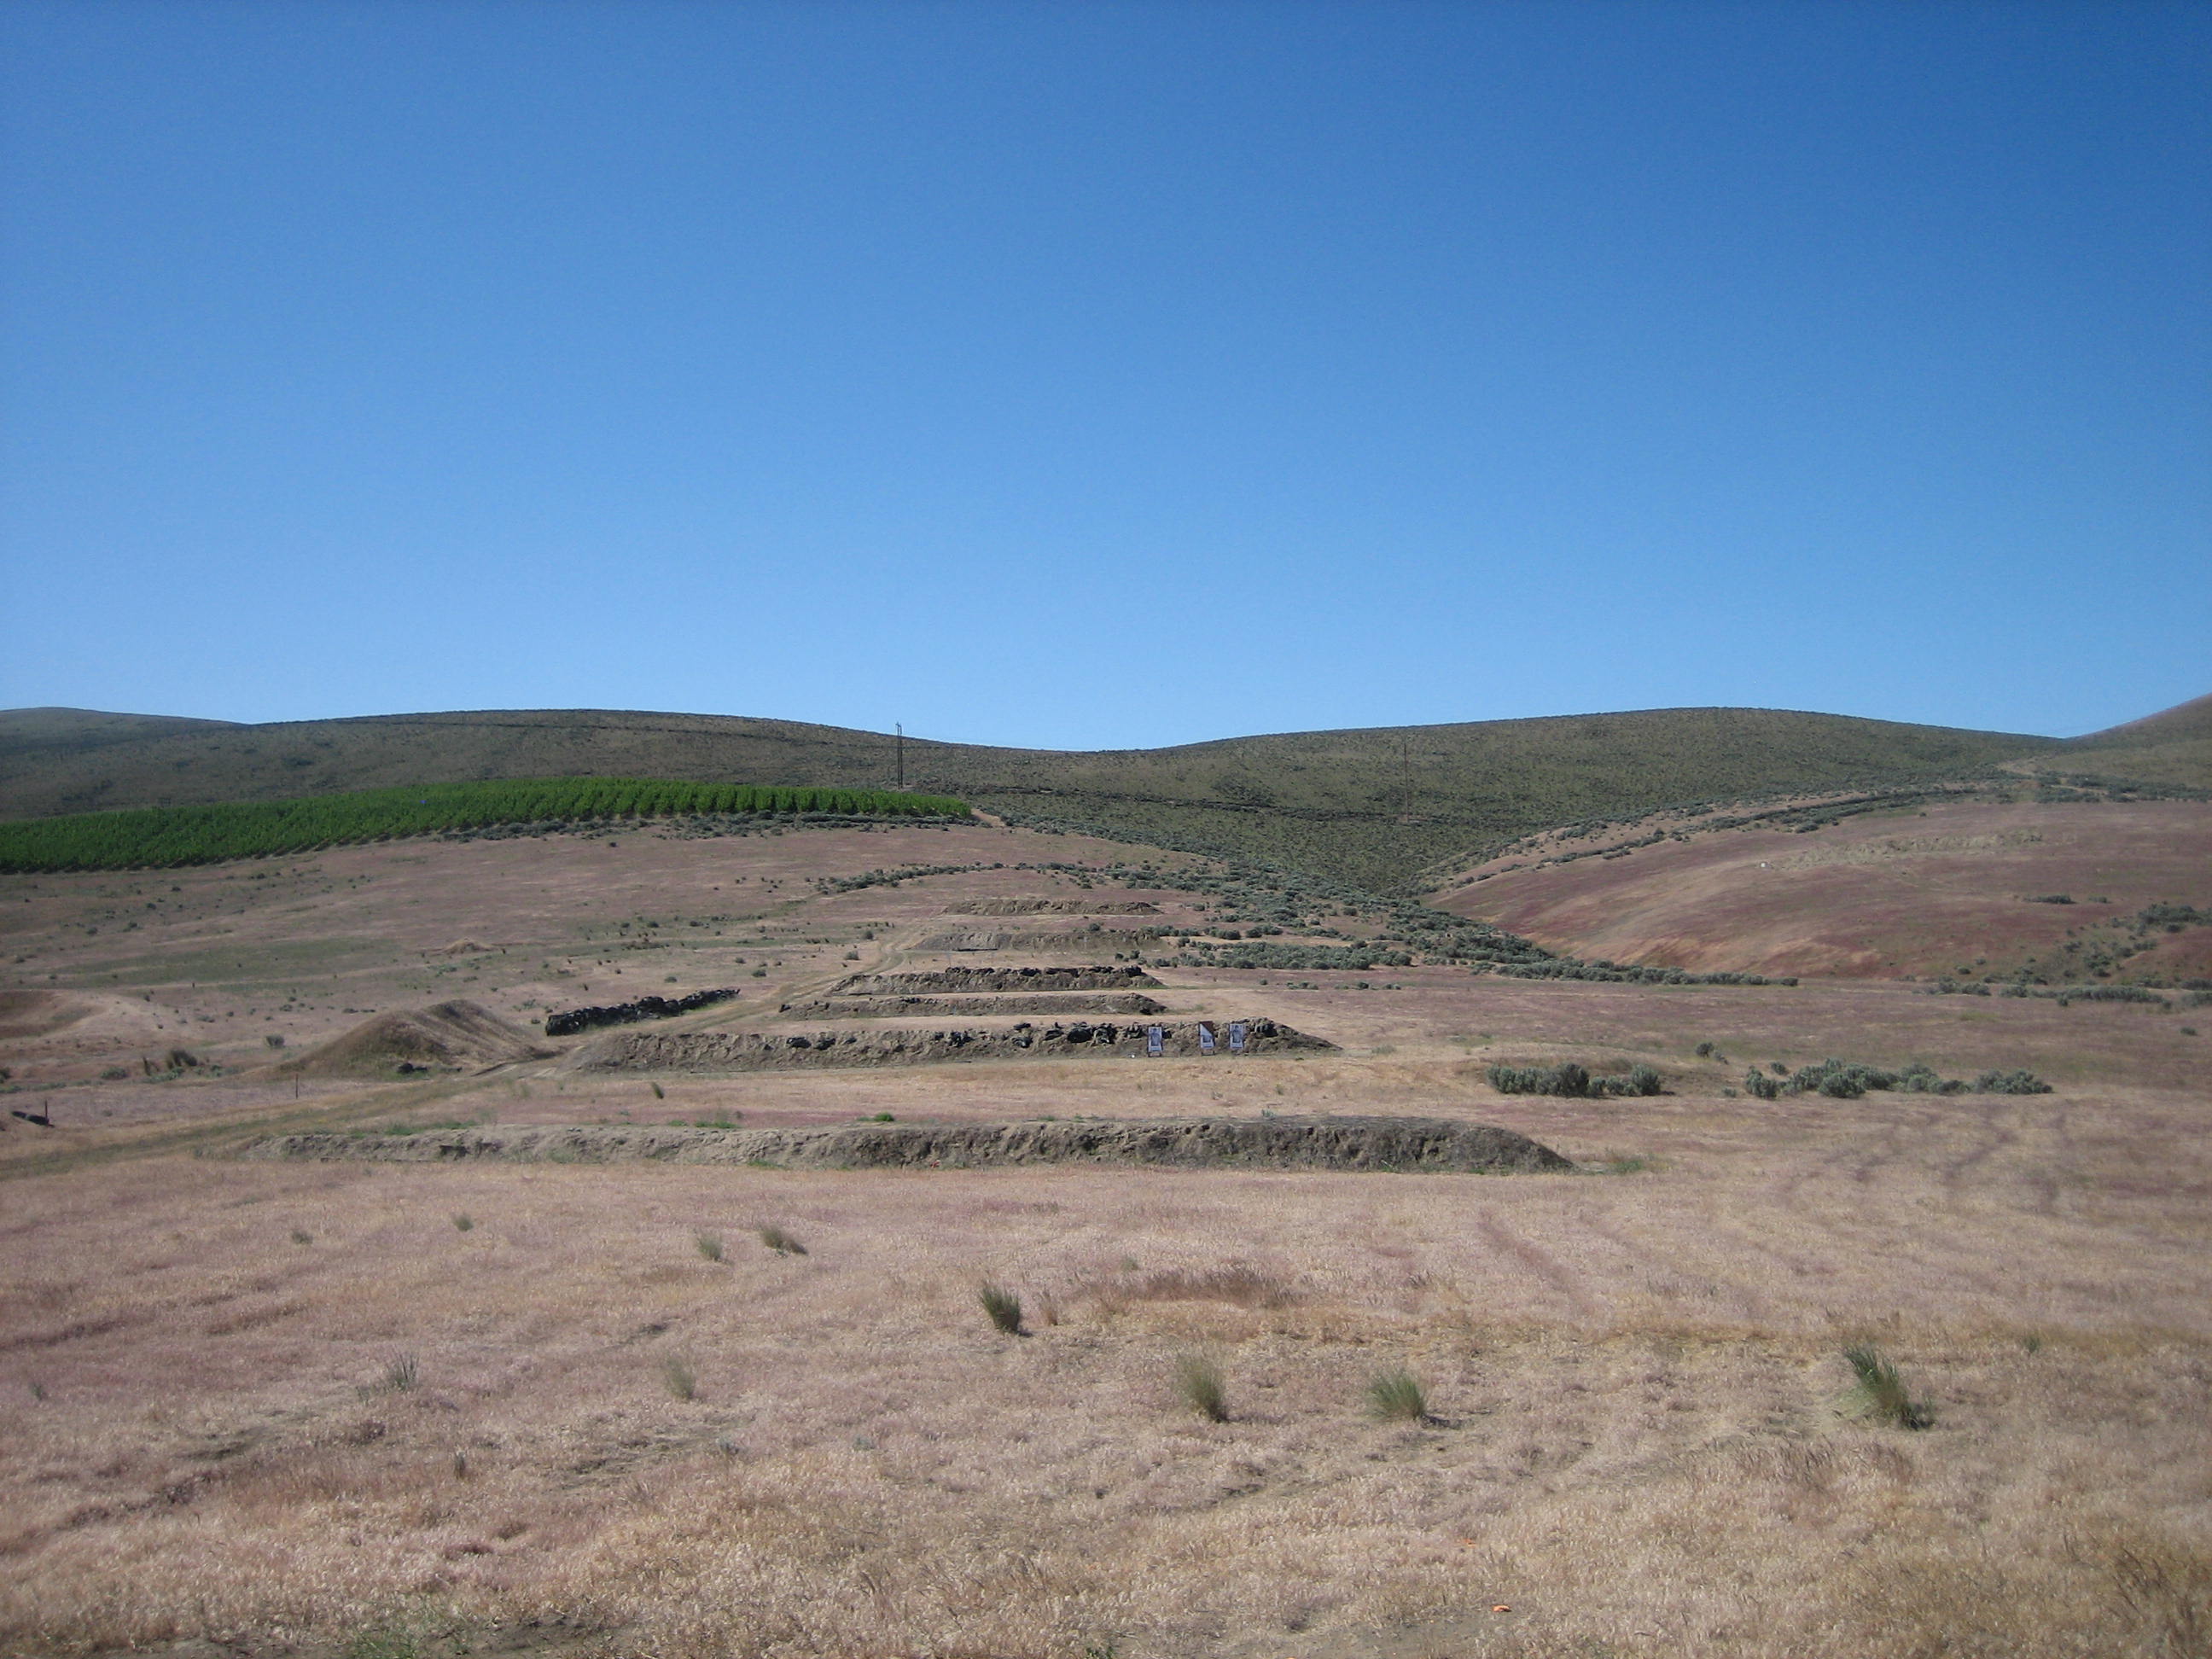
Without going into too many details, I can say that the way the course is taught has changed dramatically since Chris Costa and Travis Haley left Magpul Dynamics. Lots of stuff is thrown out and things have been simplified. Jon Canipe’s (our main carbine instructor) style of explaining and teaching stuff was precise and to the point, without any military hardcore yelling and suited everyone, except to one female student who joked about multiple repetitions of the f word. Caylen Wojcik, who teaches Precision Rifle and DMR classes, added a lot of interesting info on using carbines at longer distances. We successfully engaged a 12” plate at 450 yards located on a steep hill with non-magnified red dot sights. Both instructors, were super attentive and addressed course related questions in-depth offering their enormous knowledge.

At the end of each day, instructors ran a small competition that combined all the skills learned during that day. A friend of mine won the 1st day’s timed rifle shooting string from 3 positions: standing, kneeling and prone and got a new STR stock as a prize. I won the 2nd day’s timed competition drill (those IDPA drills helped a lot): 3 man size targets had to be engaged at the center of mass circle, any shots outside automatically meant disqualification. The twist was we had to use 3 mags with 5 rounds each, shooting the 1st target 1 time, the 2nd target 2 times, 3rd 3 times, again the 2th target 4 times and finally the 1st target 5 times. The prize included the STR stock and M3 sling (both Magpul products). The 3rd day’s mini competition was the most impressive one: 20 rounds on metal plate targets at various distances, whoever shoots them with least number of rounds wins. Jon himself showed it first. He used an Aimpoint T1 optic sight and engaged all 5 targets in a fast sequence with 1st round hits! That was very impressive, because he shot the same ammo as we did (55gr) and but didn’t practice with us that day. The competition was won by one of the students who took Caylen’s Precision Rifle class. With wind gusts up to 10mph that student repeated almost identically what Jon did just 5 minutes before and got a bunch of new model PMAGs an MS3 sling.

I’m still digesting tons of information we were taught and resting as 10 hour days in the hills of Yakima is not something I usually do on a regular basis. I definitely recommend this class and other ones to anyone who wants to learn AR fundamentals, push their skills to a new level or just simply refresh the existing ones. The Designated Marksman Rifle and Precision Rifle courses are on my list now.

Here are a few pictures:
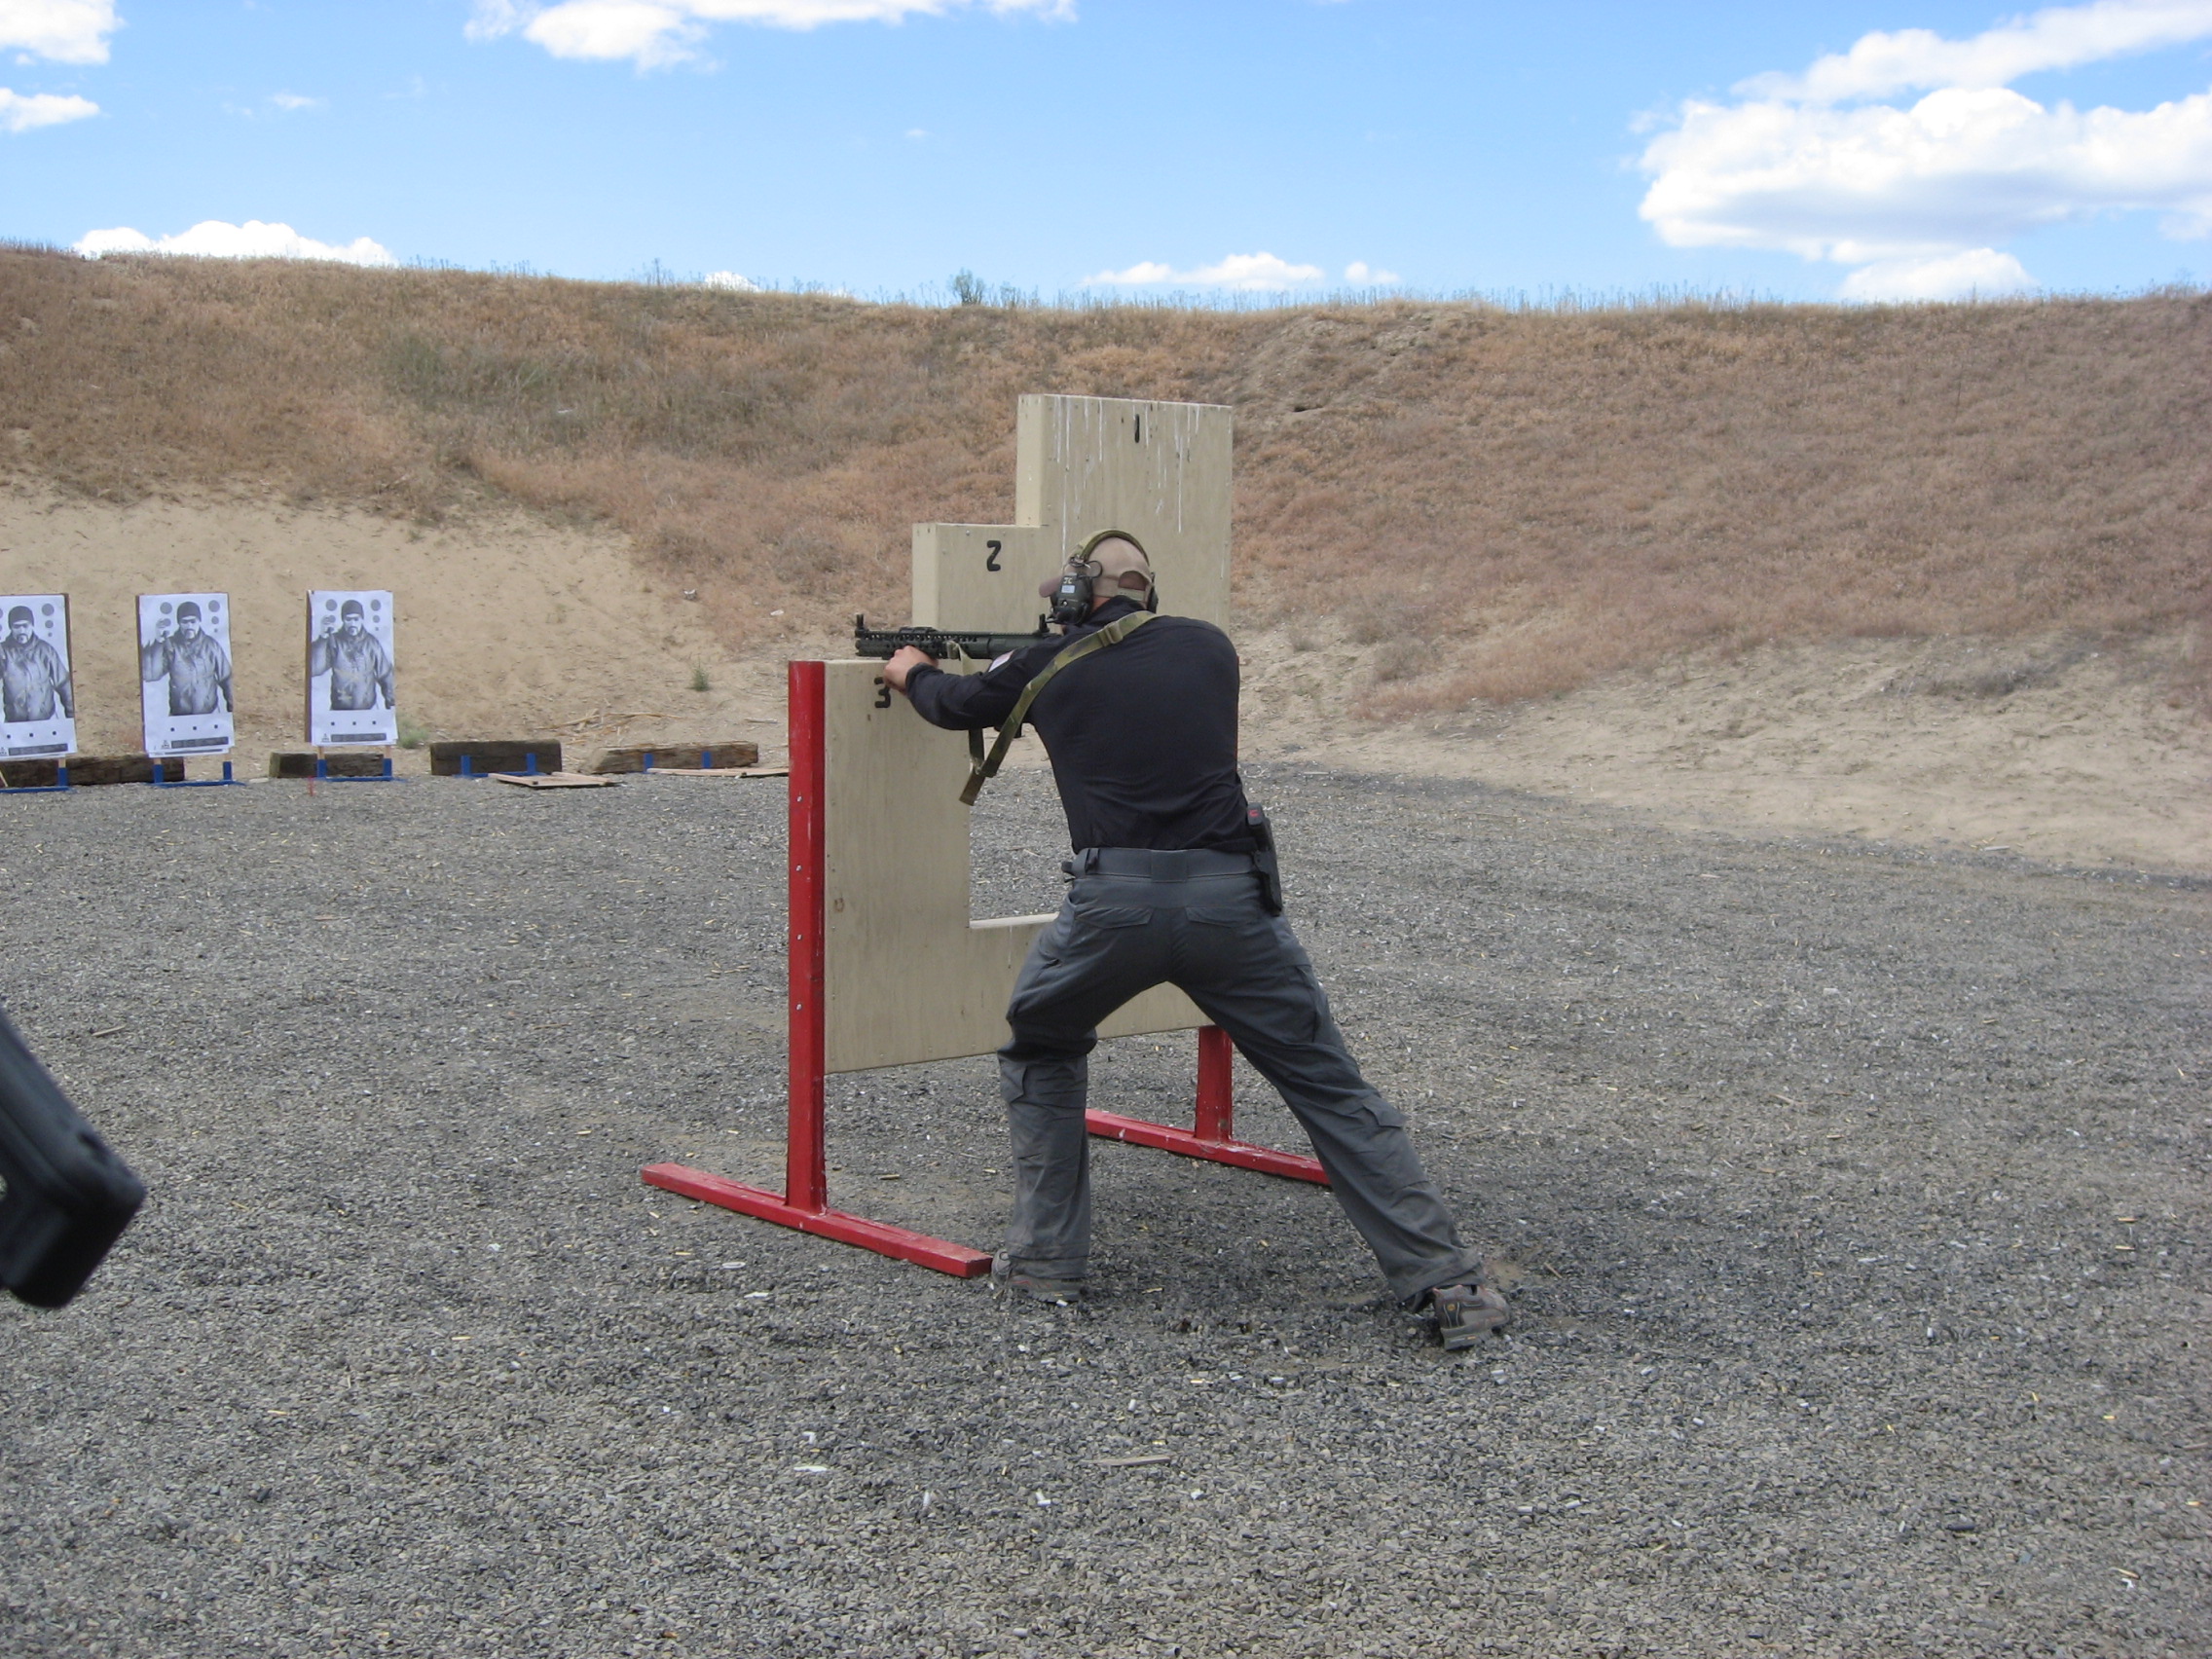
Jon is teaching engagements from behind a barricade, notice his “space” gun with the new slim profile Magpul BUIS:

Magpul_Carbine_1

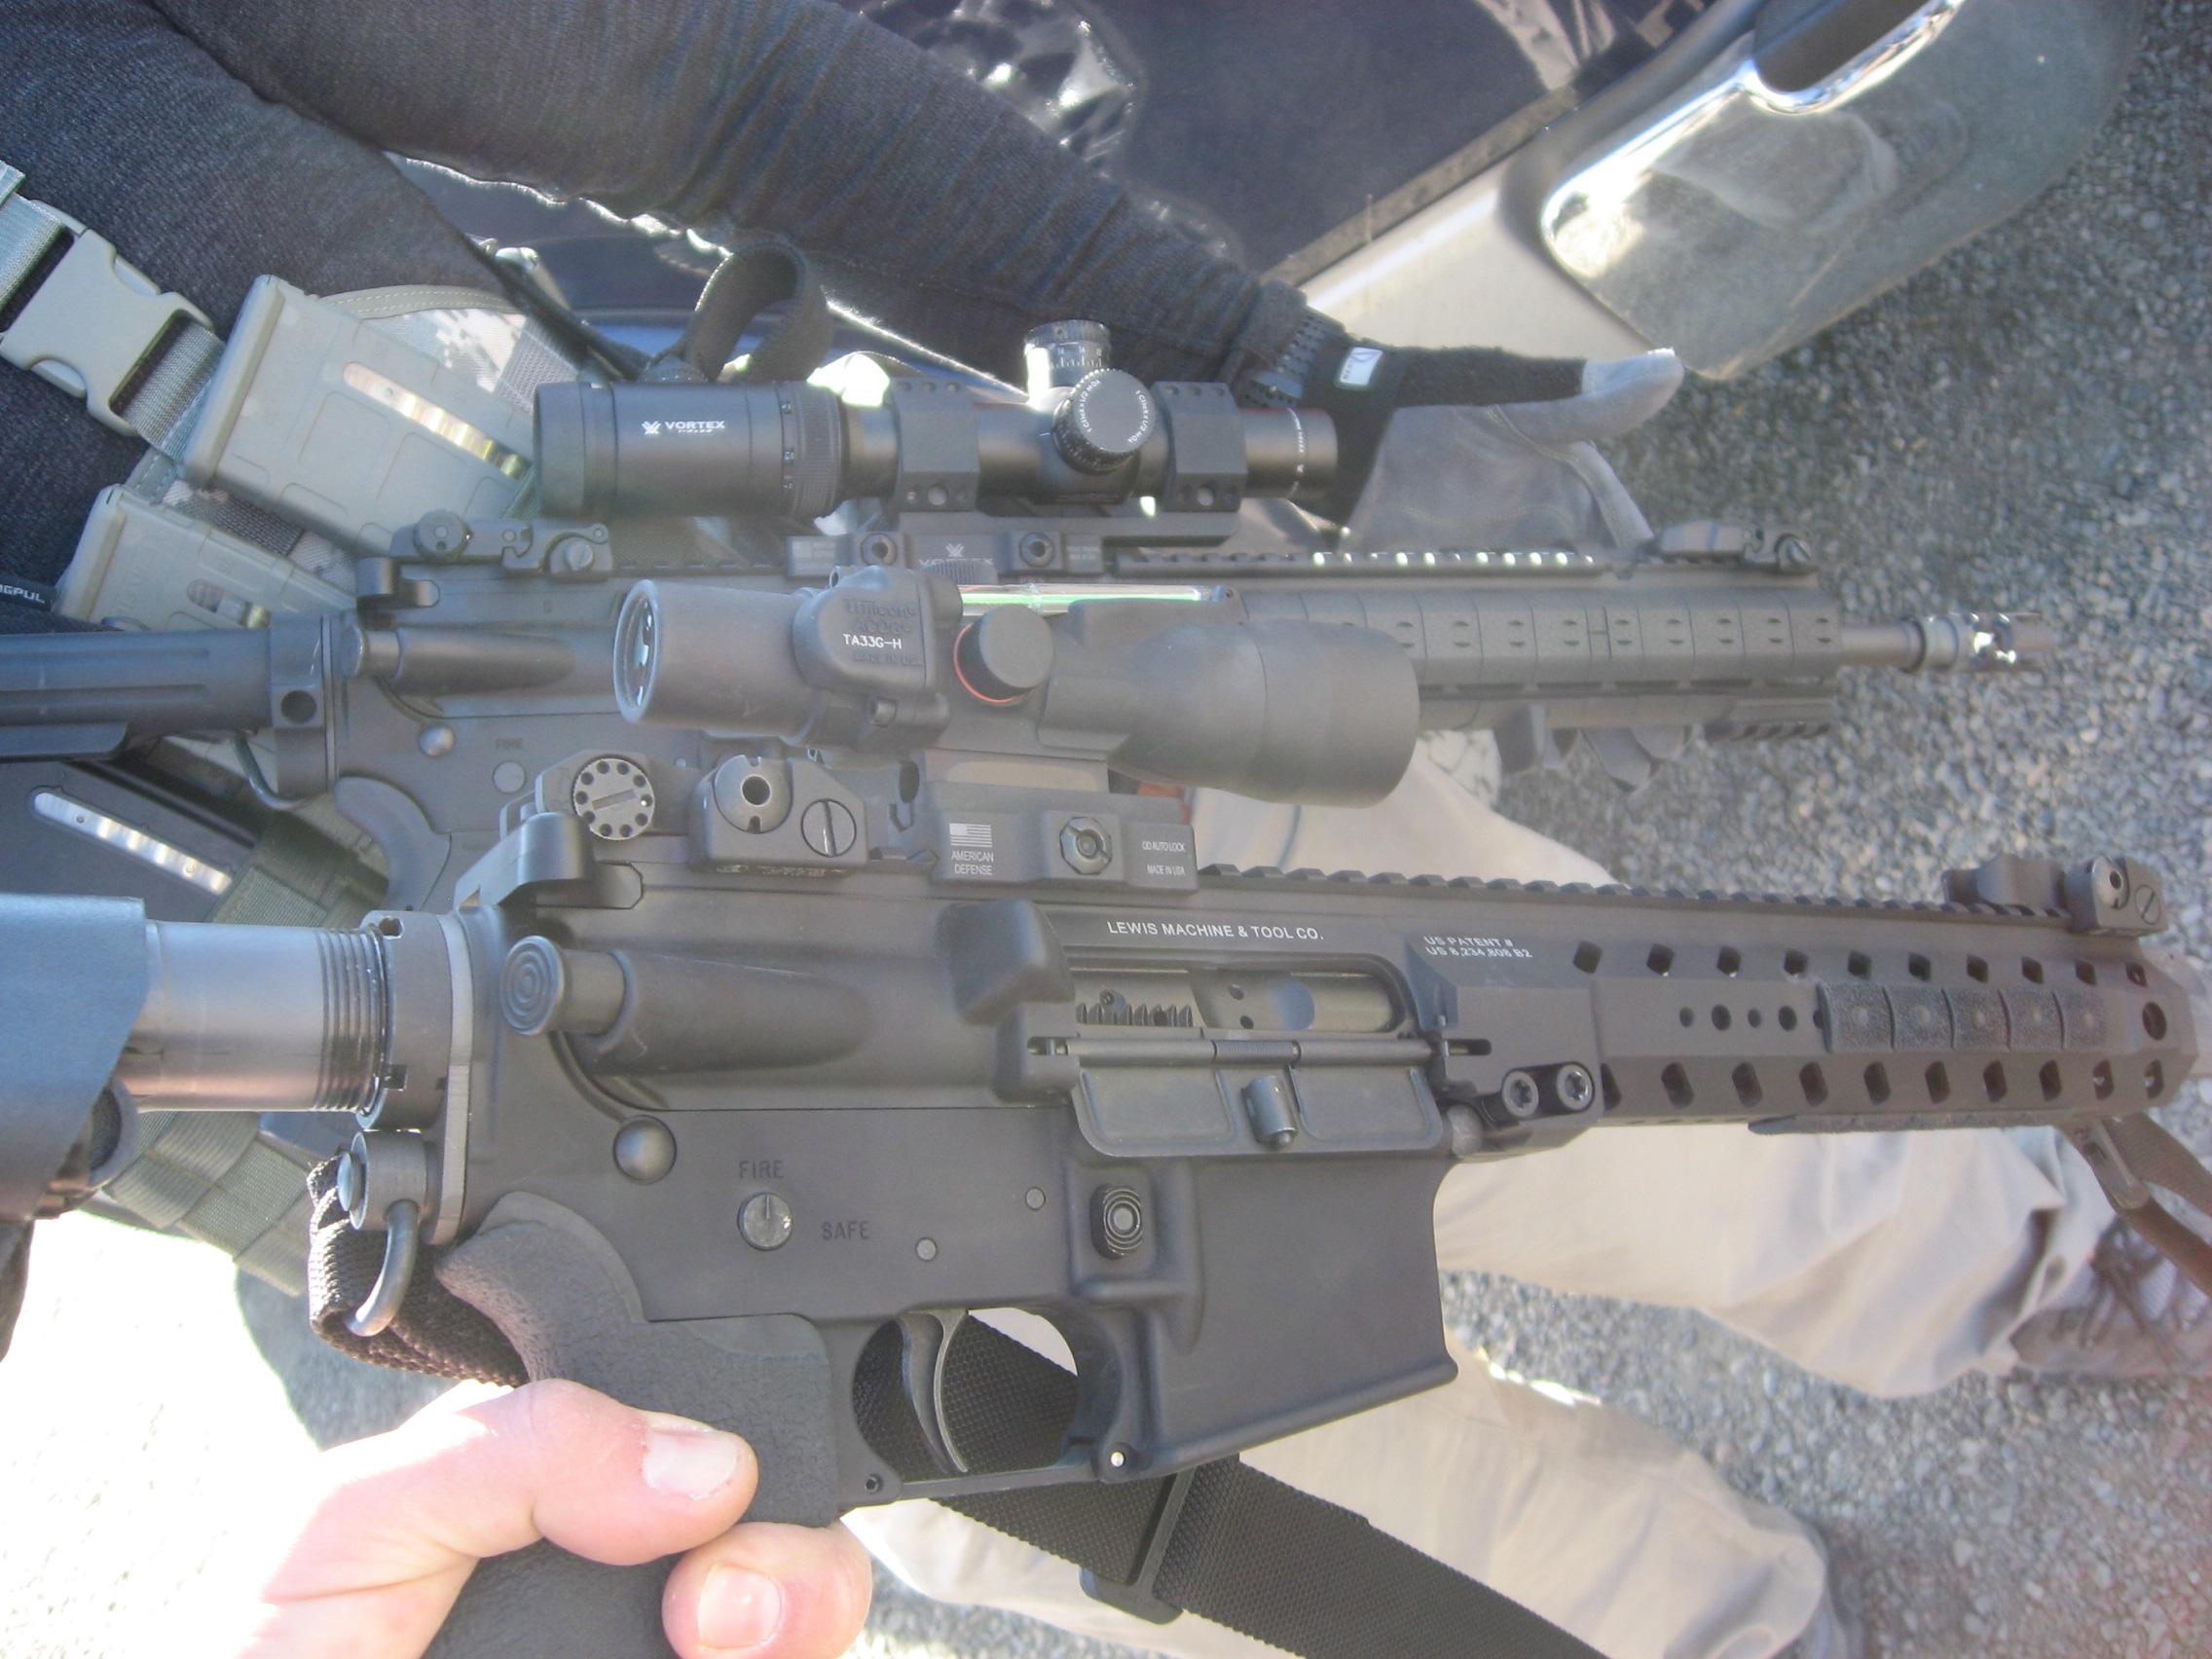
PWS MK114 and LMT AR – These bad boys were hitting steel at 450 yards

Magpul_Carbine_2

Mid Distance Range

Magpul_Carbine_3


  • Share on Tumblr

Gear Check – Water Purification

by Woodsbum

Mainly due to having had to pull out my water purification systems over the weekend, I decided to do a quick post on the different products that are out there that I like. Of course, like almost all subjects, there is a lot of opinion based around my preferences. This is posted and put out so that those that went to the gear check can have a reference for what we discussed.

My most used piece of water purification gear is my Katadyn Mini Ceramic Filter. I use this thing on almost every outing. Although it is slow to fill a canteen and even slower to fill a large bladder, it really is a great piece of gear. Every couple times I use it I clean off the ceramic filter. It doesn’t really go bad. It lasts longer than my gear breaking mind can comprehend. It truly is worth every penny.

Katadyn Mini Ceramic Filter

MSR also makes a filter called the SweetWater Microfilter. I have also used this filter and it does work well. It actually pumps out water faster than the Mini I mentioned above. The problem I see is that you have to replace the filter cartridges regularly. The O-ring seals also failed for me on the 3rd or 4th use. I found that you really have to keep the seals from getting dry or they crack and leak very easily. I keep my Katadyn in my truck 99% of the time and have had the same exact configuration of the filter for years without issue. Not trying to knock MSR’s product, but you need to compare them with others in the market to assure that you are getting the right filter for your needs before you purchase.

MSR Sweetwater Filter


I have also used several different types of straws. LifeStraw makes one that I have packed away for emergency purposes. It doesn’t last as long as the Katadyn, but it is really effective in purifying water. If you don’t mind replacing your filter and just want to drink out of a cup of muddy/murky water with an oversized straw, then this might be your choice.

Some people also like to use iodine tablets or bleach drops. Both can be effective and viable choices. Having been in the military and had to use both of those methods quite extensively I would suggest you not do this and save up for a good filter. The iodine tablets seems to give people a stomach ache over prolonged use (me for instance) and the bleach just seems wrong. Sometimes you can find the military surplus tablets at a cheap price as well. Here are the guidelines for using those:

In 1 quart of water, use:

  • One tablet for clear water

  • Two tablets for unclear water

  • 3 or 4 in Thailand, Okinawa, or Central America

You should also keep the cap loosely screwed on (not tightly) and shake it so that the threads get wet. You should then let it sit for 15 – 20 minutes, then take the cap off and let it sit for another 10 minutes or so.

My take on the tablets and drops is as such: Using chemicals to make water drinkable just seems to be like using perfume to avoid taking a shower. Ewww……

Another tried and true method is boiling your water. All you need to do is filter the water going into your pot with something like a scarf or shirt, put the pot over your fire or stove, and bring it to a full boil. You don’t need to boil it for 10 minutes or any such nonsense. Just a full boil is sufficient. You can then drink the water afterwards. I do use the method for cooking about 50% of the time, but for drinking it is not my favorite method. Simply put, I don’t want to drink very hot water on a very hot day. I want something nice and cool.

Not matter what method of purification you choose, make sure that it will work for you and fits within your needs. Spending money just to spend money is never advisable, unless you are buying guns or custom knives…..  Don’t tell my wife I said that last part.

  • Share on Tumblr