Tag Archives: diy

First Rawhide Project

by Woodsbum

A friend of mine gave me an osage orange walking stick that was in serious need of a handle and a way to protect the tip from damage. For those that are not familiar with osage orange, it is a tree that grows in places like Texas and is a very hard wood with thorns that will rip you up. It also produces what we used to call horse apples or hedge apples. The osage orange is also a prized wood for bow construction. In places where it grows, you will also see it used quite often for fence posts since it doesn’t shrink or rot very easily.

Since I had a blank slate from which to work from, I decided to try my hand at using rawhide. I have never used it before and am quite clueless about the process other than soaking, stretching and sewing….  That is about the detail and extent of the knowledge I had about it so I set out in search of some instruction. Library you ask? Nope. Elderly gentleman that looks like Davey Crockett? Nope again. Local books store, Backwoodsman magazine, or some obscure Foxfire volume? No way…..  Youtube!

So step 1 in the process was to find rawhide and some nice looking thread to use to sew it all up. On my way home last night the whole Interstate was actually closed down, thus forcing me to find an alternate route home. This made me think that I was suddenly destined to get my walking stick finished and I took the opportunity to stop by Tandy Leather. $45 later, I was back in traffic and slowly crawling home.

The next step is to make your template/pattern and cut out your rawhide so you can soak it…..  I bypassed the pattern thing and just cut off a few chunks to soak. After a couple hours sitting in water it was soft enough to work. At this point I eyeballed the sizes and did some chopping.

Soaked and ready for trimming

Soaked and ready for trimming

Once I had a rough guess as to what shape and size I needed everything and it was all chopped accordingly, it was time to punch some holes and get ready for sewing.

Holes poked

Holes poked

I found that rawhide is so forgiving due to its stretchy nature, it is actually quite annoying to work with at times. It gets slimy, pulls and stretches at the wrong times, and is difficult to judge the shrinkage and contraction as it dries. It really is quite fun.

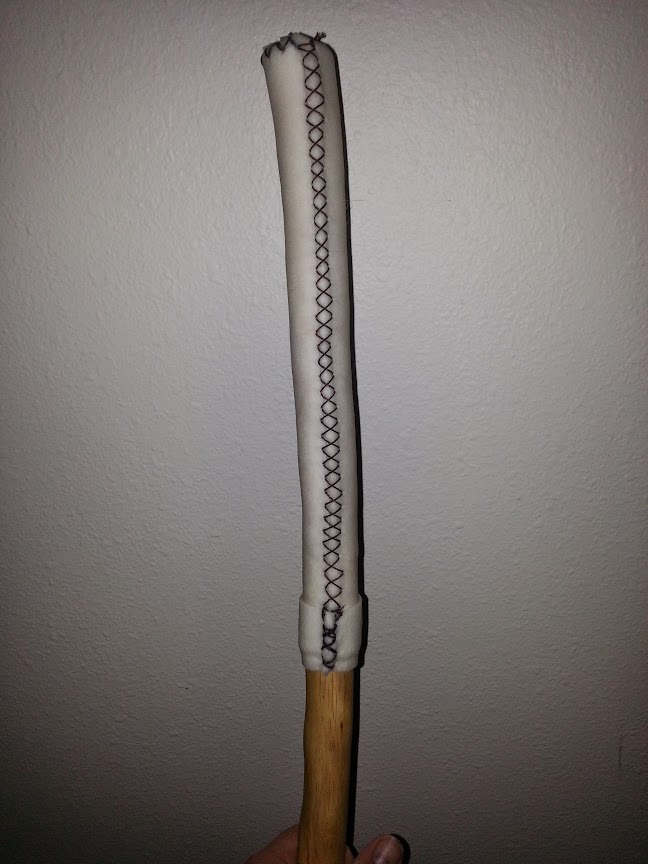
Once the holes are poked you just start stitching it up. I used a cross stitch pattern that I have seen several sheathmakers use for rawhide.

Sewing it up

Sewing it up

Rawhide is much easier to work with than leather. There seems to be an inherent allowance for looser tolerances with rawhide than people allow with leather. I like this as well.

Once everything was all stitched up it looked like this.

All stitched up

All stitched up

One thing I need to figure out is how to tie off the ends of the thread. I just tied and cut for now, but I have a feeling that it will eventually pull loose and I will end up having to redo it. To help this not happen with the handle portion I did a sort of end cap thing. Once I figure out how to professionally tie it off, I will go back and do my version of professionally tying it off. My version is much goofier looking, but will work.

Handle section

Handle section

I will also research how to dye rawhide and go back later to make it a little less……  Uh…  Rawhide like? Not sure how to describe it, but it just kind of glows at this point.

For anyone that starts off on one of these projects, I suggest you do some Youtube research and then look at what some professional leatherworkers build. Contrasting the amateurs online with professional pieces helped to make me understand the idea of crossstitching and the sort.

Good luck to anyone that gives it a try. It is really quite easy and isn’t as big of a hassle as I originally thought it would be.

  • Share on Tumblr

Magpul Stock Spacer Sling Stud Install – Mossberg

by Woodsbum

I was lazy and only got out two posts for last week. I think today’s post might make up for it. GunGuy has a Mossberg 590 that he put a Magpul forgrip and stock on. The problem is that the spacers don’t have enough “meat” in the plastic to allow for installing a sling stud for hooking up a sling. That is where I was “invoked” (yes, I used the word ‘invoked’ for it is not often that someone gets the chance to use such an AWESOME word).

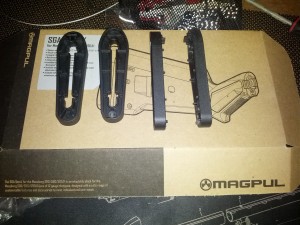
Here is the piece that I am talking about.

Magpul Stock Spacers

Magpul Stock Spacers

So after much deliberation, planning, plotting, scheming, drinking, and gazing intently into the eyes of this plastic piece I formulated a plan.

Step 1:

Mix your rum with your RC to begin the process. No project is truly kicked off until your beverage of choice is within arms reach.

Captain Morgan

The Good Captain

Mixed with:

RC

RC

Step 2:

I found the correct size bit and drilled the initial hole for the stud. Now remember that the hole you drill will end up only making a channel in the “guts” of the plastic. If you look closely, you can see how the bit goes through the top part, but the plastic isn’t solid internally. It is hollowed out to save on weight, money, costs, or because “plastic trees” are endangered. At any rate, you really have to make sure that the spacer is held firmly while you drill so that it doesn’t move sideways and mess up your hole.

Drilling hole

Drilling hole

Step 3:

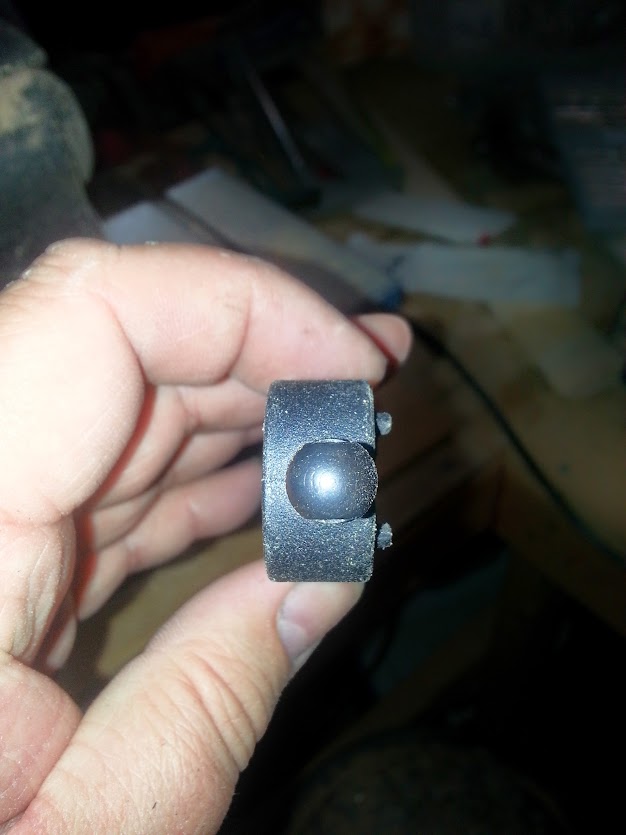
Once you get the main hole drilled, you need to drill out the channel for the screw and a couple of other holes for your epoxy to set in. This will keep your epoxy from popping out of the hole as if you were only making a casting of the inside of the spacer. Look closely and you will see a hole on both sides as well as few additional channels I carved to give the epoxy some good footing.

Channels Dremel tooled out

Channels Dremel tooled out

Step 4:

I then installed the stud so that the threads tapped the plastic piece. I also pushed down really hard on the stud’s threads that were showing as it went into the spacer so that the channel I carved with my Dremel was actually threaded as well. Here is a picture of it all lined up and ready for the next step.

Ready for epoxy

Ready for epoxy

Step 5:

At this point I plugged the holes that I had drilled so that the epoxy would not run out and drip onto my work area. I also wanted to make sure that it was well contained within those holes that I had drilled for added strength.

Holes plugged

Holes plugged

Step 6:

In deciding upon an epoxy for this project, I looked at several. I even tested several. For whatever scientific reason, JB Weld was the best choice. It didn’t adhere to the plastic as well as other choices, but it really stuck to the threads of all my testing materials I worked with. It came down to a compromise of metal adherence versus plastic adhesion. To help with the plastic adhesion, I drilled those holes and forced the epoxy into those holes to work as a sort of pin. My other thoughts were to drill around the screw and use tie wire to essentially redneck it into staying, then epoxy it. I was afraid that this method would compromise the integrity of the plastic spacer too much and opted to use this method instead.

Epoxy time

Epoxy time

Step 7:

I used finishing nails to force the epoxy into the holes and channels that I had carved into the plastic with a Dremel tool. After an hour, I did go in and remove the putty I used on the back side of the stud so that I could check the penetration I got with the epoxy. It filled the hole well and seemed to be setting up as expected. Here it is after an hour of drying in my garage. I told GunGuy to wait for a couple days before he installs it and tries it out, just in case the epoxy somehow was slow drying due to its age. I really think it will be fine as of tonight, but don’t tell him that.

Finished and drying

Finished and drying

The rest of this project involved a couple more glasses of Capt and RC, a horrible movie that I can’t even remember now, and some pizza from Papa Johns. Other than that, I think this project is a wrap!

  • Share on Tumblr

Knife Handles- MP Seax and Wolf Creek Forge Patch Knife

by Woodsbum

I figured I would take the time to explain the whole process involved with putting a handle on a full tang knife. Even though it seems like a very scary proposition, it is MUCH easier than one would believe.

The first couple steps in the process involve getting the right materials collected. You will need:

  1. Some sort of epoxy to glue the scales down.
  2. A couple of pins for the handle.
  3. Use of a drill press.
  4. Some wood working clamps of some sort.
  5. A belt sander.
  6. A couple of fine tooth files.

The first step with putting a handle one a knife blank deals with cleaning up the tang and making sure the scales are squared up enough to drill with your press. I used some sand paper to clean up the tang and get rid of all the black scaling left over after the forging process. Once I got it down to a decent metal, I then scored up the tang a bit with a grinder (my choice and not needed) so that there was a rougher texture for the epoxy to adhere.

Then, I lined everything up and drilled the holes for the pins. The secret that I found with regard to getting straight and properly drilled holes was through the use of good scales to begin with. Each time I used a set of wood scales that were not squared up well, the holes would be off enough to leave a huge gap between the scales and the tang. When I finally used decent scales I got a good fit. Only went through a couple chunks of wood before I figured that out.

Next, contour the front of the scales where they will meet the blade. If you do not, you will have to sand right next to the blade and potentially remove some of the dark scale left after forging. If you want to keep this look, it will not last when sandpaper hits it. Please look at how I removed some of the dark coloring on this Wolf Creek Forge because I didn’t contour the handles before I epoxied them on.
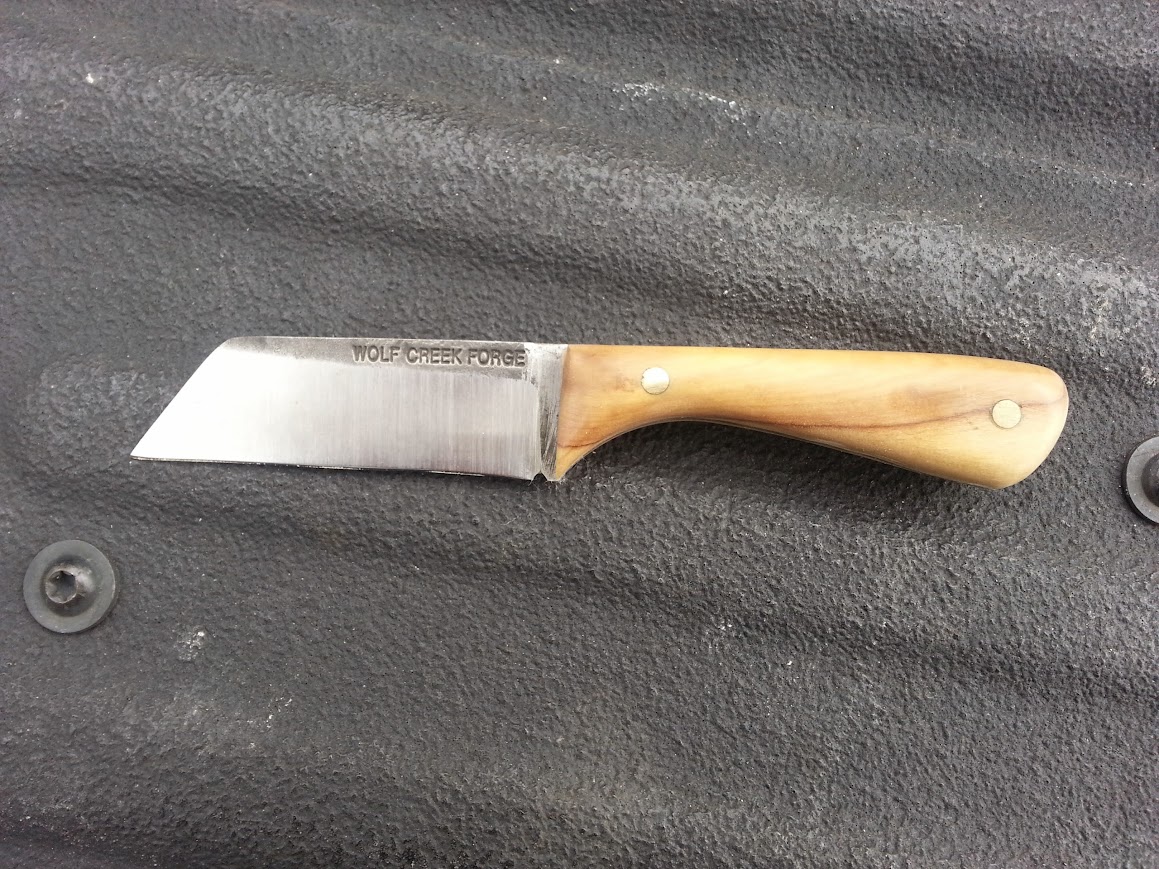
Wolf Creek Forge with rogue sanding marks

Wolf Creek Forge with rogue sanding marks

When you get your holes drilled, the edges that will meet the blade are contoured correctly and all looks good, bust out your epoxy and get things glued together. I put the pins in during the epoxy/glue process so that the pins get permanently attached with epoxy the same time that scales get glued as well. Once all is glued up, grab some clamps and squeeze it all together. don’t worry if you get some epoxy that squishes out the sides. That will come off during the sanding phase. Do clean up the part next to the blade where you won’t be sanding, however.

MP Seax getting scales

MP Seax getting scales

Here it is from a different angle. Notice how there is a thin line of epoxy that has squeezed out along the line between the scales and the tang.

MP Seax all glued up

MP Seax all glued up

After the epoxy dries you can remove the clamps, saw off the excess pin stock and start to shaping the handle. Now I did most of the shaping through the use of a belt sander. If I had a band saw I would have used that to remove any excess handle material. Since I don’t I just went to town with the sander and let the dust fly.

When you get to the point where you are trying to take the pins down a bit you can use a fine tooth file and then smooth things out with sandpaper afterwards. It worked quite well and didn’t leave any major marks on anything. I did learn something about the use of pins, however. Matt from MP knives showed some pictures of his process and it seemed to make sense. He peens the ends of the pin so that it works like a rivet to hold the handles on better. If you look at this picture you can see a touch of a gap around the pins on this knife.

MP Seax

MP Seax

If I would have known about the peening thing, it would have been a much cleaner handling job.

Here are a couple more pictures of the handle after I was done with it.

MP Seax

MP Seax with a touch of epoxy still on the tang.

MP Seax with a good look at the contours

MP Seax with a good look at the contours

As you can see, I did a lot of contour work on this to make it really fit the hand for those long hours of bushcrafting. This bad boy ended up being the most comfortable feather/fuzz stick maker I have ever used. The contours just made holding the blade almost effortless and like everything Matt makes, it is incredible at cutting. This baby is an absolute dream.

Now other than the peening of the pins and ensuring that the front of the handle scales are contoured before they are glued into place, these two projects were actually quite successful. I was quite pleased as was GunGuy, who’s Seax is pictured in this post. My last bit of advice is to use the long drying epoxy and not the 5 minute stuff. The quick drying stuff seems to be more brittle and I had to reglue the handle on my Wolf Creek four times until I was smart enough to try a longer drying epoxy. The scales would crack loose during the sanding if it chattered at all. This was not a problem with the long drying time epoxy.

Now that you have a good idea of how this process is done go get yourself a quality knife blank and get to playing around. I love my knives that the makers fully built, but somehow I have a soft spot for those that I handled myself.

Go get dirty!!!!

  • Share on Tumblr

Oilcloth Tarp – Fail (Take 1)

by Woodsbum

Ok, folks. I decided that I was going to make myself a nice oilcloth tarp. Not because I NEED one, but because I wanted one due to the supreme COOL factor of using one. I know that it would be heavy and completely impractical. Really, it doesn’t matter. Being able to show up and put up an oilcloth tarp would just make me incredibly happy.

Now on to the story…….

My first step was to read several forum posts and blogs about how to make oilcloth. Most of the tutorials involved either boiling some chemicals with wax or using some sort of linseed oil. Both methods talked about the destruction of the fibers in the cloth after a period of time. Then I found a method that looked like it works quite well, doesn’t destroy the fabric, and seemed to be very easy. I opted for this method.

With this tutorial printed and embedded into my brain, I went shopping.

I went to Harbor Freight and picked up one of these:

Cavas Dropcloth

Canvas Dropcloth

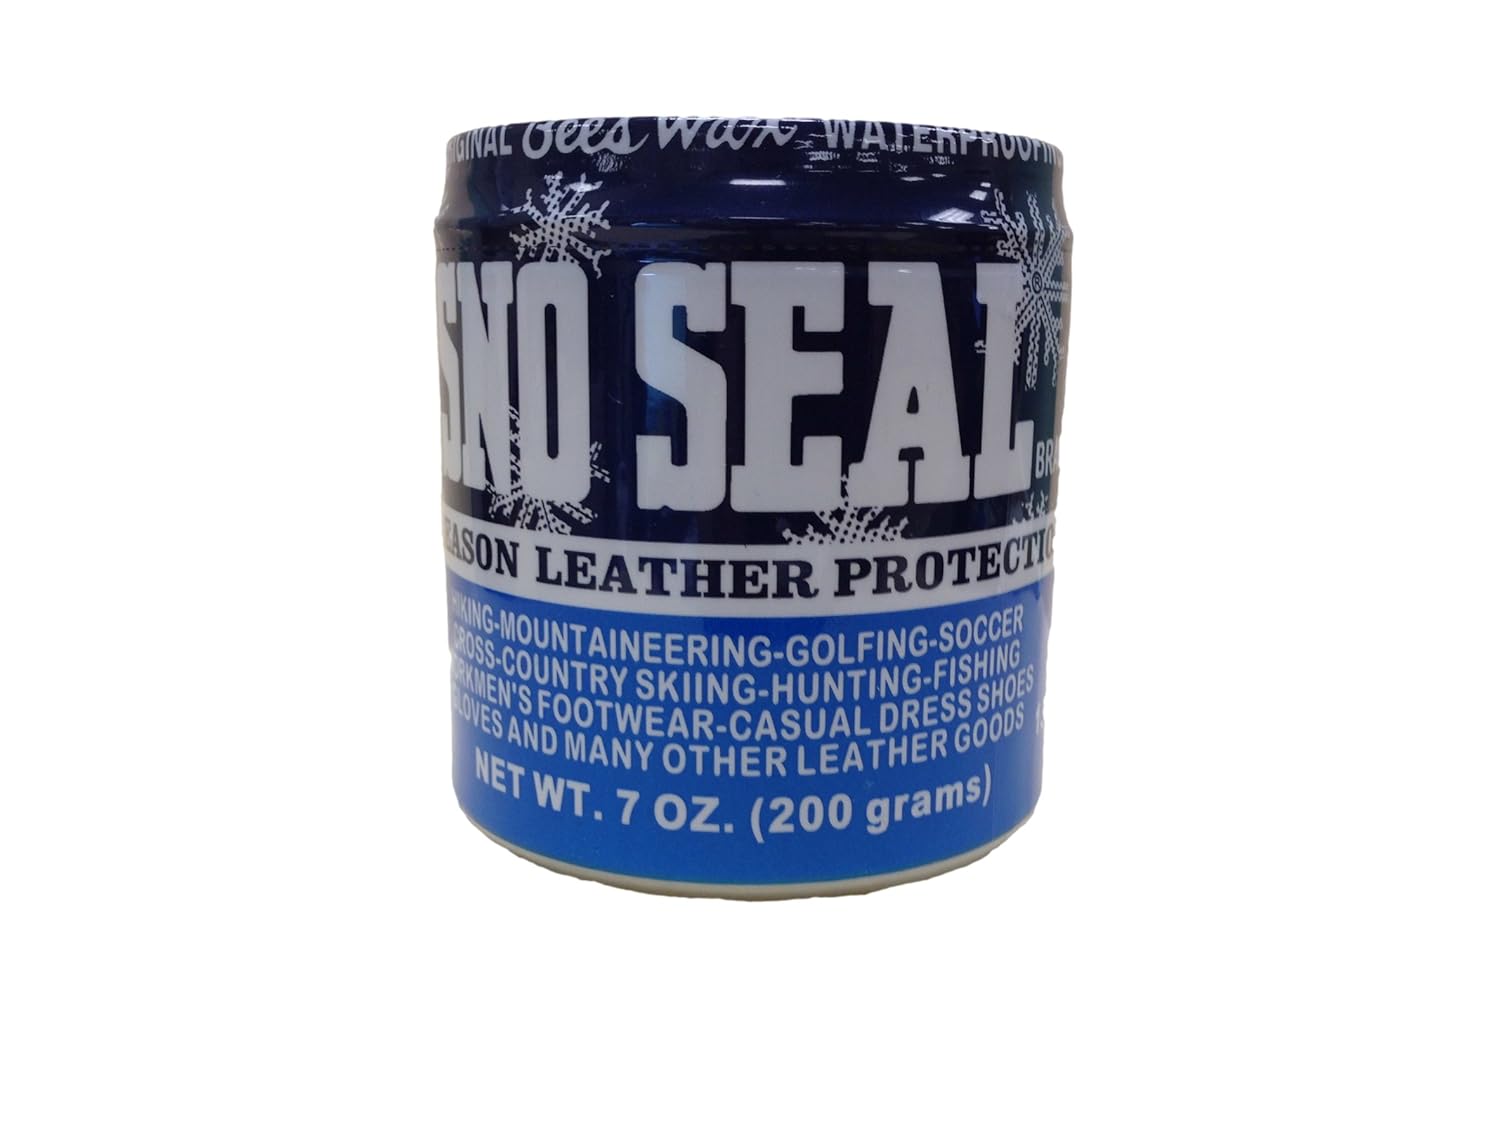
I also picked up several (5) jars of Sno-Seal:

Sno-Seal

Sno-Seal

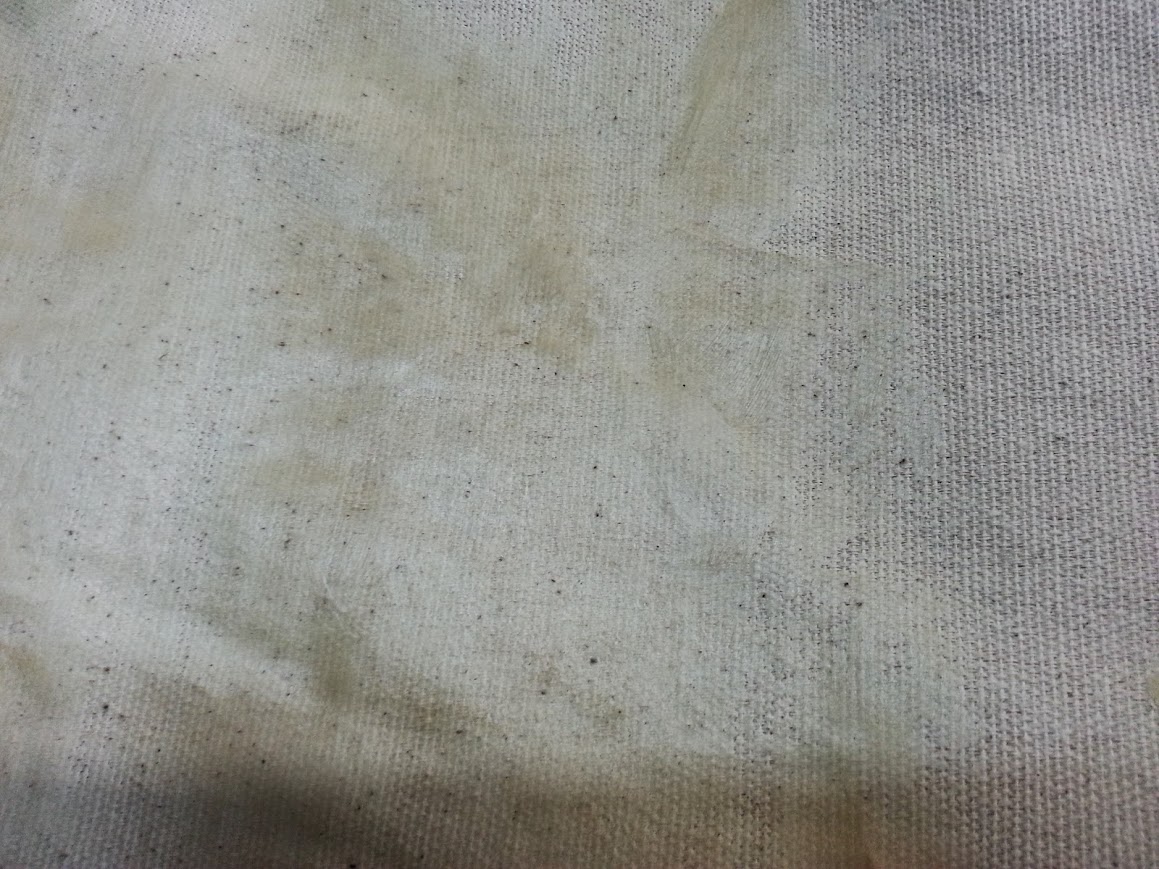
The first real step was to smear Sno-Seal all over the fabric like this:

Smeared Sno-Seal

Smeared Sno-Seal

That was easy enough, so I used up about 2 (2 1/2) jars of the paste to just coat the heck out of the canvas. Being a tough and manly, man I didn’t care about wearing gloves……  (Use gloves, people) 

After scraping all the waxy substance off my hands, I then started to heat up the fabric and melt the Sno-Seal into the cloth.

Melting the Sno-Seal

Melting the Sno-Seal

It was at this point that I discovered a few things:

  1. Wash and dry the fabric first to close up the fibers.
  2. Sno-Seal melts and drips everywhere.
  3. You have to use A LOT of Sno-Seal for this method.
  4. It doesn’t work if you are not aware of 1-3.
  5. Wear gloves when smearing.

Needless to say, I don’t have an oilcloth tarp at this time. I will need to start my search for a better method in addition to taking the tarp to a laundry mat in the middle of the night to wash out the Sno-Seal, close up the fibers, and fix my mess. When my wife saw the failed attempt, she promptly told me that I was not going to be able to use our household washing facilities unless I wanted to get beat severely. I think this attempt at oilcloth making has beat me enough.

Thank you for reading through this and I will post up my next attempt. Hopefully it goes much better than this one, is less messy, and adds to the sheer awesomeness of my bushcrafting gear.

  • Share on Tumblr