
by Woodsbum
I was lazy and only got out two posts for last week. I think today’s post might make up for it. GunGuy has a Mossberg 590 that he put a Magpul forgrip and stock on. The problem is that the spacers don’t have enough “meat” in the plastic to allow for installing a sling stud for hooking up a sling. That is where I was “invoked” (yes, I used the word ‘invoked’ for it is not often that someone gets the chance to use such an AWESOME word).
Here is the piece that I am talking about.
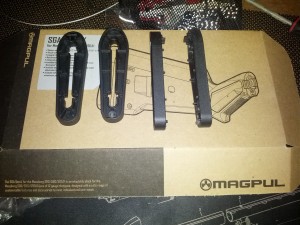
Magpul Stock Spacers
Step 1:
Mix your rum with your RC to begin the process. No project is truly kicked off until your beverage of choice is within arms reach.

The Good Captain
Mixed with:

RC
Step 2:
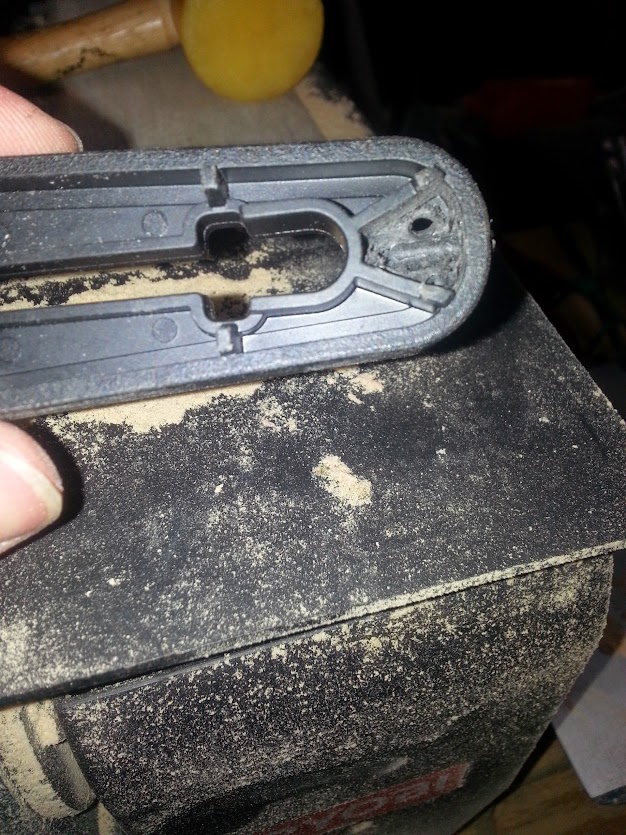
I found the correct size bit and drilled the initial hole for the stud. Now remember that the hole you drill will end up only making a channel in the “guts” of the plastic. If you look closely, you can see how the bit goes through the top part, but the plastic isn’t solid internally. It is hollowed out to save on weight, money, costs, or because “plastic trees” are endangered. At any rate, you really have to make sure that the spacer is held firmly while you drill so that it doesn’t move sideways and mess up your hole.

Drilling hole
Step 3:
Once you get the main hole drilled, you need to drill out the channel for the screw and a couple of other holes for your epoxy to set in. This will keep your epoxy from popping out of the hole as if you were only making a casting of the inside of the spacer. Look closely and you will see a hole on both sides as well as few additional channels I carved to give the epoxy some good footing.
Channels Dremel tooled out
I then installed the stud so that the threads tapped the plastic piece. I also pushed down really hard on the stud’s threads that were showing as it went into the spacer so that the channel I carved with my Dremel was actually threaded as well. Here is a picture of it all lined up and ready for the next step.
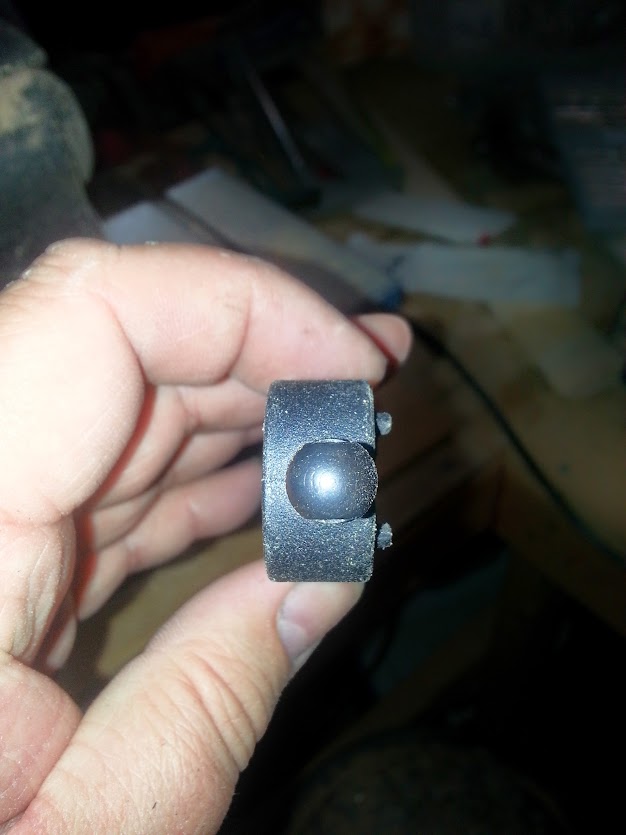
Ready for epoxy
Step 5:
At this point I plugged the holes that I had drilled so that the epoxy would not run out and drip onto my work area. I also wanted to make sure that it was well contained within those holes that I had drilled for added strength.
Holes plugged
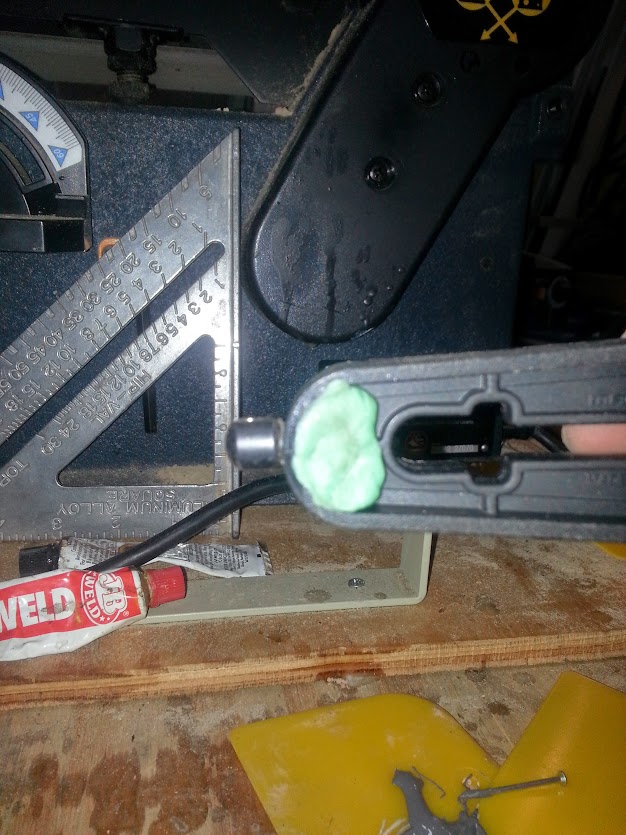
In deciding upon an epoxy for this project, I looked at several. I even tested several. For whatever scientific reason, JB Weld was the best choice. It didn’t adhere to the plastic as well as other choices, but it really stuck to the threads of all my testing materials I worked with. It came down to a compromise of metal adherence versus plastic adhesion. To help with the plastic adhesion, I drilled those holes and forced the epoxy into those holes to work as a sort of pin. My other thoughts were to drill around the screw and use tie wire to essentially redneck it into staying, then epoxy it. I was afraid that this method would compromise the integrity of the plastic spacer too much and opted to use this method instead.

Epoxy time
I used finishing nails to force the epoxy into the holes and channels that I had carved into the plastic with a Dremel tool. After an hour, I did go in and remove the putty I used on the back side of the stud so that I could check the penetration I got with the epoxy. It filled the hole well and seemed to be setting up as expected. Here it is after an hour of drying in my garage. I told GunGuy to wait for a couple days before he installs it and tries it out, just in case the epoxy somehow was slow drying due to its age. I really think it will be fine as of tonight, but don’t tell him that.

Finished and drying
The rest of this project involved a couple more glasses of Capt and RC, a horrible movie that I can’t even remember now, and some pizza from Papa Johns. Other than that, I think this project is a wrap!
