by Woodsbum
This is the second installment of my Body Armor series. Body Armor – Part 1 can be found here.
Body armor is a very odd thing for most civilians to have. There is even legislation presented to keep civilians from possessing any sort of armor. I find this quite disturbing considering the world that has been created for us to live in. On the weekends, I work as a bouncer at a bar and I am also a hunter’s education instructor. Both these activities present me with the distinct possibility of physical injury either at the hands of a disgruntled drunk (or violent socialist Canadian race baiter like last weekend – long story) or new shooter that just doesn’t have the motor skills to be completely safe. Either way body armor is a great way to ensure I at least am taking precautions against injury or death.
Finding the right body armor to fit your needs is difficult. As I presented in my first installment of the series, you need to find the right armor with the right fit at the right price. Setting up my plate armor was a very expensive process, but I did not want to spend that much on soft armor. Ultimately, my main criteria was as follows:
- Must be concealable. I already have an outer wear body armor that is big, bulky and not that easy to hide. This armor needed to be lightweight and very easy to be overlooked in a crowd.
- Was available at a reasonable price. I already have over $750 in my plate armor setup with all the pouches and accessories. This needed to be cheap and complete upon receipt.
- Was not bulk in any fashion. Because I wanted something so concealable and hard to detect, all but the very expensive sets of Level IIIa armor were off the table. Level II seemed to be my best bet although it doesn’t stop all the pistol calibers. When thinking about it I didn’t think that the lack of coverage was worth the extra bulk and lack of concealment.
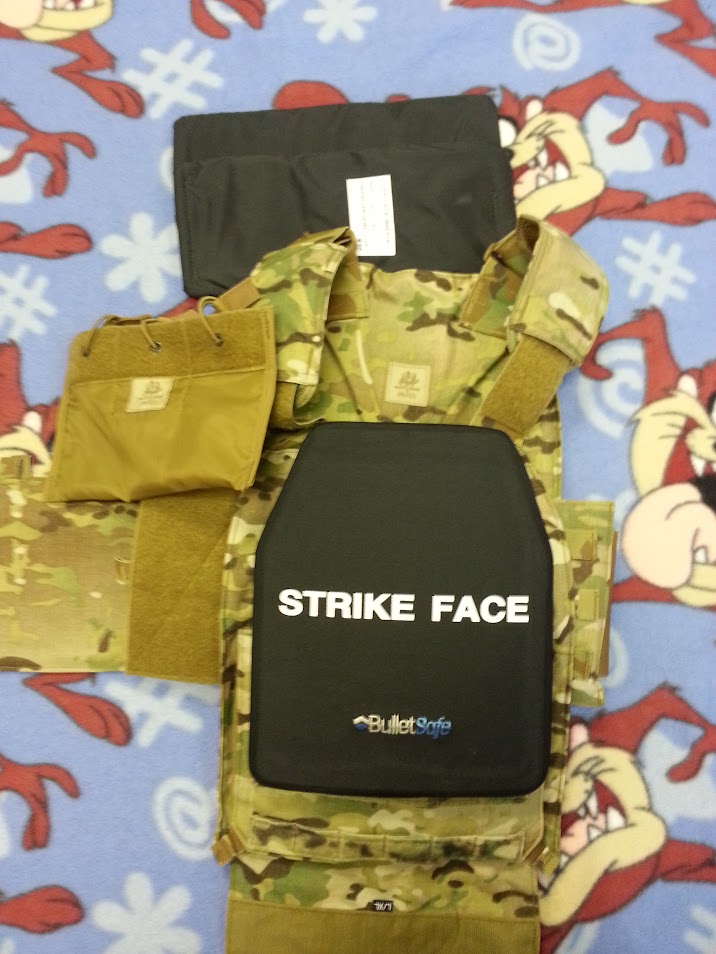
What I ended up with after a whole bunch of evaluation and weighing options was a set of police surplus armor from Bulletproofme.com. I did look at other sites and sources such as Body Armor Outlet and Bulletsafe. Their products are great, but I really needed to keep price down as much as possible and needed into a set that was going to fit without a whole lot of overlap. The guys at Bulletproofme did a great job of finding something that fit well, can easily be concealed, and isn’t cost restrictive.
This is the set I ended up with.
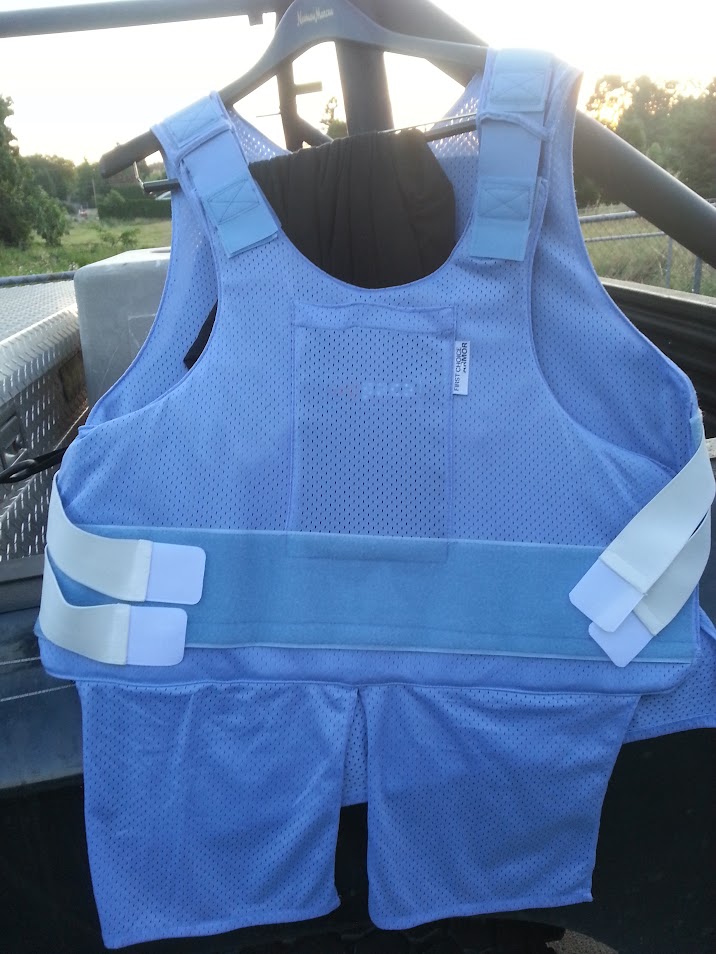
First Choice Level II armor
As for color, I prefer black or foliage colors. This can be fixed with money and/or time. The only thing that does need to be fixed sooner than later are the velcro straps that hold at the sides. I do have my mother making me a shorter and wider set of straps that will definitely hold the vest onto my frame much better. Here is a good look at the straps.
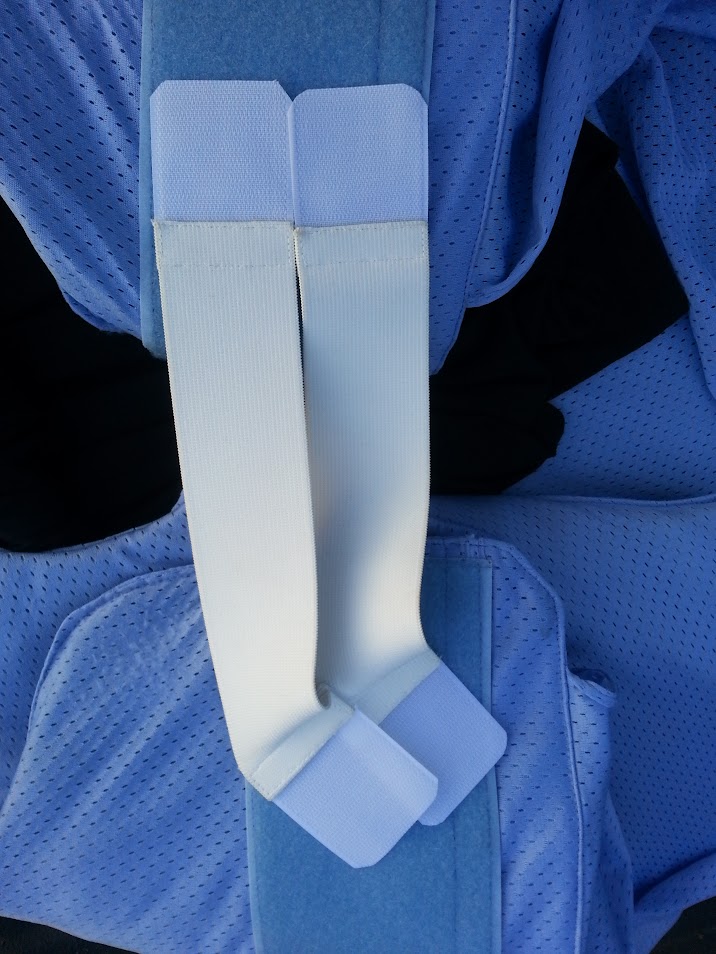
Velcro straps
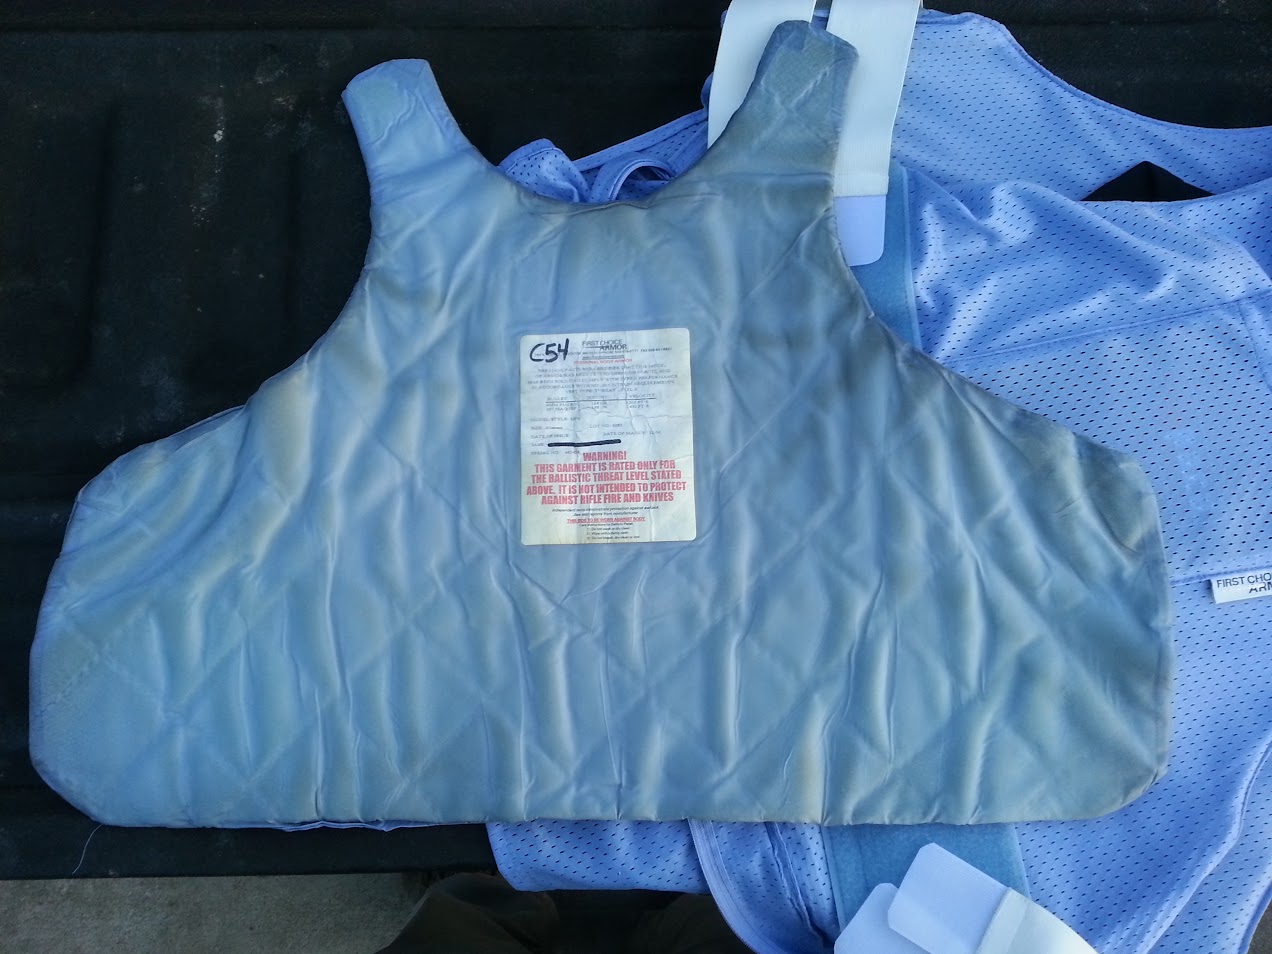
Insert

Trauma pad
Now another tidbit of information is that First Choice Armor is no longer around. They ended up getting sued and shut down by a government law suit around 2013. The building is now an adult day care center. This does concern me a bit, but on the other hand this product was never named in the suit with regard to the use of Zylon and it was made after they discontinued the use of that product. What is even more interesting is that most soft armor manufacturers used Zylon in their vests from the 1990’s through 2005. At least I don’t have one of those that was recalled.
The way I am looking at it is as such: I bought a vest that is used and is not on a recall list anywhere. There is research from federal organizations that say that 10 and 11 year old armor functioned just as well as brand new armor. I don’t see why I should worry, especially since I am keeping it in my closet 99.9% of the time.
The next installment of my series of what and why I bought certain items will be completed once my new plates arrive in the mail. I ordered AR500 plates to increase the coverage of protection. My previous plates are only 12×10 where as the new ones are the extra large size (14×11).