by Woodsbum
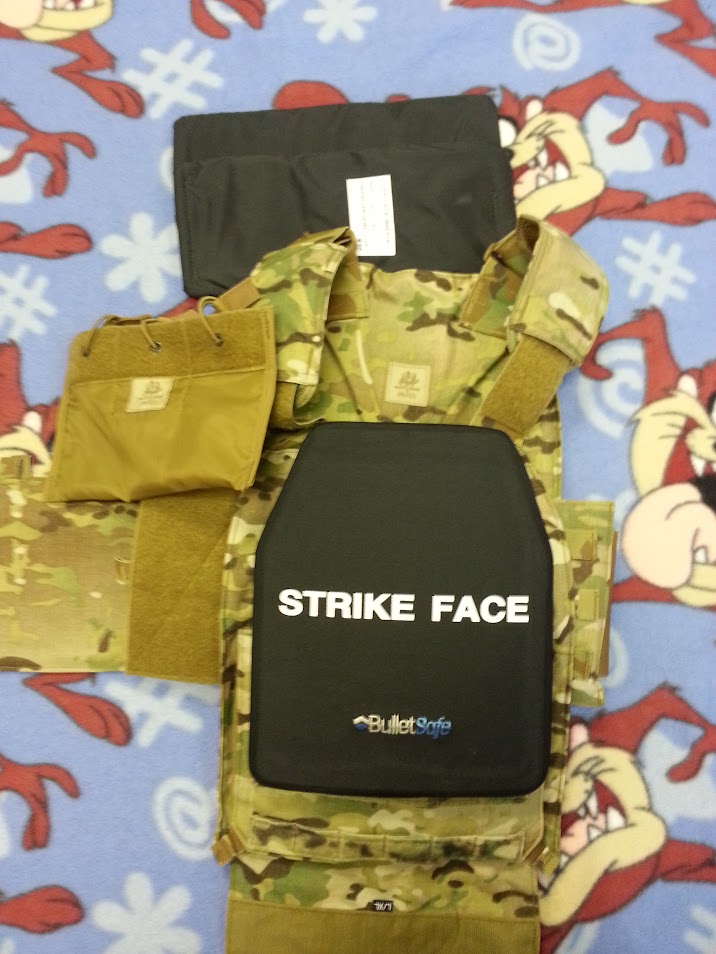
Now that I have body armor and have been wearing it around a bit to see how well it wears, a thought kept creeping into my head, “Is this expense really fit properly and am I wearing it correctly?”
When I was in the military we wore flak jackets. Considering it was simply a vest that you put on, it was quite difficult to wear it incorrectly. Even the new military armor systems are difficult to wear incorrectly because they are also vest type construction that offers very little adjustment.
Here is the article that Gunguy found and sent to me:
******************************************************************************
Body armor is meant to keep you in the fight. It should protect the vital organs which, if hit, would quickly take you down and prevent you from putting rounds on target. The possibility of saving your life is a secondary benefit of body armor. With this purpose in mind we must understand those structures we need to protect which we can realistically protect while still maintaining a great degree of mobility.
Our primary concern is the heart and the large blood vessels which sprout from the top of the heart: the superior vena cava, the arch of the aorta and the pulmonary trunk. These vessels are collectively referred to as “the great vessels”.
The heart is important for its obvious function of providing pressure to circulate blood to the lungs via the right side of the heart and then on to the body via the left side of the heart. Within the body the heart lies left of center, with its apex near the left nipple. Thus, while fitting a plate as a general guideline we must select a plate which will cover the nipples to ensure the entire heart is protected. Note that in some individuals the nipples may be more lateral than the apex of the heart.
The great vessels of the heart lie directly behind the uppermost portion of the sternum, known as the manubrium, and sit directly on top of the heart. The great vessels wrap and twist around each other, making it likely that a hit to one will likely perforate another and result in massive hemorrhage.
Arguably the most important of the three great vessels in the Aorta, due to its size and high velocity of blood flow, 5 liters a minute. The average 165 pound man has 5 liters of blood in his body and thus can completely bleed out within one minute if the Aorta is dramatically perforated. Loss of consciousness can occur with less than 40% of blood loss, approximately two liters, and thus can occur in well under a minute.
Of equal importance to the heart is the respiratory diaphragm, the muscle which, when contracting, allows you to decrease air pressure within your lungs and thus draw in air. Destroy the diaphragm and you destroy one’s ability to breath. Protecting the entirety of the respiratory diaphragm is not realistic, but the majority of it will be protected by a properly fitted plate. The diaphragm is dome shaped, following the bottom of your rib cage and doming up into the chest cavity.
Protecting the vertebral column goes without saying -we wish to protect as much of this as possible without sacrificing mobility. Unfortunately, protecting the entire vertebral column is not realistic at this time.
It is important to note that a hit to the lungs may prove to eventually be lethal through blood loss or tension pneumothorax, but is not nearly as lethal as quickly as a hit to the heart and its great vessels. The liver and kidneys, while highly vascular, are also not immediately incapacitating and thus are of secondary concern. The rest of the viscera in your abdomen are of tertiary concern.
Finding Balance: Protection vs Mobility
When properly fitted a chest plate should not impinge on the anterior deltoids or pectoralis major muscles when punching out with a handgun or carbine. Any impingement on the shoulder may create discomfort, premature fatigue and possibly even aggravate certain shoulder conditions. In some cases too large of a plate may prevent a shooter from assuming an ideal hold on their weapon. This, and even discomfort, can translate to misses down range.
A slightly smaller chest plate which fits with no impingement while punching out will not expose the heart as long as it still covers the nipples. A smaller plate will translate to a small increase in exposure of peripheral lung tissue and abdominal viscera, but these are organs which can take a hit without immediate consequences to the shooter. As stated previously, a shot to the lung, liver or kidney is not immediately fatal. This should be considered when choosing a plate that fits properly.

Positioning of the Front/Chest plate
The top of your chest plate should be at the level of your suprasternal notch, which is also known as the jugular notch. Tracing the sternum with a finger superiorly, the soft spot you reach at the top of the sternum is the suprasternal notch. If you press in with your finger and choke yourself you are in the right spot. The chest plate should ride at least level with the top of your sternum while standing. An easy way to ensure this is to place a finger in your suprasternal notch and position the plate such that the top of the plate touches the bottom of your finger.
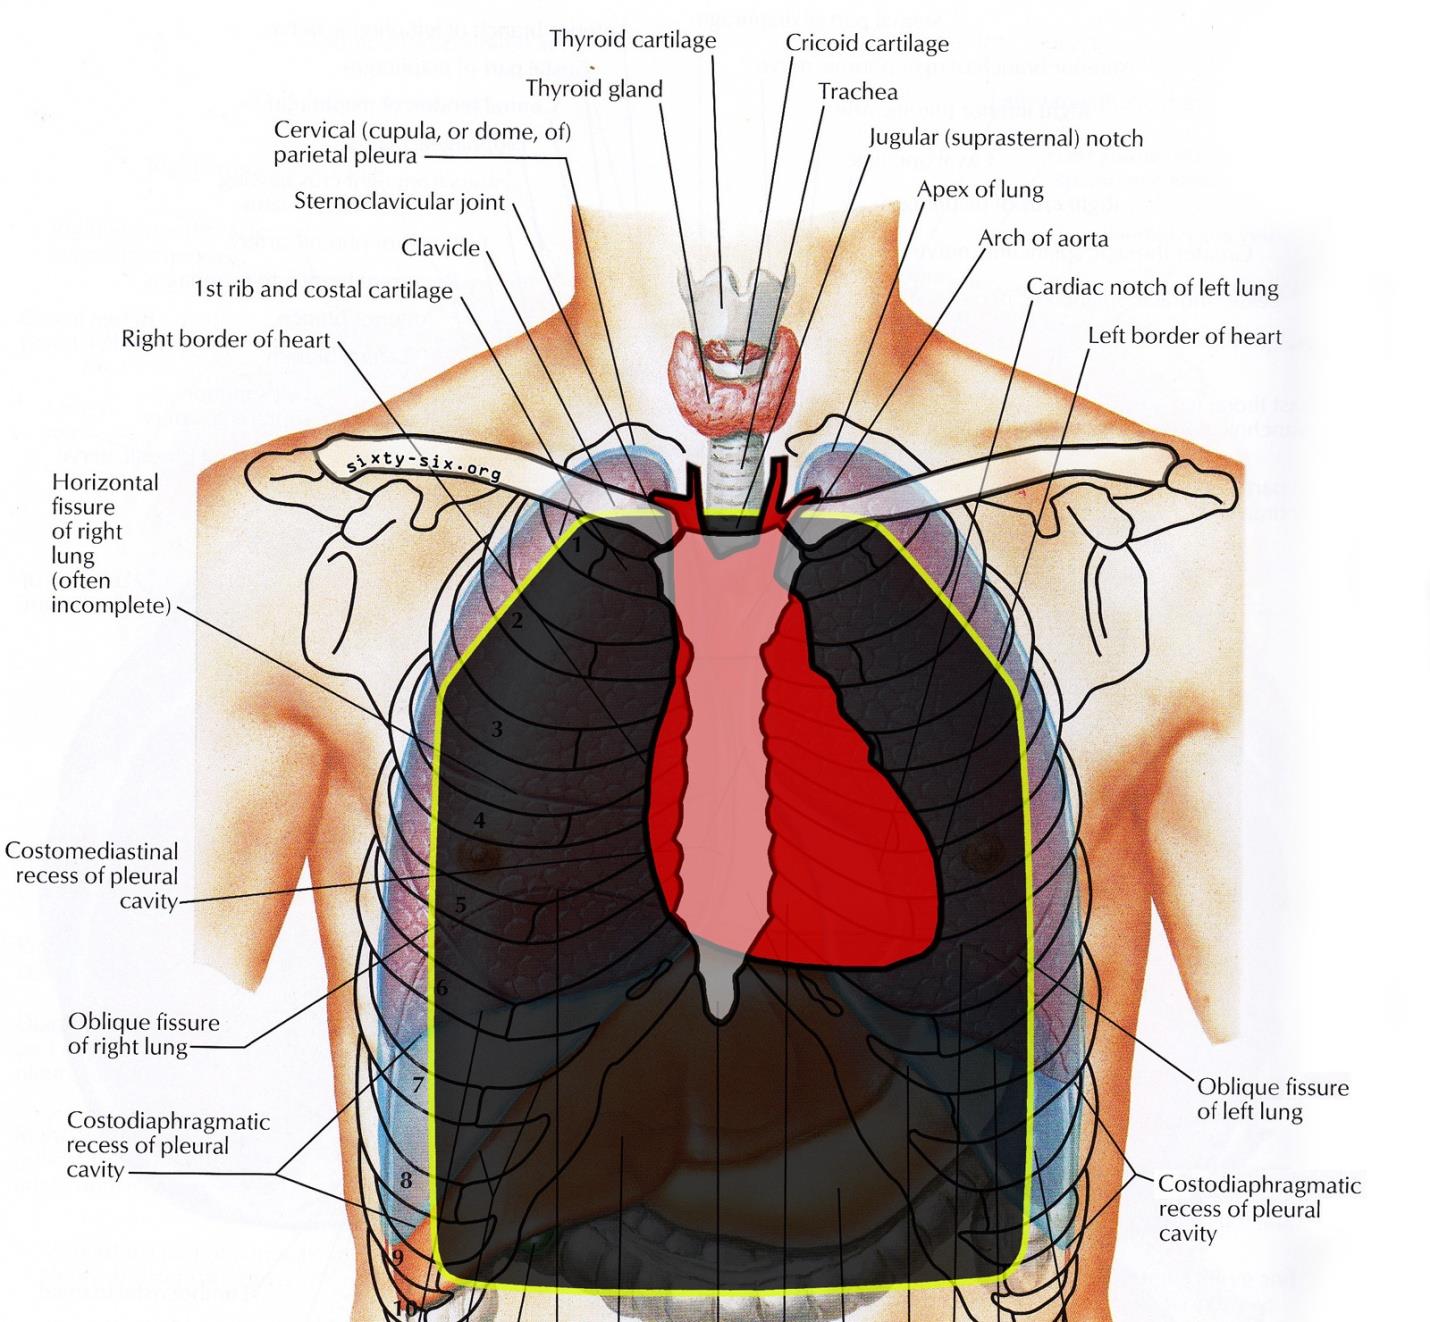
Reference image (anterior view)
- Red is your heart and related blood vessels
- Dark Grey/Yellow is a properly positioned plate.
- The sternum and clavicle are white with black outline
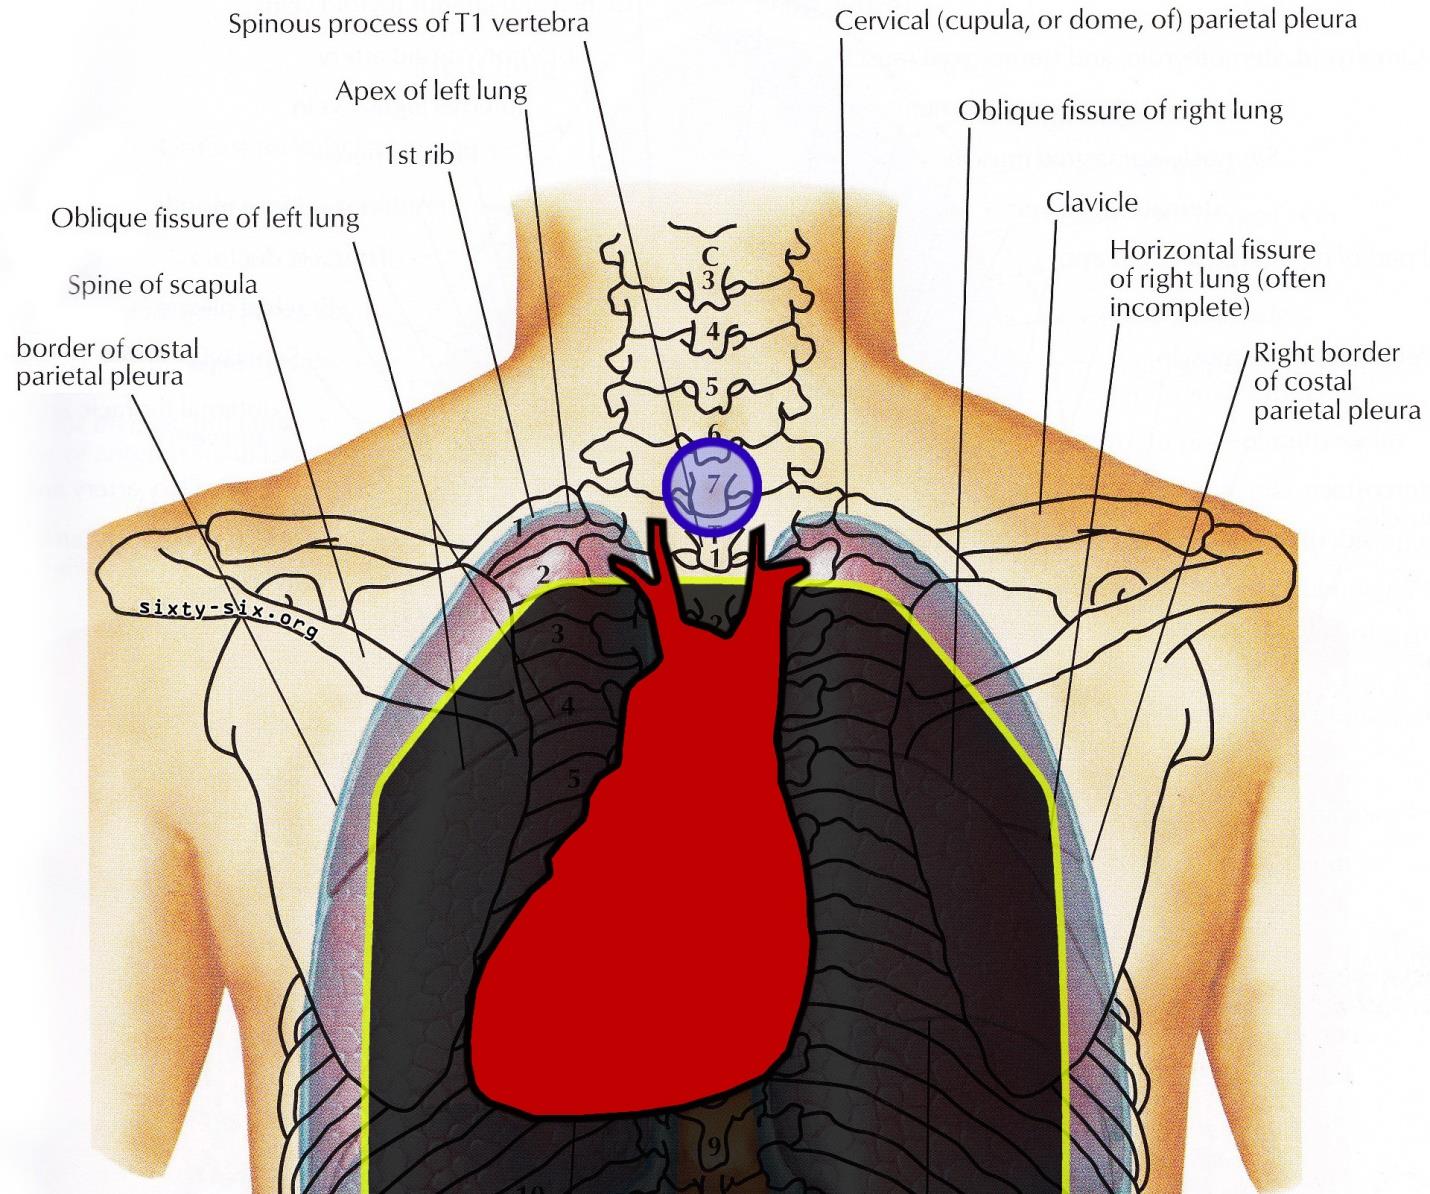
Positioning of rear/back plate
Find the most prominent bony eminence at the base of your neck. This is your vertebral eminence. Count down two bony spinousus (or measure down about 1.5 inches) and that should be above the level of the superior aspect of your sternum and thus level with the top of your front plate. Positioning at least this high will ensure your entire heart and the great vessels are protected from a shot to the back. The front and back plate should be level with one another when viewed from the side.
The vertebral eminence is marked in the diagram below in blue.
Side and Shoulder Plates
Side plates are intended to protect the highly vascular elements of your abdomen. They were introduced to prevent troops from bleeding out in the chopper on the way to the field hospital. Side plates were not necessarily intended to protect the heart, but if you wear them high up into your armpits you can protect some of the lower portion of your heart.
Protecting your heart from a shot to side is accomplished by shoulder plates, such as the ones manufactured by Crye Precision.

To Sum it Up
- Chest/Front plate: Even with top of the sternum while standing and covering the entirety of each nipple. For best fit, the plate should not impinge on the shoulder when presenting a weapon.
- Back/Rear plate: Should lie no lower than an inch below your vertebral prominence. A back plate one size larger than a chest plate is optimal.
- Side plates: The higher they ride the better.
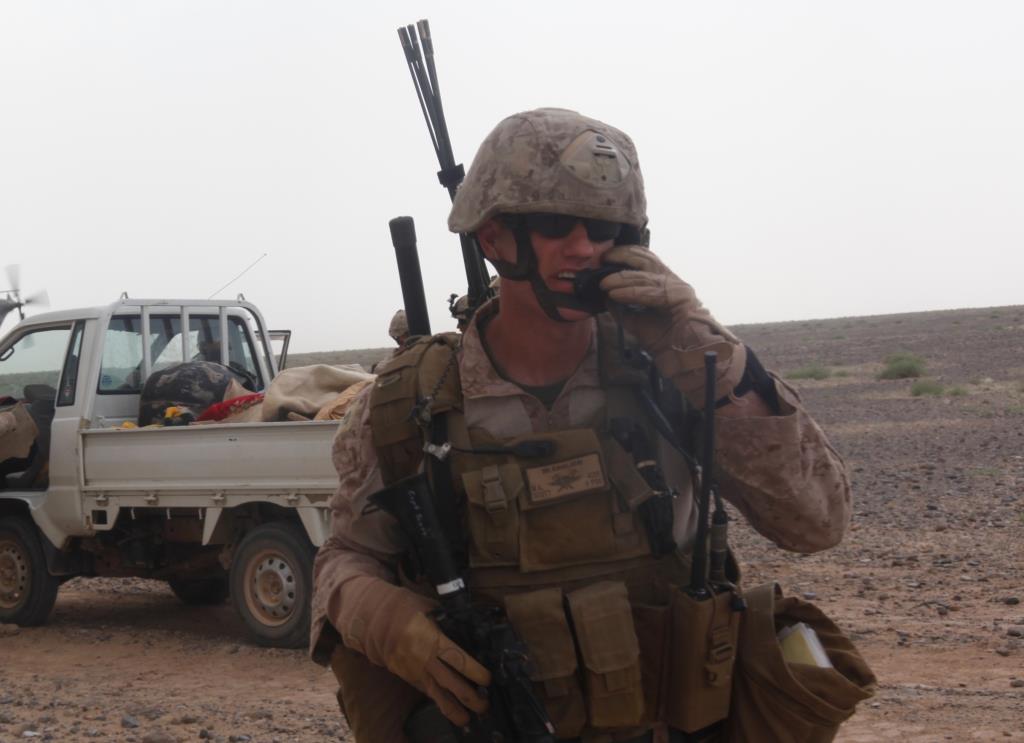
An example of proper chest plate positioning
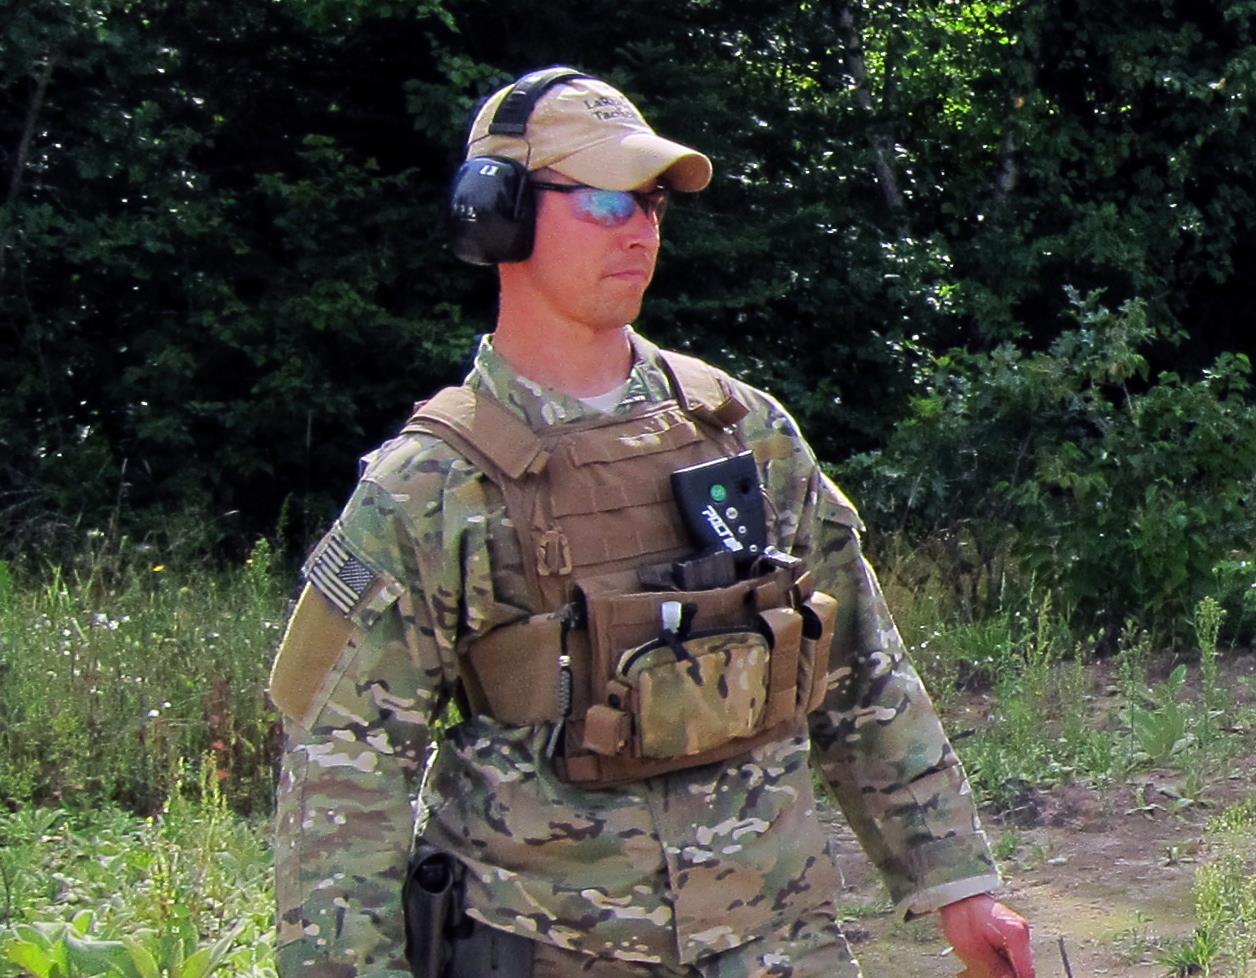
An example of improper chest plate positioning
******************************************************************************
Hopefully, this article will help you to understand how hard plates work. Obviously, you will not be walking around like a juggernaut and completely bulletproof from toenail to beanie. You also don’t want to go into a dangerous situation in a Speedo and flip flops. Find what works for you and just make sure you wear it as intended.
Good luck!!!!