Category Archives: DIY Projects

Garage born and raised projects that are done because no one else seems to be able to build it like you would. In another words, you did it yourself and it rocked!

Carving Pipe Blanks

by Woodsbum

Well, the wife has another reason to be completely annoyed with me. I discovered that there is ANOTHER way for me to waste time and money. The pipe store has drilled briar wood pipe blanks. That is correct….  PIPE BLANKS!!!!

Now I not only have the opportunity to sit and smoke my pipe, drink beer, and hang out with my dog. I have the opportunity to make it look like I am doing something OTHER than smoking my pipe, drinking beer and hanging out with my dog. By finding these little gems I now look like I am working on some sort of project.

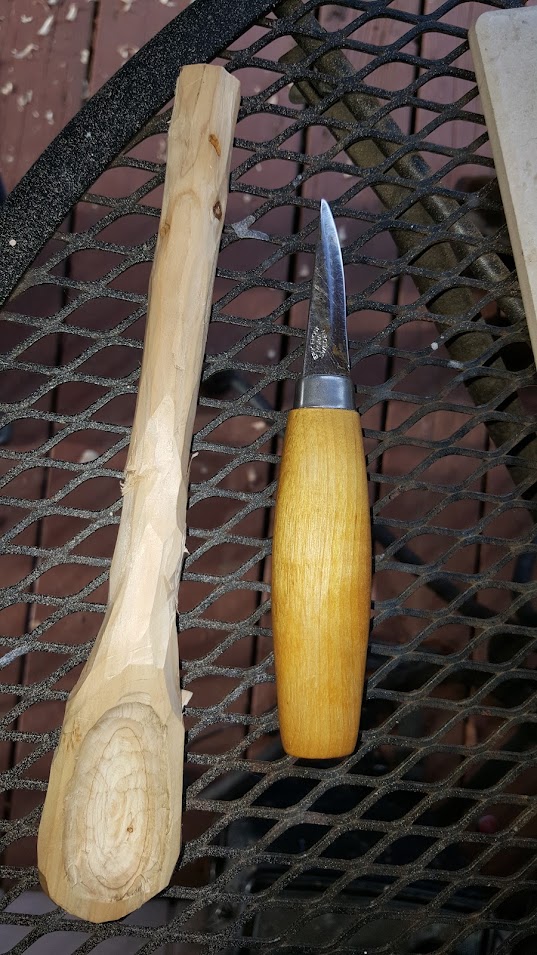
The pipe blanks are actually pretty simple. The stem is already set as are all the drilled holes. All that is required is some elbow grease to form the bowl. Here are some pictures of where I started and the progression until almost completed. It is not done yet because I have to get my friend to etch in a Navy Chief’s Anchor onto it and then polish.
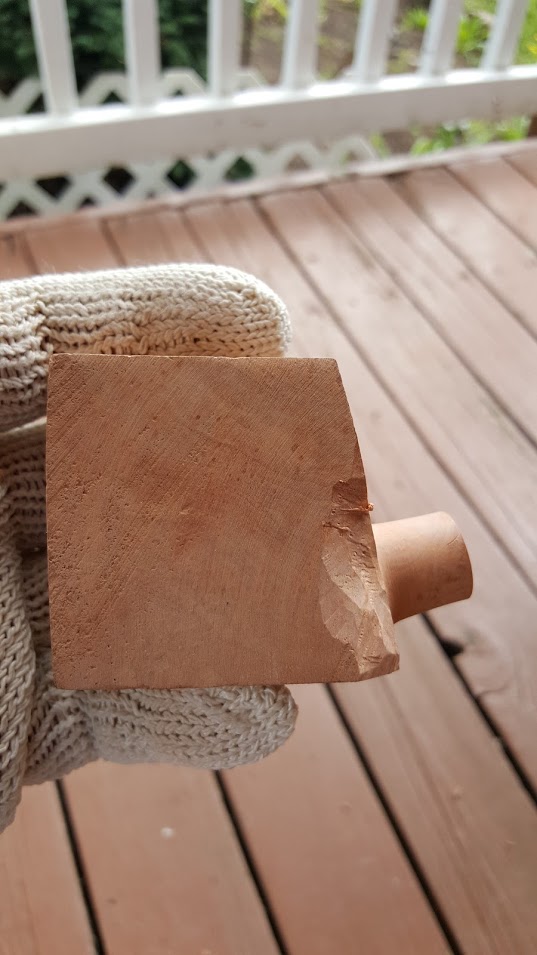
Briar Block

Briar Block

After some sanding, filing and carving, I got to this point.
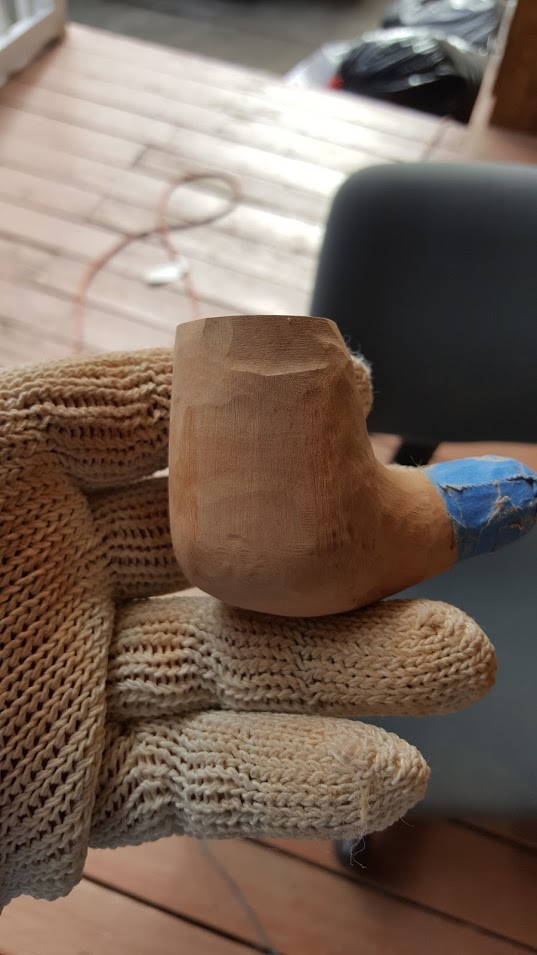
Pipe in progress

Pipe in progress

Here is another angle after some more carving, filing and sanding.

Pipe in progress

Pipe in progress

Although I have got it to the point where I am ready to do final sanding and polishing, I want to wait until I get it actually done in case I have to go back and fix something.

These pipe builds are actually pretty sweet. Thus far I have got 3 to the point where I just need to polish them. The shape for all 3 has been the same, but I will soon be doing some creative work on one or two. Although I am not fond of straight stem pipes, I will probably grab one because that is all the local store has left in stock. I can do a shorty, rounded bowl straight pipe that won’t look too bad.

Once I get the polishing done I will post some more pictures.

  • Share on Tumblr

Coal Forge Continued

by Woodsbum

My forge is home and safely stored until I can get my covered work area set up. It really is everything I had hoped and more. To start, I will tell a bit about the man that used to own this and all the tools.

The previous owner was a farrier that specialized in hot shoeing. He made all his own shoes from stock and did a lot of corrective foot work with various veterinarians around the area. For over 40 years this man put shoes on horses and made all sorts of hand forged items. One day he just sat down his hammer and had to quit. His tools and forge just sat there for years until and after he passed away. This little time capsule was like a window into this man’s life. After time went by, this man’s son and mother wanted to pass everything along to someone who would use and appreciate what was there. My brother is a farrier and run across this beauty, then IMMEDIATELY called me to see if I was interested. Of course I was and drove 450 miles to go pick this up.

Time Capsule

Time Capsule

I didn’t take the water or soda, but I did get all the tools you see. Some things are a bit rusted out, but everything is able to be cleaned up to make serviceable again. There are hardies, tongs, hammers, chisels, punches…..  The list goes on and on. I am truly blessed and honored that this family passed these treasures along to me.

Here is another picture of this time capsule from a different angle.

Coal forge

Coal forge

If you look at the bottom of the picture, there is an unfinished draw knife. Finishing that up will actually be one of my first projects, after I build a covered area to set everything up in.

Of course many thanks go out to the wonderful family that passed this along to me, but I also have to give my wife SO much credit. She puts up with all my weird projects, strange hobbies and crazy gear/equipment that I drag home. Although she complains about the clutter and calls me a hoarder, she understands and supports my need to have creative outlets such as this. She truly is amazing and I can’t wait to make some really nice things for her.

As I get this set up and start pushing out finished products, I will post them here.

  • Share on Tumblr

The Lost Art of Cut Shells

by Woodsbum

Back before slugs were produced, people had to improvise a bit. What they came up with was a great way to use bird shot and make it operate as though it was a slug. Watch the video:

If you watched this to the end you can see how the entire hull shoots out the barrel and keeps the shot together until it comes in contact with the target. As it was explained in the video, you have essentially created a 70mm Glaser shell.

As you can probably imagine, these would fire best out of a break action shotgun and would probably not feed too well. I wonder if some tape would hold the shell together long enough to feed through a pump, but powder escaping the shell would be a concern.

I can definitely see this as a great self/bear defense round in a coach gun and now wonder if I should consider getting one for just this purpose. This is quite ingenious, however. Little tricks like this make me quite happy.

  • Share on Tumblr

SPL Antler Awl

by Woodsbum

Well, I am at it again. Rather than just being smart and building my own stuff I have purchased something from a craftsman to give me more project ideas. This time I picked up an awl made from a sail making needle and an antler.

SPL Awl

SPL Awl

Not that I couldn’t have thought of this myself, but I never really saw anyone do this in a way that was memorable. I think he drilled a very small hole and just epoxied the needle into the antler. The important aspect of this is that I now have several ideas on what I should build for myself…… You will see some of these projects in a few weeks.

I have been using a Craftsman awl that came with a screwdriver set to poke the holes for my rawhide projects. When doing this I had to be really careful to not make the hole too big because the Craftsman awl has a fairly large shank/shaft/base on it and really isn’t made for what I was using it for. This will work much better. I do need to make some sort of a “sheath” for the pointy end before I end up sitting on it and giving myself a way to sew my butt crack together.

Steven also sent me some buttons he made and I should be getting a firesteel as well. The buttons are actually nice to see. I had been wondering how people did them.

Antler Buttons

Antler Buttons

These are just thinly sliced pieces of antler that have three small holes drilled in them. Nothing special for fancy, but I really needed to see how they were done. The core of an antler is not as strong as the outside so I was worried that there was some “magic” involved with the process to keep the holes from pulling through. Evidently there is not. Because I was not going to rush up to some other bushcrafter and stare at their buttons while out in the woods, I needed to get my hands on some myself. Important safety tip: Don’t rush up on a bushcrafter unannounced – they might be armed and almost always have a sharp knife.

I really love getting small project and craft pieces from people. By backward engineering their work I always get ideas for my own projects. Of course Steven’s work is impeccable, but I like to have ideas for ways to occupy my own time.

Again, keep checking back. I have a few ideas for some muzzleloading things made from antler now.

  • Share on Tumblr

Carving a Spoon

by Woodsbum

I have been messing around with whittling and carving stuff since I was a kid, but they have all been horrible final products. Finally, I went ahead and picked up some actual wood carving knives of various sorts so that I could have a fair chance at coming up with something decent. The fact that my son got me the Work Sharp WSKTS also made a huge difference. I now don’t have to spend more than just a few minutes to touch up any blade.

I started off with a piece of cedar that had been pruned from the tree in my front yard. I stripped off the bark to get to the wood so I knew what I was working with. The branch I chose actually had been chewed on by some bug or worm a bit, but I figured that it would just add character.

Stripping off the bark

Stripping off the bark

The Steven Long I picked up a bit ago worked really well for this task. Once I got the bark all stripped off, I started carving out the actual bowl portion of the spoon to see how well the wood cut and carved. In all actuality, it seemed to cut really well.

Starting the bowl

Starting the bowl

Once I got everything rough shaped, I stared cutting away all the excess wood to get it down to the right size. This actually took a while and I found that many of my less exact cuts I made with my hook knife and chisel made a rough bowl and odd shape. Next spoon I make I will pay more attention and be more careful.

Rough Shaped

Rough Shaped

A little closer now. I am beginning to see the right shape and errors I made with carving the bowl. Of course it is too late at this point, but I start the process of trying to fix it.

A little closer

A little closer

Now is the time to start sanding it. I am not too sure how “smooth” I want to get it considering that the bowl is lop sided a touch. I figure I will hit it with 120 grit and call it a day, more than likely.

Starting to sand it

Starting to sand it

Here is how it finished up. When I saw how badly I shaped the bowl, I decided that 120 grit was smooth enough and that I would relegate this spoon to camping purposes.

Completed except for final finish

Completed except for final finish

Here are a few things that I learned during this process.

  1. Buy a cut resistant glove…….   and wear it…….
  2. Make sure that the bowl is perfect, straight and shaped correctly from the onset.
  3. Spend LOTS of time to get the bowl done and awesome before you take on the handle.
  4. Make the bowl deeper than you want it as a final product. That way you can take some off the top to get everything straight.
  5. The handle can be modified as needed to keep the bowl portion straight.
  6. Buy good carving knives and keep them sharp.
  7. Wood is much less forgiving than metal, so don’t get overzealous with each cut.

This was the first spoon that I have made that wasn’t a total embarrassment. I really learned a lot through this process and am looking forward to my next attempt. Follow on carvings should be much better for I learned a lot about how to get things on center and spaced correctly during this carving. As I do more, I will post them and let you know anything new that I learned.

  • Share on Tumblr