Tag Archives: leatherworking

SPL Antler Awl

by Woodsbum

Well, I am at it again. Rather than just being smart and building my own stuff I have purchased something from a craftsman to give me more project ideas. This time I picked up an awl made from a sail making needle and an antler.
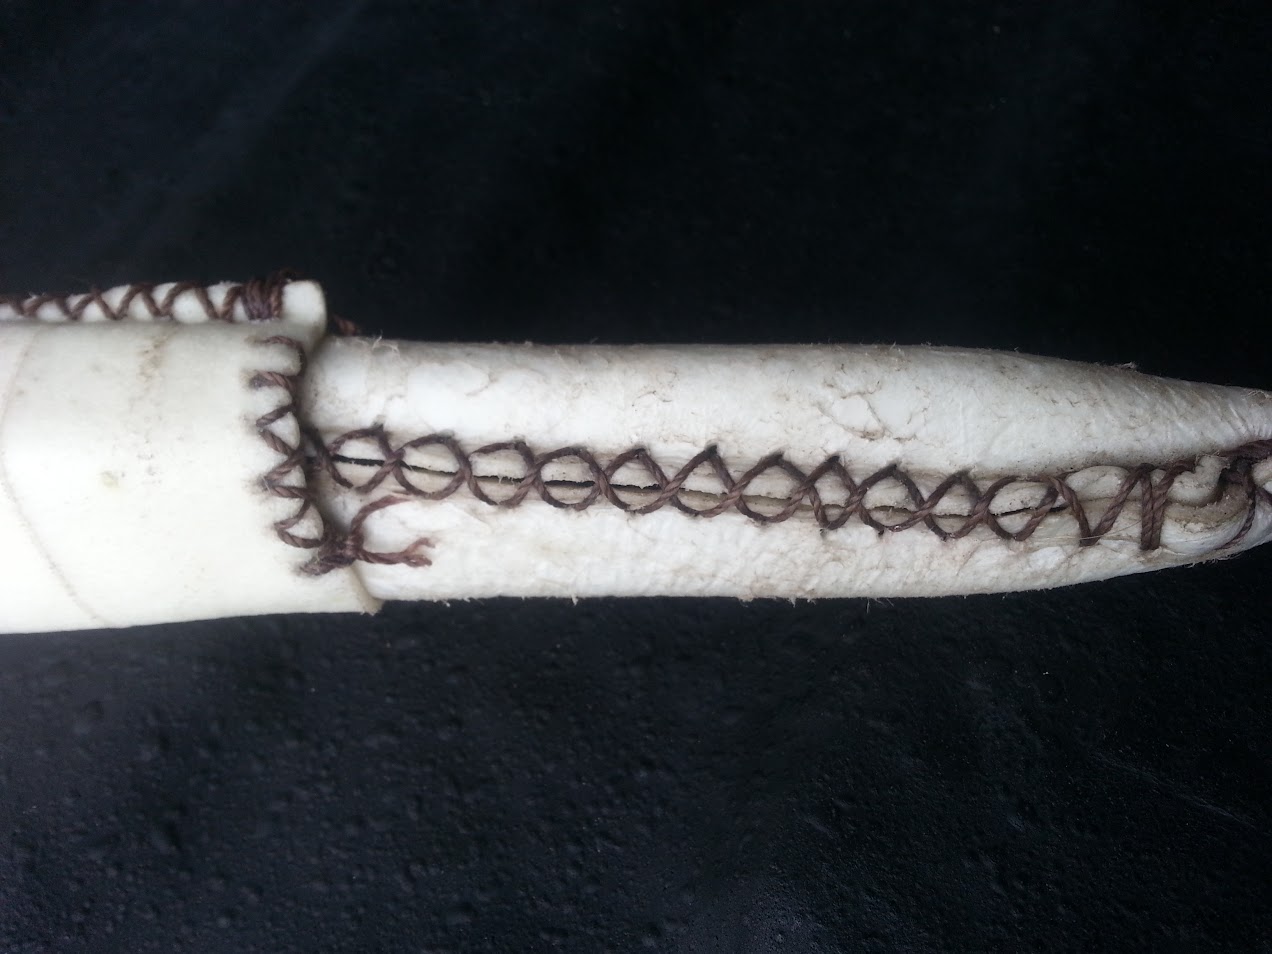
SPL Awl

SPL Awl

Not that I couldn’t have thought of this myself, but I never really saw anyone do this in a way that was memorable. I think he drilled a very small hole and just epoxied the needle into the antler. The important aspect of this is that I now have several ideas on what I should build for myself…… You will see some of these projects in a few weeks.

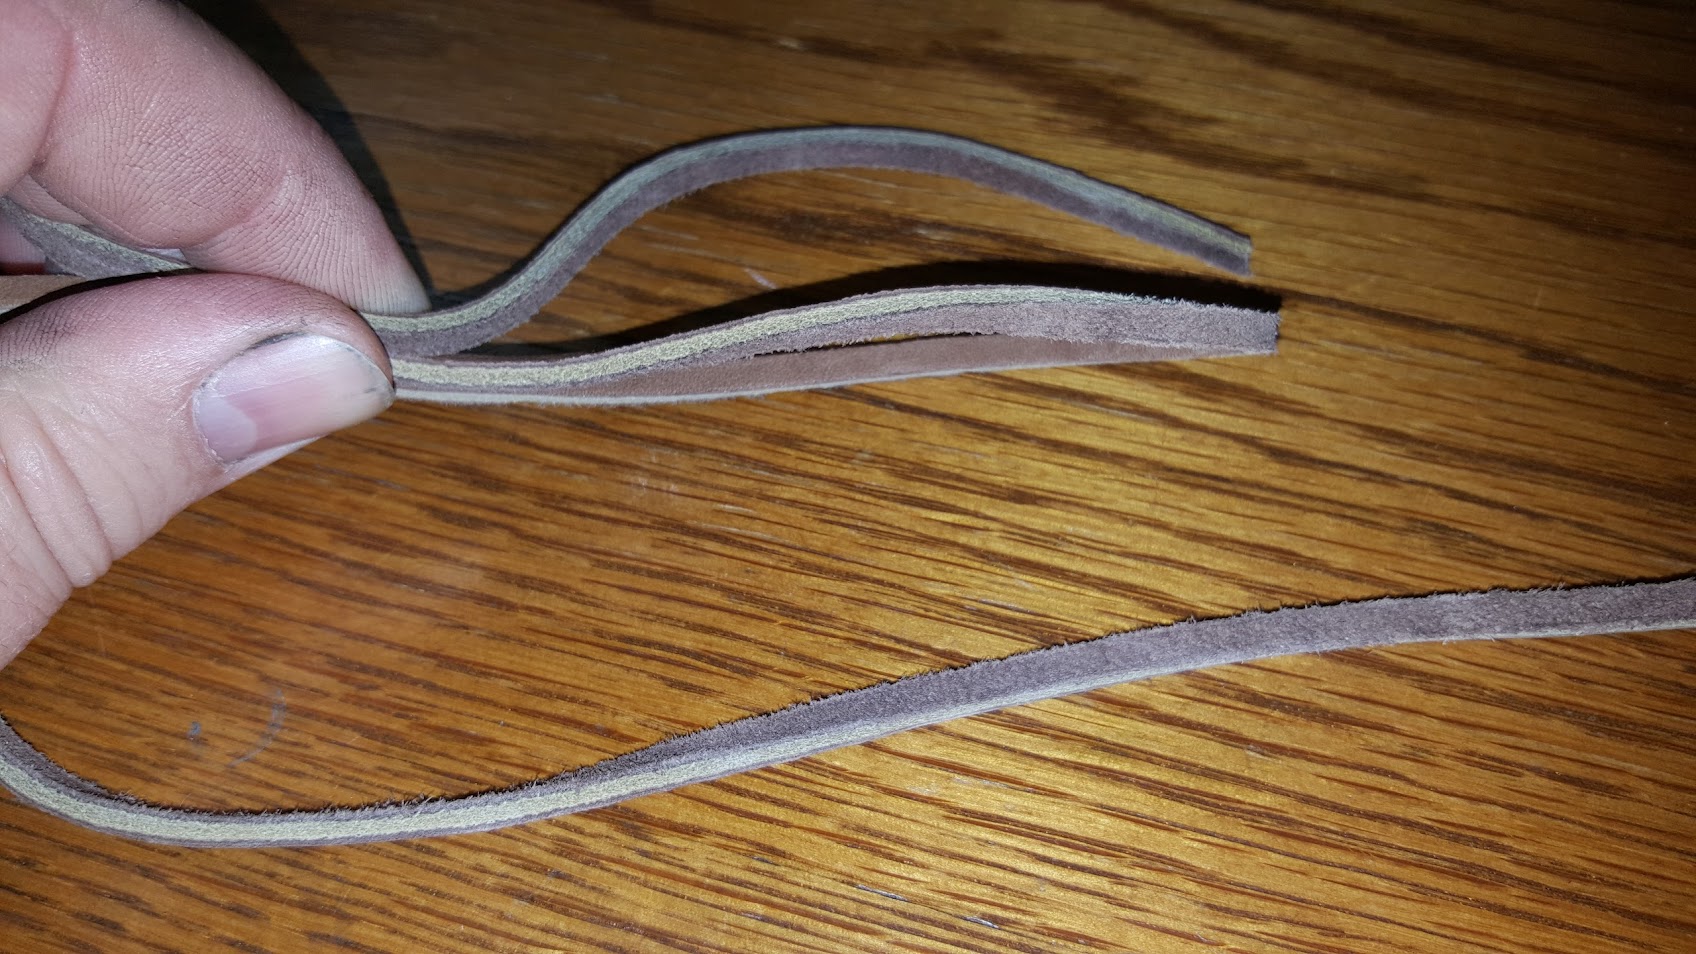
I have been using a Craftsman awl that came with a screwdriver set to poke the holes for my rawhide projects. When doing this I had to be really careful to not make the hole too big because the Craftsman awl has a fairly large shank/shaft/base on it and really isn’t made for what I was using it for. This will work much better. I do need to make some sort of a “sheath” for the pointy end before I end up sitting on it and giving myself a way to sew my butt crack together.

Steven also sent me some buttons he made and I should be getting a firesteel as well. The buttons are actually nice to see. I had been wondering how people did them.

Antler Buttons

Antler Buttons

These are just thinly sliced pieces of antler that have three small holes drilled in them. Nothing special for fancy, but I really needed to see how they were done. The core of an antler is not as strong as the outside so I was worried that there was some “magic” involved with the process to keep the holes from pulling through. Evidently there is not. Because I was not going to rush up to some other bushcrafter and stare at their buttons while out in the woods, I needed to get my hands on some myself. Important safety tip: Don’t rush up on a bushcrafter unannounced – they might be armed and almost always have a sharp knife.

I really love getting small project and craft pieces from people. By backward engineering their work I always get ideas for my own projects. Of course Steven’s work is impeccable, but I like to have ideas for ways to occupy my own time.

Again, keep checking back. I have a few ideas for some muzzleloading things made from antler now.

  • Share on Tumblr

How I Use a Lanyard Hole

by Woodsbum

Many people have different uses for lanyard holes on a knife. This is how I use a lanyard hole more often than any other.

Especially with bushcraft knives, sheaths are made to cover most of the handle. There is usually just a little bit showing to allow you to pull the knife out. When you have large hands or are wearing gloves, this can be a pain in the rear end to deal with. It is easier than many other retention systems such as snaps, straps or toggles. Here is how the normal bushcraft knife looks in its sheath. This pictures does have a leather lace started in the lanyard hole.

SPL Knife in a Skab Leatherworks sheath

SPL Knife in a Skab Leatherworks sheath

As you can see, there isn’t that much available handle to get bear sized paws on. I build myself a leather “toggle” as I call them. This is what it looks like when I am done.

Ready for use

Ready for use

As you can see in the pictures, I not only have a good deal of leather to use in pulling the knife out of the sheath, but I can also use that leather to allow me to choke down on the handle for chopping. Since it slides to create a larger loop if desired, I have also been known to wrap my wrist so I can loosen my grip when carving or processing firewood. Although many of you see this knot and already know how to tie it, I figured I would give those that don’t a little tutorial.

The first thing I do is pass the lace back in upon itself to make a loop. It should look like this.

The start

The start

I then wrap the free end around the bottom of the loop to build something similar to a noose. When you get the desired number of wraps just pass the free end back through the top of the loop and slide everything together to make a tight knot.

Start of the wrap

Start of the wrap

Make sure you keep everything tight and slide the free ends down upon itself to make the cleanest knot possible. You don’t want the knot coming loose.

Finished

Finished

I have seen people put epoxy over knots like this, but I don’t recommend it. If you keep everything tight and clean there should be no issue during use. Sometimes knots do slide loose. If that happens to you, then just retie it. It really isn’t a big deal.

Over the years I have seen a multitude of different knots used. It really doesn’t matter how you put this together, in all actuality. The big thing to remember is that the lanyard hole on a knife can be used. So many people just ignore them and complain when they have problems drawing their knife or with their knife slipping while chopping. Remember that these knifes are tools like any other tool. Use them and their features as intended when needed.

Good luck!!

  • Share on Tumblr

Rawhide Mora Sheath

by Woodsbum

A couples of weeks ago we taught another NBEF Bowhunters Education Class. While other people were teaching, I took a few minutes to whip up a sheath for my friend’s son who was going to a summer camp. The camp was called “Ranger Camp” where they taught many different skills to include quite a few bushcraft techniques. So that the poor kid was not stuck with a plastic Mora classic sheath as well as giving him a chance to be one of the “cool kids,” I took some time to get his neck knife squared away.

The first thing I did was cut off the plastic belt loop off the stock sheath. I then wrapped the sheath in rawhide and sewed it together along the back so the original sheath became an insert/frame/internal structure.

Sewn along the back of the Mora

Sewn along the back of the Mora

Unfortunately the rawhide shifted quite a bit and was difficult to keep in place considering my work bench was nothing more than a couple catalogs and a bow case across my lap. I did get a good stitch on it and it dried quite nicely.

I then did an outer wrap that was to become the belt/strap loop and attachment for a firesteel. Since his firesteel was at home and I needed one to make a loop, I went downstairs and picked him up a Light My Fire. This one had an antler handle and was pretty nice looking so it went well with the rawhide sheath design.

Belt loop/strap loop

Belt loop/strap loop

Here is the loop I did for the Light My Fire. I love how rawhide forms and hardens into shape. The way this loop formed perfectly to the firesteel made me quite happy.

Firesteel loop

Firesteel loop

All said and done, Tristan was envied by the other kids and some of the instructors for having a nice sheath for his Mora. He is a good kid that does a whole lot for his brother and parents so I really hope he gets lots of good use and many years of enjoyment out of this sheath. He definitely deserves to have good things happen for him.

AND. In case you were wondering, he did have a great time at his “Ranger Camp.” They taught him firemaking, archery, shelters, how to cook over flame, and all sorts off fun skills that anyone spending time in the woods should know. You can definitely see that this time in the woods learning bushcraft skills really fired him up to learn and try more. It really brings big smiles to my face when I see that spark in his eye.

Final Product

Final Product

  • Share on Tumblr