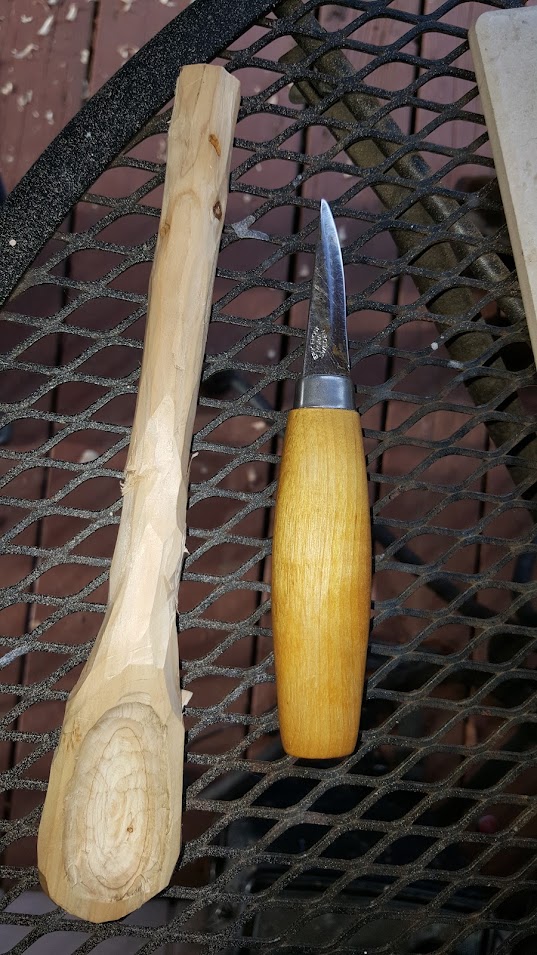
by Woodsbum
I have been messing around with whittling and carving stuff since I was a kid, but they have all been horrible final products. Finally, I went ahead and picked up some actual wood carving knives of various sorts so that I could have a fair chance at coming up with something decent. The fact that my son got me the Work Sharp WSKTS also made a huge difference. I now don’t have to spend more than just a few minutes to touch up any blade.
I started off with a piece of cedar that had been pruned from the tree in my front yard. I stripped off the bark to get to the wood so I knew what I was working with. The branch I chose actually had been chewed on by some bug or worm a bit, but I figured that it would just add character.

Stripping off the bark
The Steven Long I picked up a bit ago worked really well for this task. Once I got the bark all stripped off, I started carving out the actual bowl portion of the spoon to see how well the wood cut and carved. In all actuality, it seemed to cut really well.

Starting the bowl
Once I got everything rough shaped, I stared cutting away all the excess wood to get it down to the right size. This actually took a while and I found that many of my less exact cuts I made with my hook knife and chisel made a rough bowl and odd shape. Next spoon I make I will pay more attention and be more careful.

Rough Shaped
A little closer now. I am beginning to see the right shape and errors I made with carving the bowl. Of course it is too late at this point, but I start the process of trying to fix it.
A little closer
Now is the time to start sanding it. I am not too sure how “smooth” I want to get it considering that the bowl is lop sided a touch. I figure I will hit it with 120 grit and call it a day, more than likely.

Starting to sand it
Here is how it finished up. When I saw how badly I shaped the bowl, I decided that 120 grit was smooth enough and that I would relegate this spoon to camping purposes.

Completed except for final finish
Here are a few things that I learned during this process.
- Buy a cut resistant glove……. and wear it…….
- Make sure that the bowl is perfect, straight and shaped correctly from the onset.
- Spend LOTS of time to get the bowl done and awesome before you take on the handle.
- Make the bowl deeper than you want it as a final product. That way you can take some off the top to get everything straight.
- The handle can be modified as needed to keep the bowl portion straight.
- Buy good carving knives and keep them sharp.
- Wood is much less forgiving than metal, so don’t get overzealous with each cut.
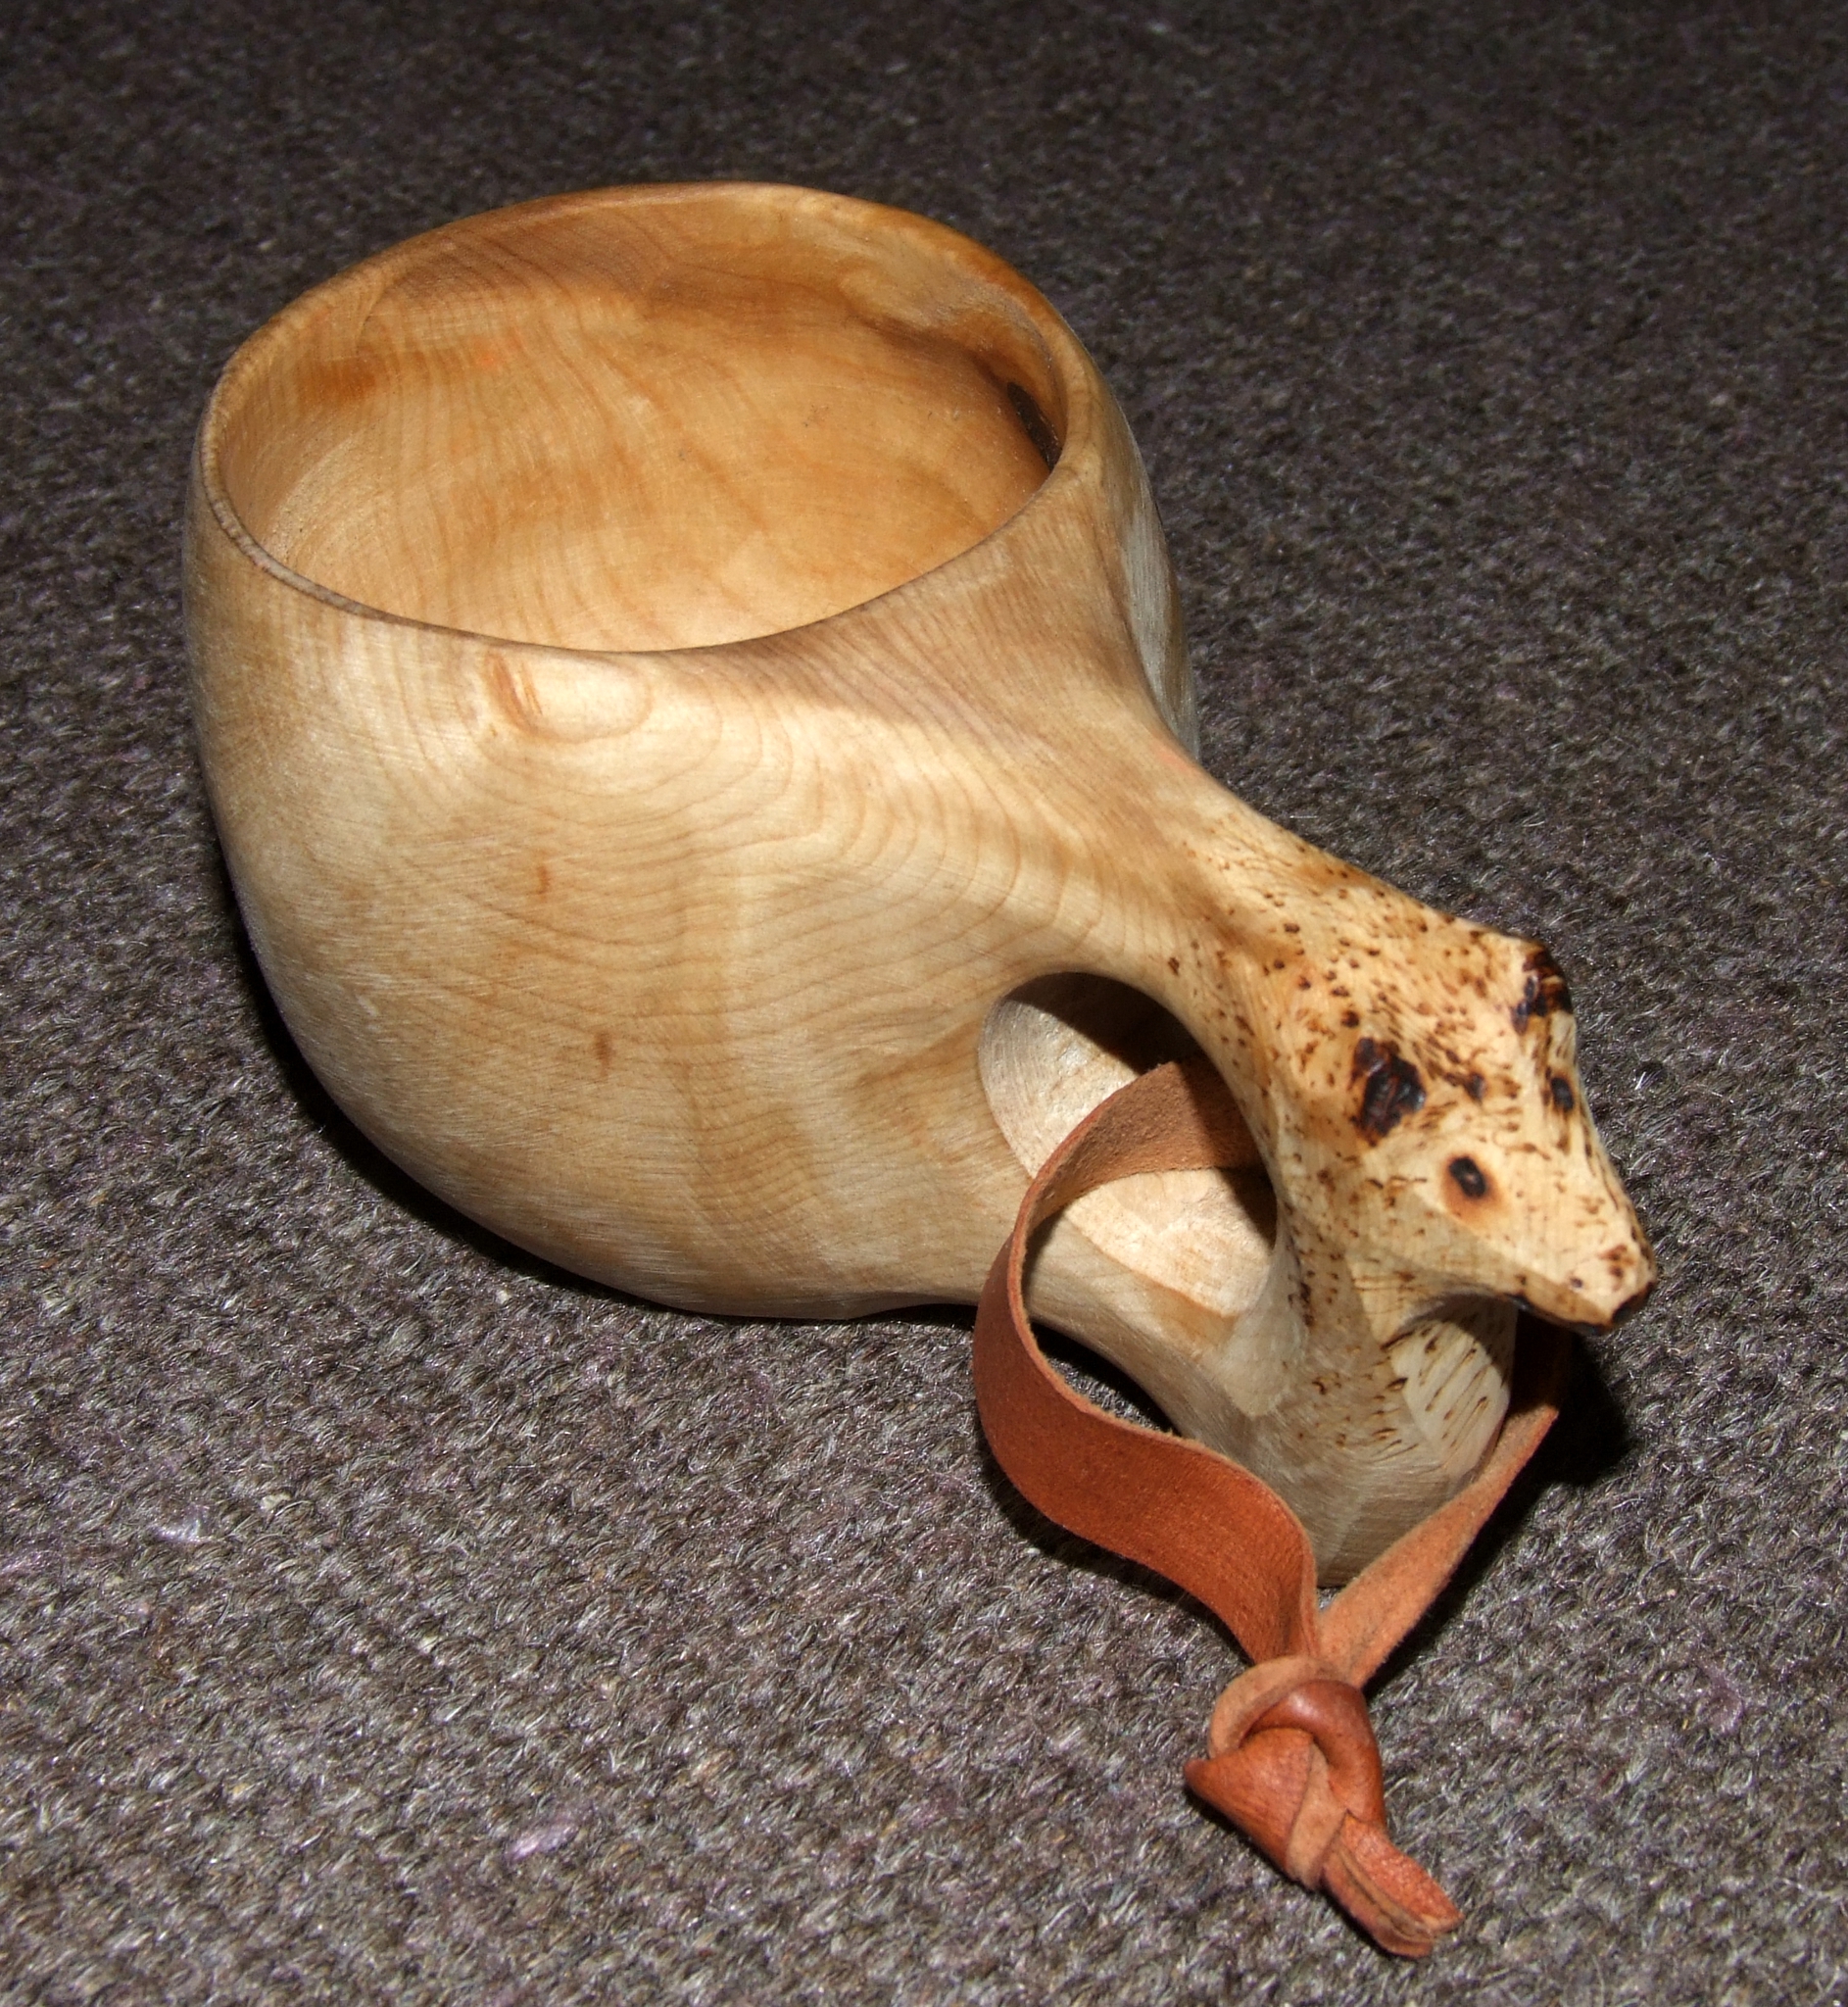
This was the first spoon that I have made that wasn’t a total embarrassment. I really learned a lot through this process and am looking forward to my next attempt. Follow on carvings should be much better for I learned a lot about how to get things on center and spaced correctly during this carving. As I do more, I will post them and let you know anything new that I learned.