by Woodsbum
Our family has been into firearms and reloading ammunition as long as I can remember. Somewhere in all those years I learned about some special pistol loads that our family loads up for self defense. It really didn’t dawn on me until discussing them with Gunguy that they were anything special or out of the ordinary. I essentially grew up with this specially loaded ammunition and has he says, “You take a lot of things for granted because of how you grew up.” Well, this post is for you Gunguy and I hope that it helps push you toward that crazy world of reloading.
Here are the interesting features of this round:
- Great bullet expansion
- Very little penetration – lowers the risk of bullets passing through the target
- Low velocity so multiple shots are not as difficult
- Inexpensive to load up and use compared to other “defense rounds”
Due to the huge influx of compact revolvers in .38, most of my family has adopted that round as their carry pistol. That is why I will discuss the speed and reloading specifications for this particular caliber. It is also important to note that these work best out of a revolver due to feeding issues in automatics.
With no further build up, here is my family’s adopted defense round:

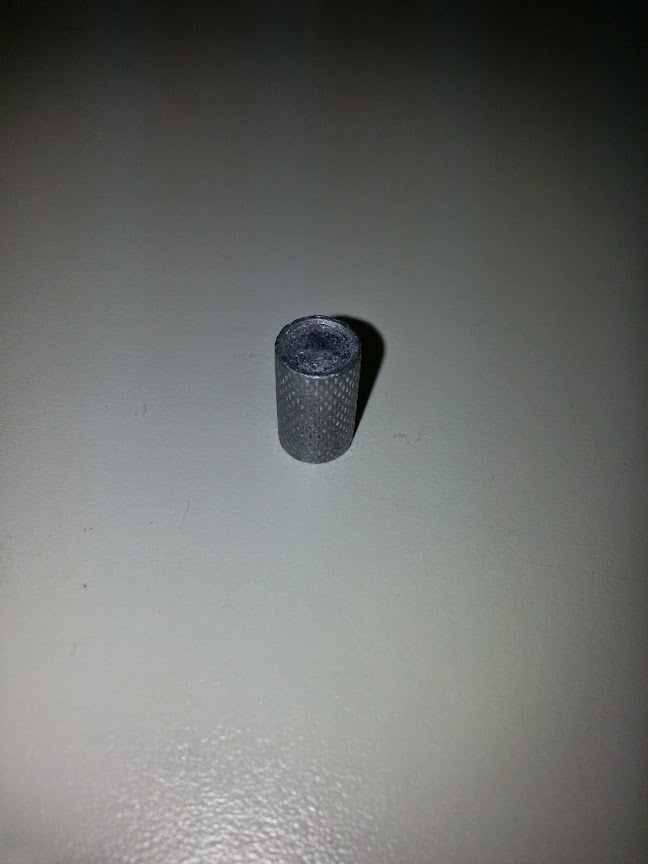
.38 using inverted wadcutter
As you can see, there appears to be a huge hole in the center of the bullet. This is how it would normally appear if loaded per factory intended:

Normal wadcutter load
To get this sort of hollow point looking effect, we load each .38 with 2.5 gr of Bullseye powder and just press the bullet in backwards. With this configuration we are achieving around 650 fps on the chronograph. The following picture shows a pumpkin shot with one of these rounds. I do not have any real desire to figure out any other numbers in regard to the ballistics so you are stuck with the “pumpkin desecration test.”
This is the entrance “wound.” Please note how the entire face of the pumpkin is cracked in various directions radiating outwards from the point of impact.

Initial damage to the pumpkin
This is where the bullet exited the pumpkin. Again, please note how the pumpkin is cracked.

Damage as bullet exited the pumpkin
For those of you wondering, all the other little holes are damage from a pellet gun and a couple .22 short. We decided to shoot it with the .38 after my son had already been plinking for a bit.
Considering this a low velocity round fired from a .38, this really packs a fairly large punch. Like I mentioned, however, the real benefits are associated with the minimum recoil and lack of penetration compared to other loads in that caliber.
For those of you who might not reload and don’t know what at “wadcutter” bullet is, here are a few more pictures. These first two show what the actual bullet looks like. The first one is how it would normally be pressed into the casing. The second one is the inverse side.
Wadcutter for .38
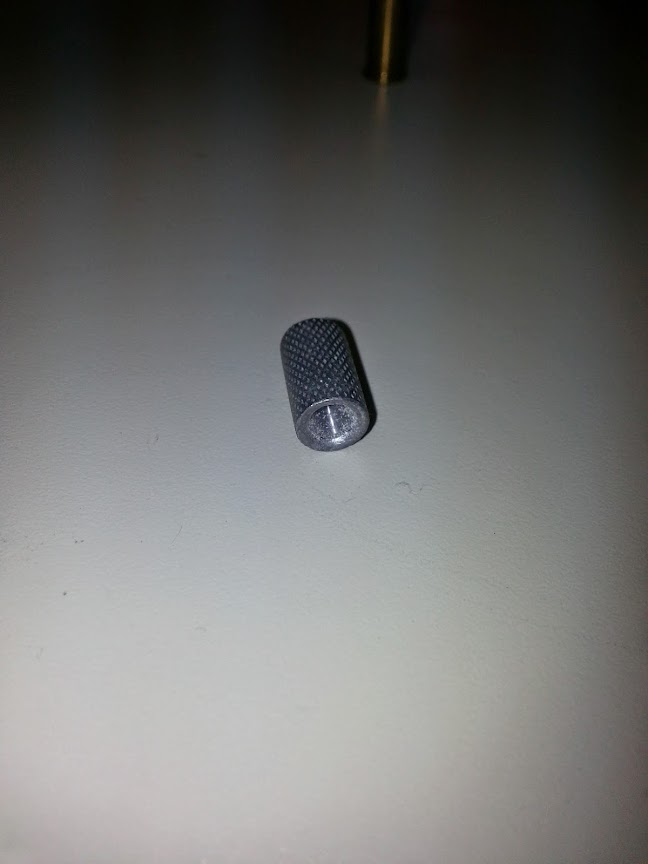
Back side of the wadcutter bullet.
As you can see, it is not a jacketed bullet like most people are used to. It is a simple, cast bullet made of lead. The last picture I have is the bullet next to the loaded cartridge.
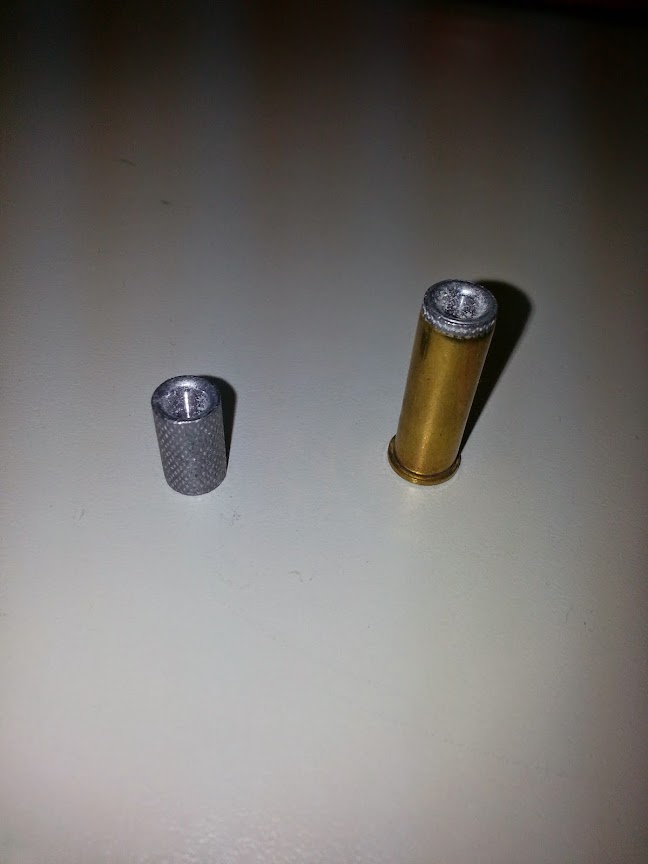
Wadcutter bullet and how it looks inversely loaded.
Now, I don’t expect the world to adopt this defense load or suddenly make this load one that is mass manufactured. What I hope that anyone reading this will do is start to think outside of the established norms. This goes for everything posted here at Age of Decadence. This is our main goal. Please look around, evaluate the older ways that worked effectively, and don’t be afraid to blaze your own trail. Let us know if you have any other tricks like this.