by Woodsbum
To make life easier in my family, I finally decided to get a food dehydrator. “How would this make your life easier?” many will ask. It is quite simple: jerky……..
My family LOVES jerky and “snack” type foods. Not necessarily junk food, but snack type items. We love veggies that are cut up and ready to eat. Fruits that are cut up and easy to pop in your mouth. Popcorn is also a favorite. The absolute, top shelf snacking chow at our house happens to be beef jerky.
For those that are not familiar with the “jerky” world, it can become quite an expensive habit to have. A small package of Jack Links (our household favorite brand prior to the homemade stuff I did over the weekend) can run $10 for only a few minutes of taste bud Utopia. Couple that with the expensive dehydrated fruit that we get on occasion and a hefty bite can be taken out of your bank account. What we did was purchase this:

Excalibur Food Dehydrator
- Purchased a steak block from Cash and Carry, a local restaurant supplier that is open to the public. I got round steak for around $3 a pound.
- I cut the meat into thin slices. Mine ended up between 1/8 inch to 1/4 inch depending on how steady my hand was.
- The meat was marinated in Frank’s Red Hot buffalo sauce, soy sauce, lemon juice, liquid smoke, black and red pepper, garlic, and Tabasco sauce for 24 hours.
- We set the device’s temperature setting to “Jerky” and the timer to 8 hours. about 6 hours into the process, we flipped the jerky over.
That was it. It came out delicious and we now have a great way to keep jerky in the house for a mere fraction of the price.
We also did some apples and mango. To help with the prep work and hassle, I picked up these from Amazon:
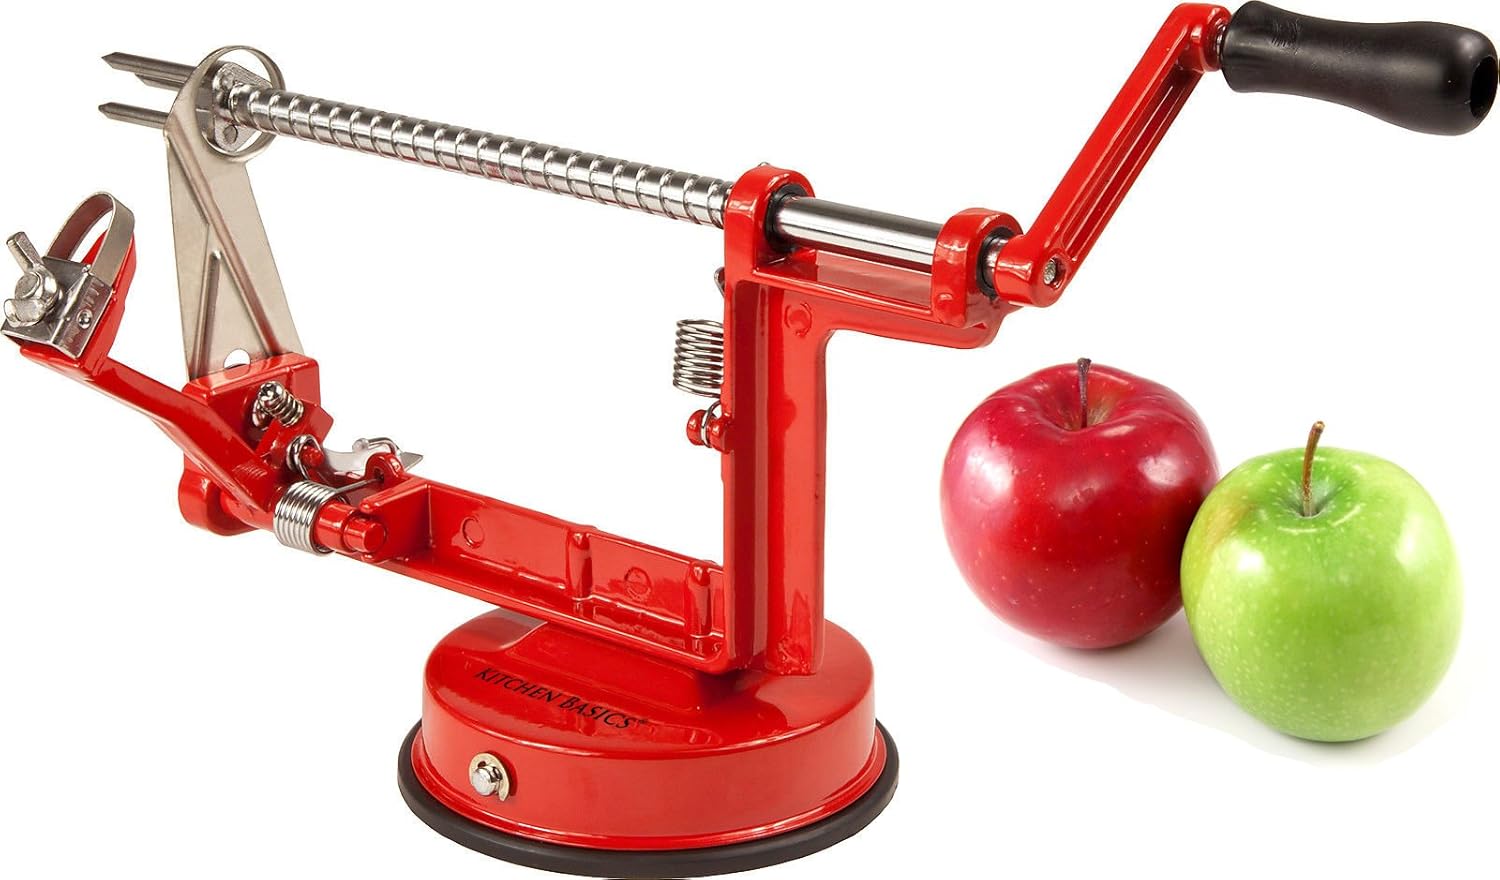
Apple Core and Peeler

Mango Pitter
Once I got the fruit prepped and onto the trays, I sprinkled cinnamon and sugar on the apples. The mango was skinned, but left alone to dry. The drying process took about 10 hours for a good, complete dry. The product was definitely worth the wait, however. Over the course of 2 days the late teen/early 20 year olds in my home ate a full 1 gallon Ziploc freezer bag full of dried fruit. It was amazing and so very simple.
When I get home tonight, I will be prepping some more jerky and drying out some more fruit. As time goes on and I experiment with even more recipes, I will post them. The best combo for fruit I have found thus far involves a medium to heavy sprinkling of cinnamon and sugar mix. I will try more things, however and report back. Later on, I also plan on making some of my own backpacking soups from veggies and meat. We will have to see how it goes, but I have some faith in the process after having done the fruit and beef jerky this last weekend.
If you have any interest in getting into the whole dehydrating thing, I highly suggest you pick yourself up one of the Excalibur systems from the very beginning. The ease and simple design, the timer, and the even drying of the food really make it worth the money. This is definitely a recommended product. Also, let me know if you come up with some good recipes along the way. We get good, inexpensive produce so I can afford to play a bit.
Happy dehydrating!!!!