
by Woodsbum
Having a nice axe around is pretty important for the bushcrafting type person. Unfortunately, they get really expensive for a good one. The best brands (Wetterlings, GB, or a custom) all run over $100. Even though it is a great price when considering the quality of the item you are getting, it is still over $100. This is where being thrifty and putting in a little elbow grease can save your tail. By watching for vintage axes on Ebay, garages sales, or thrift stores you can get a top quality axe head that just needs a little TLC.
Take these three axe heads for instance. Two were given to me and one was purchased for $.50 from a garage sale. The carpenter’s axe and single bit are both True Tempers and the hatchet is a forged head from Germany. All are great quality tools that will give many more years of service if restored properly.

Three axe heads ready for restoration
In the restoration process, the first real step is to get all the rust and patina off the head. Some people are really into the whole “vintage” thing and want to keep the product in an antique state for resale or collectible purposes. When you are going after a usable tool, you want to make it as close to new as possible, in my mind. This is why I get rid of all that and work to remove all the scaling, rust, and patina to get back down to a bare metal. There are several methods to do this. One is to use vinegar. By soaking an axe head in vinegar, the main rust and scaling will bubble off and be removed. It also, however, does what is called a “vinegar patina.” I am not fond of the look and it actually bugs me. The carpenter’s axe and the single bit above were both done with vinegar. As you can see, it darkens the metal and essentially makes all the rust pits more visible. The hatchet is getting a different treatment.
To clean off the hatchet, I soaked it in a strong penetrating oil for a week. I then took a wire wheel to it and all the nastiness came right off. Here are some pictures of a how well the wire wheel works on an old axe head. This one is an old Collins double bit.
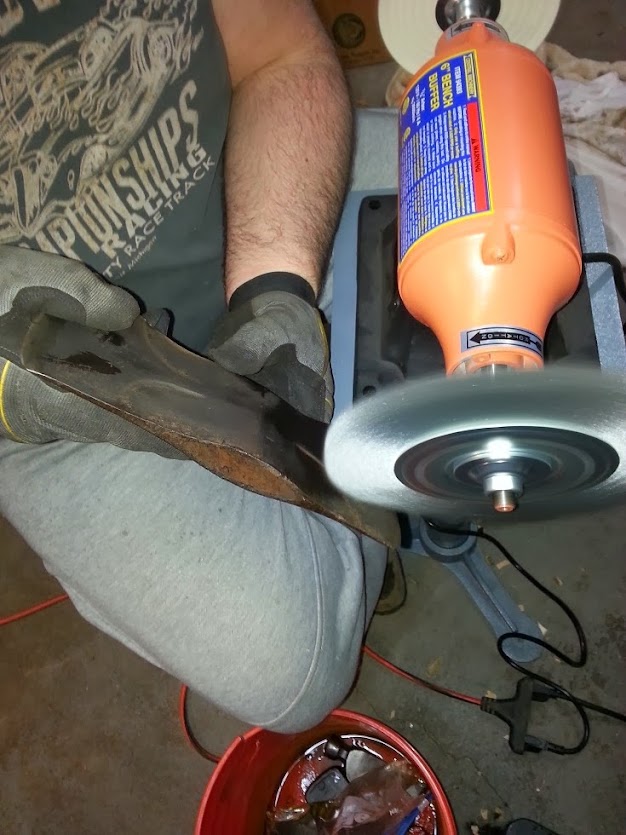
Wire wheel descaling an axe head after a penetrating oil soak
As you can see, the wheel really cleans and polishes it up quite well. Here is the old hatchet after the soak and polish.

German hatchet after getting cleaned up
Once you get the head all cleaned up, it is time to haft it. The hardest part of hafting an axe is the sanding that needs to be done in order for the handle to fit properly in the eye.
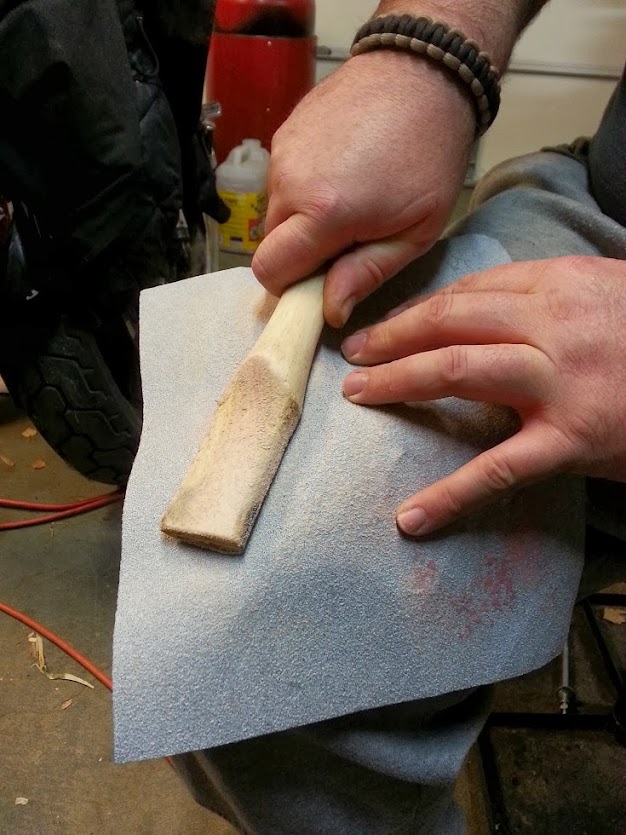
Sanding the handle
Once it slides most of the way into the eye and actually FILLS the eye with no real gaps. You want it nice and snug, but not to the point where you are shaving the wood as it goes on.

Handle sanded to fit
Once you get it perfect, the head should be tapped onto the handle through the use of gravity. Smack the handle straight down on the ground to let gravity drive the head onto the handle. This keeps the head from twisting and binding onto the new handle. Once it slides all the way onto the handle and will go no further, you can go ahead and put in the wood wedge. The wedge is gently driven into the slit at the top of the handle. Use of a mallet rather than a hammer keeps the wedge from breaking or splintering. Remember that the wedge should fit into the eye just like the handle. If you have to trim a little bit that is fine.

Wedge in a double bit
Keep driving until you have completely filled the eye of the axe with the wood from the handle and the wedge. It should bulge over the edges of the eye a bit. “Muffin top” is a good way to describe it.

Wedge driven in

Double bit wedged and trimmed
After all this is done, you can (if you want) put in a metal wedge to help keep the wood wedge from sliding out over time. The best way to do this is by driving the metal wedge in at a diagonal as shown in the picture below.

Handle totally done
There is a lot of pride and fun that can be found in restoring old axe heads. To date, I have redone several dozen and put them back in service. Seeing an old tool that was a step above useless suddenly come to life with a little TLC can make even the most hardened woodsbum get a little twinge of emotion. Even more emotion that what a double bacon sandwich cooked over a campfire can create!
Well, happy hunting and hafting everyone. Get out there and find your Collins, True Tempers, Black Ravens, Hultsafor Bruks, Plumbs, and Norlunds. Make them awesome again. Most importantly, have some fun!!!!
