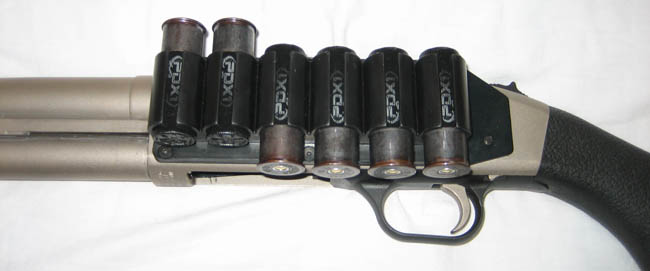
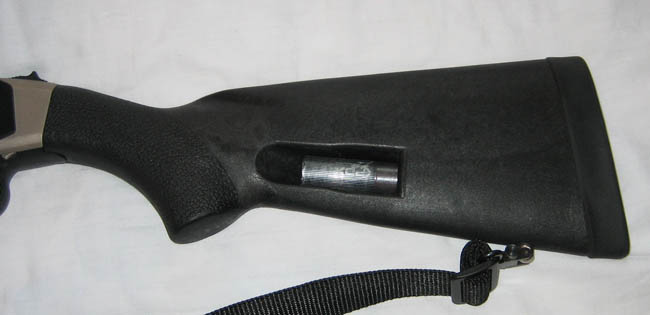
I picked up an Elzetta Tactical Flashlight Mount for my Mossberg 590 last week since I heard great things about the company. The mount is very solid and holds my flashlight in a death grip. There is no way that the flashlight is going to come off the gun short of taking a hammer to it. I also added a Mossberg Speed Feed stock and a Tac Star Side Saddle to the gun. I wanted to get everything ready for a tactical shotgun course I’m taking in three weeks. I’ll have more about the training and the gear that I brought to it after the course is completed. In the mean time here are a bunch of pics of the gun and the accessories. As a side note I greased all the internal parts with white lithium grease and the gun action is as smooth as silk.
Monthly Archives: May 2014
The Beauty of the Twig Bundle
by Woodsbum
Most people love a good campfire. The problem is that there is an art to the whole “fire building” thing. If you don’t know how to make feather or fuzz sticks, gather tinder and kindling, know the difference between green or dried wood, etc., you can be stuck using one of those fire starter logs on your next camping trip. What I am going to do is start adding a few fire starting techniques and instructions to help you along if you do want to start a fire on your next outing.
The first series of instruction is on the “twig bundle.” It is also known as the “Apache match.” All it really consists of is a gathered bundle of dried twigs that range from the width of a pencil lead to the size of a disposable pen. These puppies get very hot, very quick and burn long enough to get some bigger split wood burning. They are quite effective and I personally use this technique about 1/3 of the time I am out in the woods.
Your first step is to gather as many twigs as you can find. They should be very dry and range in size from pencil lead diameter to the diameter of a disposable pen. When gathering these twigs it is imperative that you only gather those that are very dry. To test to see if they are dry enough you should bend them and see if they snap. If they tend to bend more than snap, the twigs are not dry enough. Gather enough to be able t make a bundle about 8 inches in diameter. To judge this size you can look the length of a United States Dollar. It is about 6 inches long. Get a group of twigs together that create a bundle farther across than the length of that dollar.
Once you get your twigs gathered, break them into 12 – 16 inch chunks then separate them by diameter. The thinner pieces need to be in the middle of the bundle and the thicker pieces need to be towards the outside. This allows the thinner pieces to catch on fire and get the thicker pieces going after it gets hot enough. You pile of twigs should look like this.

Pile of twigs
After you get them sorted and built into a good, organized bundle you should find yourself some sort of cordage to tie the bundle together. Twine, inner tree bark, fresh tree branches, stalks from weeds, blackberry vines, etc., all work well. In this picture I used a fresh bough I cut off a tree that kept poking me as I worked.

Tied twig bundle
As you can see, it doesn’t have to be perfect. All you are going to do is start it on fire, so generalized “organization” is more than perfect. As long as it is relatively “organized” you will be fine.
Once you get your bundle ready to be lit, you then need to decide how you are going to light the bundle. Some common methods include the use of cotton balls, dried cat tails, jute twine, dried grass, inner bark of a dead tree….. The list can go on for days. The important thing to remember is as such: Get some easily combustible material to nestle into one end of the bundle and get a different pile of materials to get your actual flame. You DO NOT want to fight the twig bundle as you are trying to get an actual flame started. Get the flame and then start the bundle on fire. If you pack one end with something like dried grass, the whole end of the bundle will take off in a matter of seconds.
If you are wondering what I use, you might be a little scared. I tend to use flint and steel to get a piece of charcloth going, then blow a “nest” of dried materials into flame. Once I get that going I get the dried material I packed into the end of the bundle started, which in turn make the bundle burst into flames. I use this method because of the extremely wet environment in which I live. You might not have as many issues if you don’t live in a rain forest type environment.
Once your twig bundle takes off, it will get hot and burn quickly. Don’t forget to have yourself some staged firewood ready in various sizes that range from the diameter of a dime to the size of a quarter to begin with. You will take your brightly burning twig bundle and use that as a way to get your other materials going.

Twig bundle burning
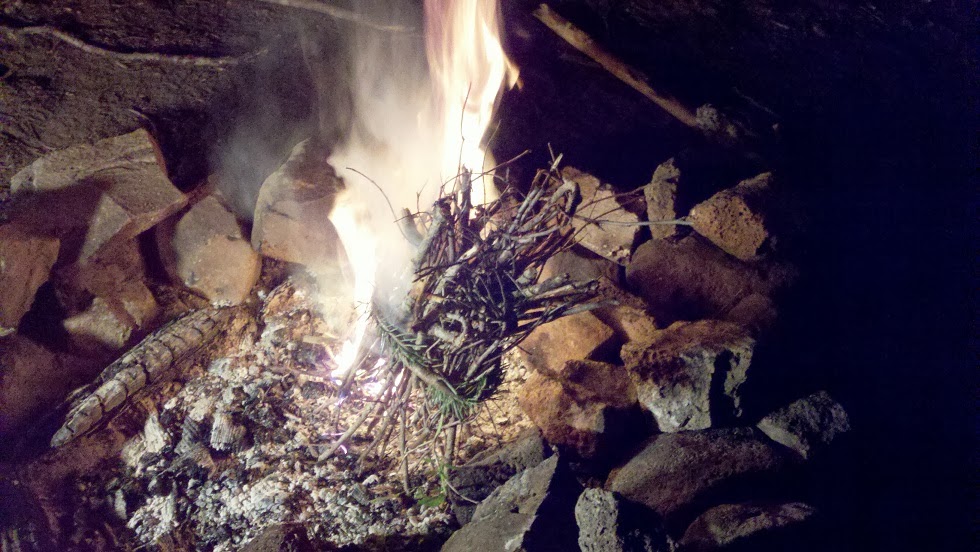
Twig bundle set ablaze

Twig bundle with larger branches in a modified tipi style fire lay
Razor Six Hand to Hand Combat Knife 101 AAR
by GunGuy
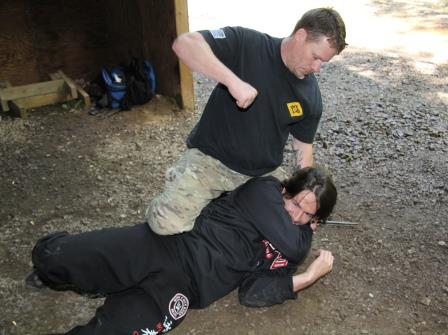
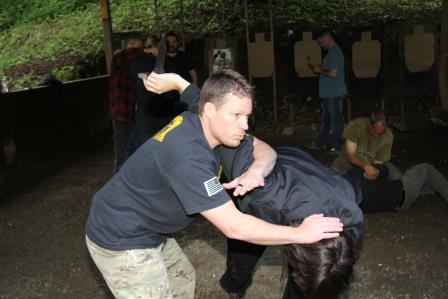
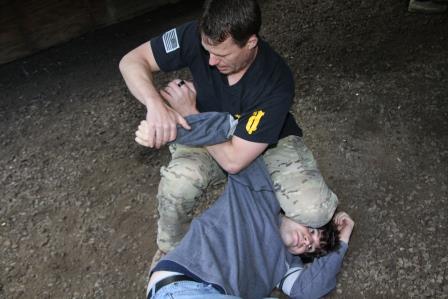
Last Saturday I had the pleasure of taking the Hand to Hand Combat Knife 101 class offered by Razor Six Tactical and taught by Josh Long. The training took place at a beautiful piece of property in Oregon. Rob Hicks the founder of Razor Six Tactical was onsite as well and I had a chance to tour the impressive training facility with him and talk about an exciting product he has in development.
Once everyone arrived we did a quick meet and greet of the 10 participants and had a safety brief. We started with a 30 minute presentation consisting of slides and videos depicting the serious damage inflicted during a knife fight. Josh stated that the first rule of knife fighting is that you are going to get cut. Once you accept that fact you can move forward and take the training to heart.
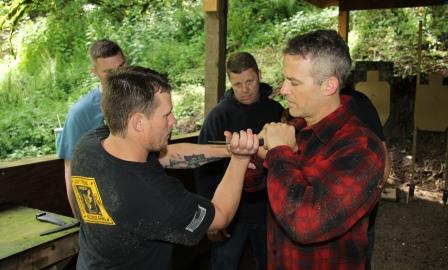
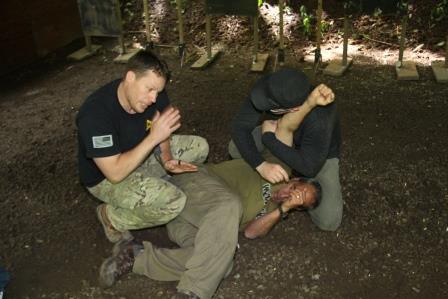
After the class room portion of the course we went down to a covered pistol shooting bay for the hands on drills where we used Boker rubber training knives. Josh broke down the training into easily digestible points. We drilled the different parts which stacked on top of each other to allow us to have a simple and effective strategy to engage someone attacking with a knife.
The class lasted 6 hours with an hour for lunch. The gravel base of the training area reinforced the “train hard”/”fight easy” mindset which prepared us for real world situations. Towards the end of the class we had the opportunity to drill our moves with the use of a shock knife to get the adrenaline pumping and induce more reality into the training. The shock knife was set to low and wasn’t that painful. It was more of a mental hurdle that needed to be over come and made the training more realistic.
I went into this class with an open mind and not knowing what to expect. Overall I learned that you have to take the initiative and move with speed to take your opponent down. Being hesitant when put into a situation where your life is threatened can get you seriously hurt and or killed. There is no honor in a knife fight as your sole purpose is to win. I’m looking forward to taking more classes with Razor Six Tactical.
Magpul Stock Spacer Sling Stud Install – Mossberg
by Woodsbum
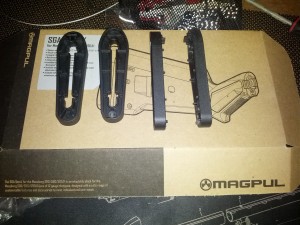
I was lazy and only got out two posts for last week. I think today’s post might make up for it. GunGuy has a Mossberg 590 that he put a Magpul forgrip and stock on. The problem is that the spacers don’t have enough “meat” in the plastic to allow for installing a sling stud for hooking up a sling. That is where I was “invoked” (yes, I used the word ‘invoked’ for it is not often that someone gets the chance to use such an AWESOME word).
Here is the piece that I am talking about.
Step 1:
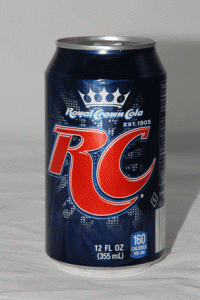
Mix your rum with your RC to begin the process. No project is truly kicked off until your beverage of choice is within arms reach.
Mixed with:
Step 2:
I found the correct size bit and drilled the initial hole for the stud. Now remember that the hole you drill will end up only making a channel in the “guts” of the plastic. If you look closely, you can see how the bit goes through the top part, but the plastic isn’t solid internally. It is hollowed out to save on weight, money, costs, or because “plastic trees” are endangered. At any rate, you really have to make sure that the spacer is held firmly while you drill so that it doesn’t move sideways and mess up your hole.

Drilling hole
Step 3:
Once you get the main hole drilled, you need to drill out the channel for the screw and a couple of other holes for your epoxy to set in. This will keep your epoxy from popping out of the hole as if you were only making a casting of the inside of the spacer. Look closely and you will see a hole on both sides as well as few additional channels I carved to give the epoxy some good footing.

Channels Dremel tooled out
I then installed the stud so that the threads tapped the plastic piece. I also pushed down really hard on the stud’s threads that were showing as it went into the spacer so that the channel I carved with my Dremel was actually threaded as well. Here is a picture of it all lined up and ready for the next step.
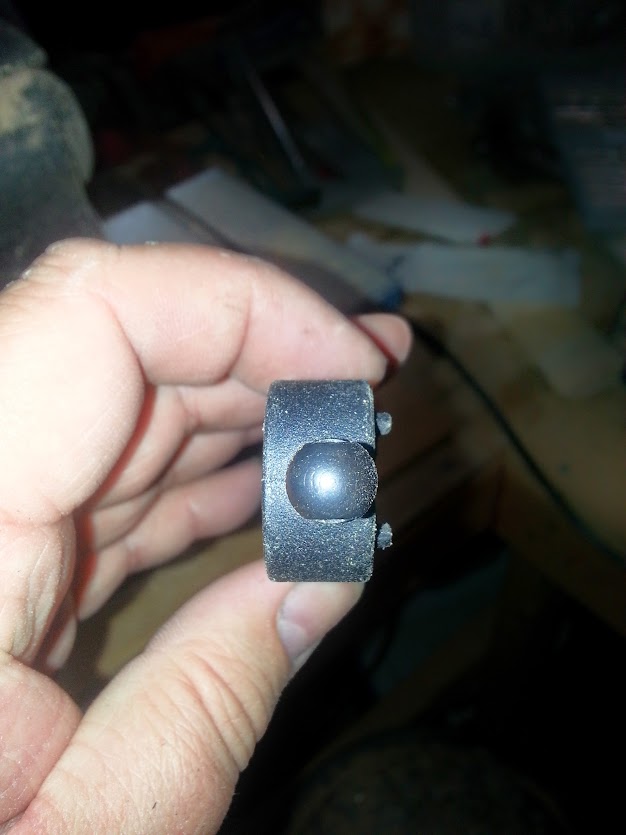
Ready for epoxy
Step 5:
At this point I plugged the holes that I had drilled so that the epoxy would not run out and drip onto my work area. I also wanted to make sure that it was well contained within those holes that I had drilled for added strength.

Holes plugged
In deciding upon an epoxy for this project, I looked at several. I even tested several. For whatever scientific reason, JB Weld was the best choice. It didn’t adhere to the plastic as well as other choices, but it really stuck to the threads of all my testing materials I worked with. It came down to a compromise of metal adherence versus plastic adhesion. To help with the plastic adhesion, I drilled those holes and forced the epoxy into those holes to work as a sort of pin. My other thoughts were to drill around the screw and use tie wire to essentially redneck it into staying, then epoxy it. I was afraid that this method would compromise the integrity of the plastic spacer too much and opted to use this method instead.

Epoxy time
I used finishing nails to force the epoxy into the holes and channels that I had carved into the plastic with a Dremel tool. After an hour, I did go in and remove the putty I used on the back side of the stud so that I could check the penetration I got with the epoxy. It filled the hole well and seemed to be setting up as expected. Here it is after an hour of drying in my garage. I told GunGuy to wait for a couple days before he installs it and tries it out, just in case the epoxy somehow was slow drying due to its age. I really think it will be fine as of tonight, but don’t tell him that.

Finished and drying
The rest of this project involved a couple more glasses of Capt and RC, a horrible movie that I can’t even remember now, and some pizza from Papa Johns. Other than that, I think this project is a wrap!
Condor Phantom Jacket
by Woodsbum
This is going to be more of a review than anything else. Being a bit of a gear freak, I usually have bad things to say about clothing items I buy not being <this> or not having enough <that>. Most non clothing items I get I end up falling in love with. Clothing, not so much. Every once in a while, I do run across items that I REALLY do love and endorse. Enter the Condor Phantom…….
This soft shell jacket is truly one of the best investments I have made. It is a waterproof, soft shell jacket with literally pockets everywhere. Each sleeve has a pocket. There is a slanted chest pocket. Hand warmer front pockets with a pocket inside each one of those for an iPod or something. Inside there are two pockets that are made from the two lower hand warmer pockets that fit compact pistols very well for concealed carry. The back portion of those also have pockets and a pen loop. See that I said? Pockets EVERYWHERE!!!!It also has Velcro on the sleeves for morale patches.
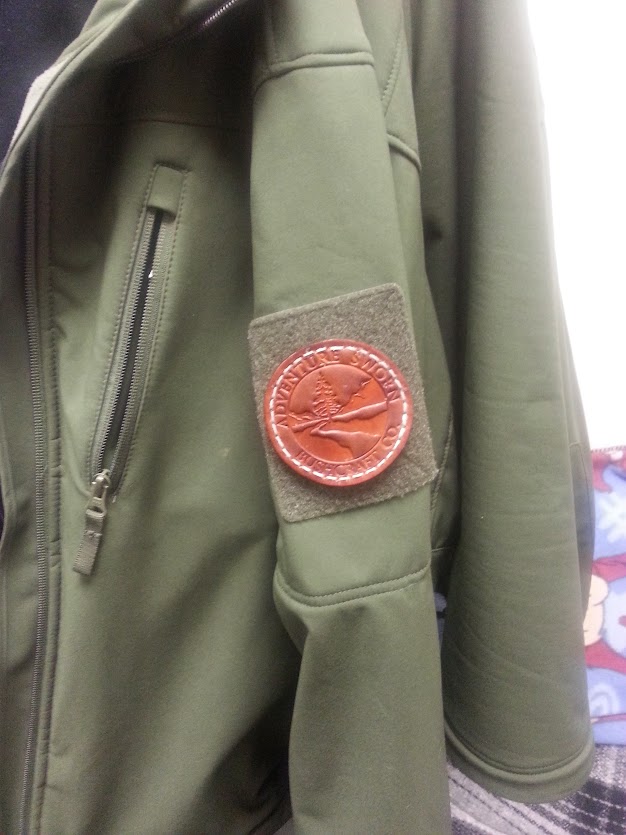
Condor Velcro and AdventureSworn patch.
My first real outing with this jacket was in sub 30 degree weather with blowing snow and sleet. We took a several mile hike along a ridge to go have some bacon sandwiches with my son. Whereas he ended up getting a bit cold and wet, the only issue I had was getting a bit warm with the physical exercise. This called for me to open the arm pit ventilation zippers for the entire trip.
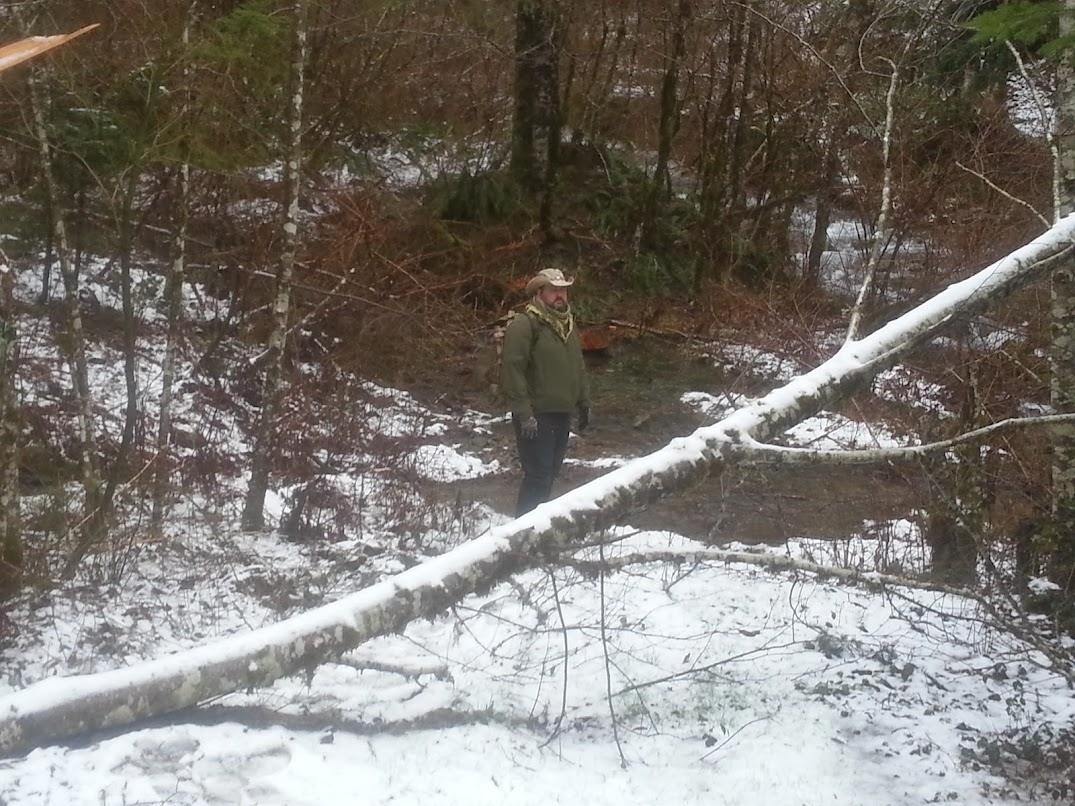
Snowy trip with my Condor Phantom
On another outing I wore it and even ended up taking an afternoon nap while under the cover of poncho I put up to keep the rain off me. The temperature during this outing was down into the 20s and I was not moving. Yes, the wetness on the rocks is ice and it was actually raining-ish at the time. For those in Western Washington, you know this weather quite intimately while in the mountains.

Catching a nap
The reason I put these pictures up was to show you how well this jacket breaths and allows you to keep a constant body temperature in frosty temperatures even without moving. It truly is a great product.
I have had this coat for about 3 months thus far. It has been put through its paces in the mountains (3 out of 4 weekends on average), in town (daily wear), and in the heavy brush of the lower lands of Western Washington (on off weekends). It has held up without showing even the slightest wear or show of wear. It also works as my conceal carry coat where I just put my M&P Shield right inside a pocket without even a holster. There are enough pockets that I also use it to carry all my crap around rather than grabbing a rucksack about half the time.
If you are in the market for a soft shell, waterproof jacket that will keep you warm with enough pockets to make a kangaroo jealous I suggest this jacket. It is well worth the money and the look.
As another testimonial to how nice it is, GunGuy got himself one after he saw mine.
Got get yourself one!!!!


