Monthly Archives: May 2014

Mossberg 590 Velcro Side Saddle / Shot Shell Tray How To

by GunGuy

I’m a big fan of Mossberg shotguns. I’ve owned several over the last twenty years except for a brief stint with the Remington 870’s. I’ve apologized for my cheating ways and now I’m back in the loving embrace of a Mossberg.

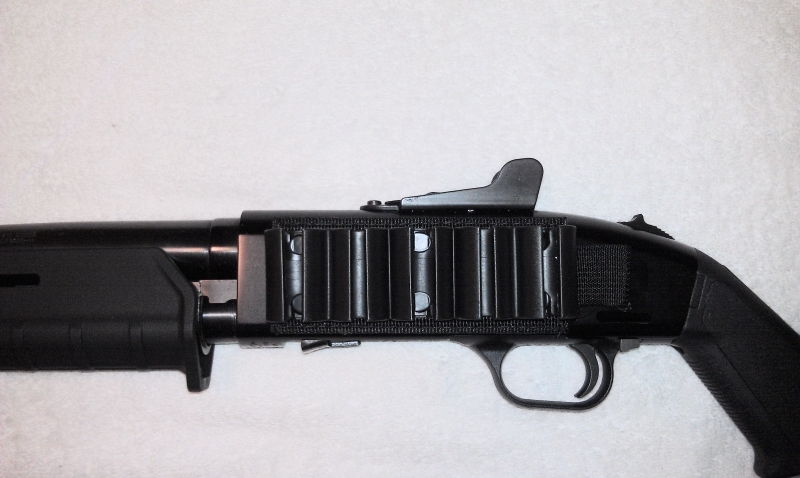
I added a Velcro HSGI shotshell tray to a used Mossberg 590 that I picked up recently. Here are some notes and pictures to get you on your way to duplicating this project.
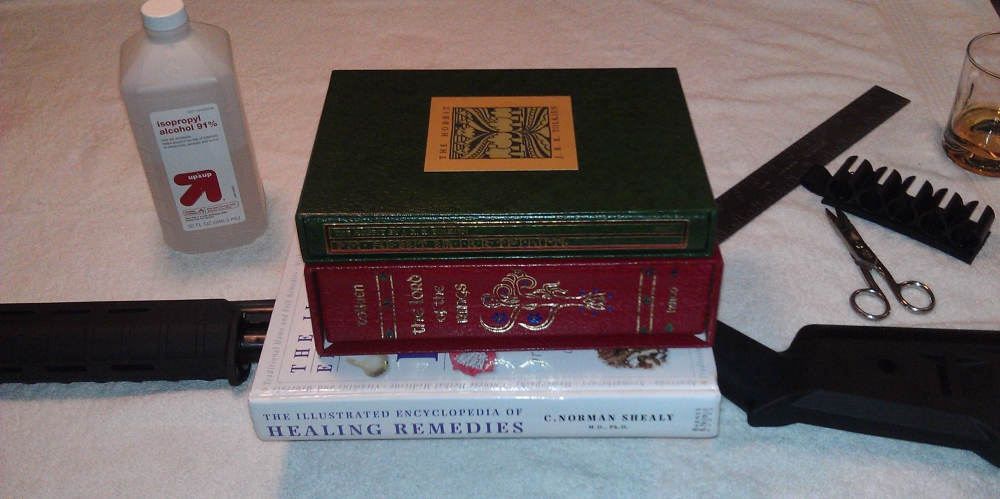
Supplies Needed

Step 1: I prepped the side of the shotgun by wiping it down with Isopropyl alcohol several times and then let it dry.

Velcro_Side_Saddle_1

Step 2: Using the ruler and utility knife I cut the Velcro a little longer than the shot shell carrier and a little shorter then the height of the side of the receiver. The size of the Velcro strip was 5 .25 inches wide and 1.5 inches high. I used scissors to round the corners so they would not curl up.

Velcro_Side_Saddle_2

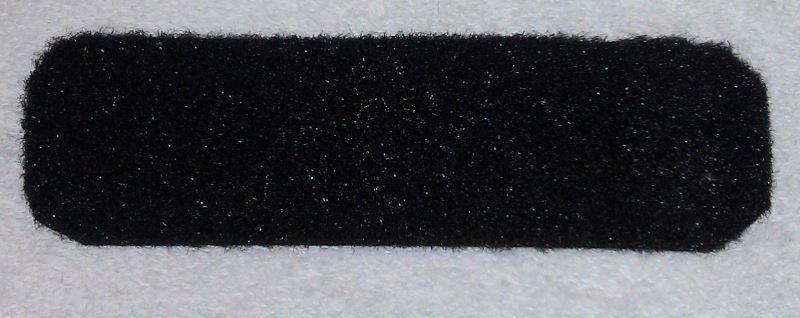
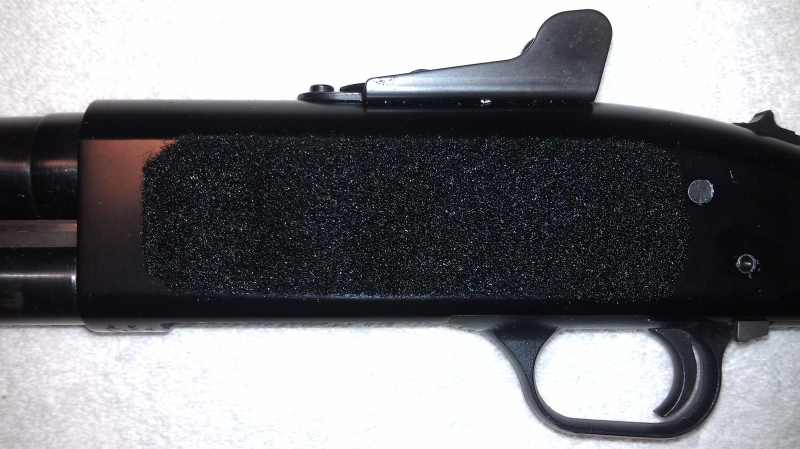
Step 3: Carefully I placed the Velcro just in front of the trigger group pins so I could have access to them when field stripping and also allow the serial number to be seen. The adhesive is very tacky so and it won’t come up once you put it down on the gun.

Velcro_Side_Saddle_3

Step 4:  I stacked several books on top of the newly laid piece of Velcro and let it sit for 24 hours until it cured.

Velcro_Side_Saddle_4

Step 5: Once the adhesive cured I put the shot shell carrier on the shotgun and gave it a test run by pulling it off and putting it on several times. I have a shotgun class coming up shortly and I’ll give it a thorough breaking in then.

Velcro_Side_Saddle_5

  • Share on Tumblr

GRAYMAN Satu Folder

by Gunguy

I picked up the Grayman Satu folder a few months ago. I saw the pictures on the Grayman’s Knives website and I knew the knife was going to be big. It still did not prepare me for the size of it when I opened the box. It’s one hell of a big knife.  The first thing I did was inspect it closely. The knife did not have any machining marks or scratches and all the screws were tight. The action was initially stiff. I put a little white lithium grease in the action before  I began to open and close the knife a couple of hundred times in each hand over the next several days to loosen it up. I know that may seem a bit obsessive compulsive but it’s the way I get familiar with the action of a folding knife. This way I get very familiar with the knife and opening it becomes second nature in both hands.

I primarily wanted to use this knife as a hiking knife. I was looking for something very well built that I can put in my pocket or backpack. Since I live on the east coast I have to be more discreet than those of you who live elsewhere. The knife has a really strong clip that will hold on to your pants like a leech. It might be a little to tight in case of an emergency but I’m not carrying this knife as a self defense weapon. You can definitely use it as such but that’s not it’s main purpose. I would like to test this knife further but I can’t bring myself to start chopping at branches just for the hell of it. For now it’s residing in my home waiting for it’s first trip into the woods. Until then I will have to leave you with a bunch of pictures.

satu_left1

satu_right1

satu_left3

satu_right3

  • Share on Tumblr