by Woodsbum
Many of my friends and family are amazed at how well I can coordinate an entire meal through the use of a campfire as my heat source. Until recently I just told them that I was so good at it because, “Generations of country run through these veins!” Either that or I would look at them and sing, “Red-red-red-red-red-red-neck!” Either way it was amusing for me. Not that either of these isn’t a true statement, but it also helps to practice up a lot when not out in the bush. Now I confess and let them know how to practice.
A lot of you might not live in a place where having a full blown fire pit or campfire in your yard is an option. For those of you who want to practice up, but don’t have the facilities, can use one of these type fire pits.
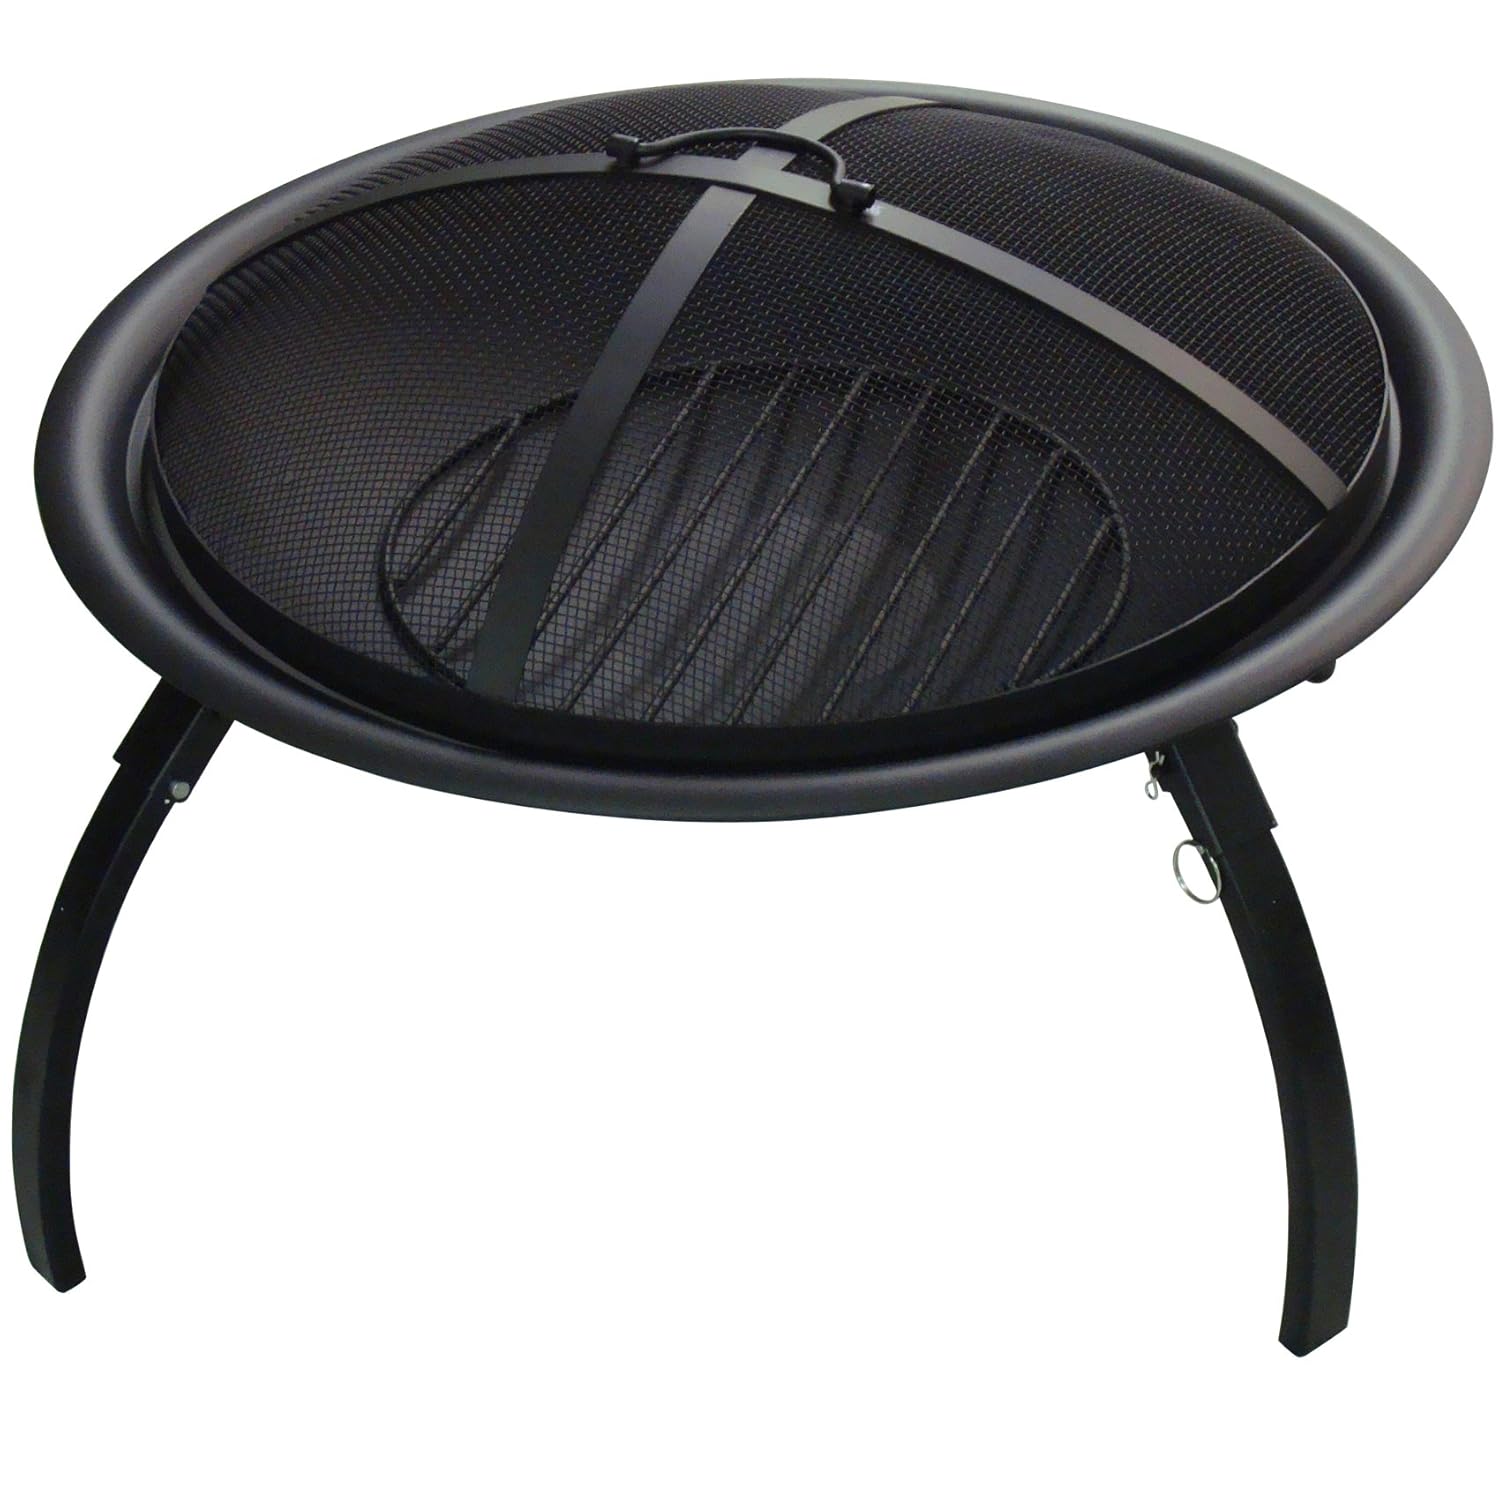
Inexpensive Fire Pit
Even if you have to purchase wood from the local store, this is a great way to get the knack of cooking with actual fire. My first suggested dinners include those that are built in a Dutch oven and on aluminum foil. “Cowboy casseroles” and bannock are two great dinners to start with. For “Cowboy casserole” do the following:
- Cook some steak to medium rare or some brauts to a point right before they are truly cooked.
- Pour some drained, baked beans into your Dutch oven.
- Add some spicy BBQ sauce to the bean. Add enough to make them a little bit soupy.
- Cut up whatever meat you previously cooked. Make sure it is in small pieces. We are talking smaller than a bite. Add this to the beans.
- Toss in some cut up bacon.
- Cook to the point where the bacon starts turning color. Add some biscuit mix (mixed up of course) to the top. You can also mix flour, a table spoon of baking powder, salt, and enough water to make it into a batter, then pour it on top. Either way, it needs the biscuit type material on top.
- Cook it the rest of the way. If you added the biscuit type layer after the bacon had already started cooking, everything will get done at the same time.
For bannock:
- Take flour, a table spoon of baking powder, sugar, cinnamon, and enough water to make it into a biscuit type mix.
- Cook it like you see in the picture below.

Cooking bannock and Cowboy casserole
As you can see, I took some foil and put it over some tree bark. You can put it right on the bark if you want, but expect a bit of dirt that way. I did the foil because my wife was eating with us and she complains about the dirt and grime in her food.
If you are not sure how it should look when you are cooking your steaks, check out this picture.

Cooking steak over a fire pit.

Almost done
When you get a bit more experienced, you can even cook with a pot over the fire pit. Just take some metal rods to make yourself something like the following to put your pot over. I wasn’t cooking with the pot, but wanted to give you an idea of what it would look like with the fire pit.

Cooking with a pot over a fire pit
As you can see, the only limitations on how to cook with one of these fire pits is your imagination. We have had ours for several years and have put several cords of wood through it. During the summer we use it at least three times a week and cook with it about half the time. We use it during the winter as well, but only two to three times every couple weeks. Still, it is enough to get good at open flame cooking.
In conclusion: You will never get good at something unless you practice. If you live in a city that frowns upon bonfires in your backyard, you have to get a bit creative. This simple fire pit not only gives you the opportunity to practice building fires any time you feel the need, but it also allows you to practice your bush cooking. For the $40-$50 we spent on this bad boy, we have been able to do the following:
- Teach my family how to cook over open flame.
- Teach all my family how to build a camp fire.
- Teach my son how to do flint and steel fires as well as friction fires.
- Spend countless hours of quality time with my family.
To me, this money spent has been one of our family’s best investments. Take a look at one and get out there to have some fun……


