Category Archives: Firearms

These are our BOOM STICKS!!!!

PTR-91 Firing Issue / Ammo Sensitivity

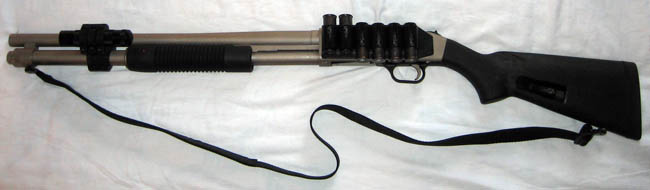
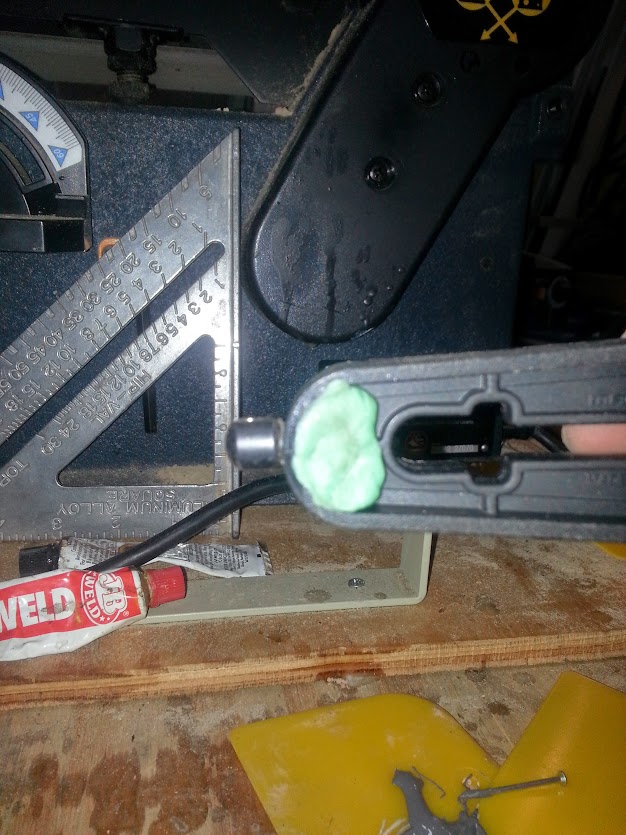
I picked up a PTR-91 a couple of months ago without doing any research beforehand. I bought four boxes of 308 Winchester Federal Power-Shok 150 Grain Soft Point ammo to try it out with initially. I sighted in the rifle within 20 rounds and put another 40 rounds through it without a hitch. Cleaning the rifle wasn’t a big deal except for putting the bolthead back on the bolthead carrier properly. I found the following HK G3 Disassembly instructions on www.MG-42.net. The information made putting the rifle back together a lot easier. If you have had any issues putting the bolthead back on the carrier then I recommend this bolt assembly tool. After cleaning the rifle I thought I would not have any issues with it for a long time and then…..

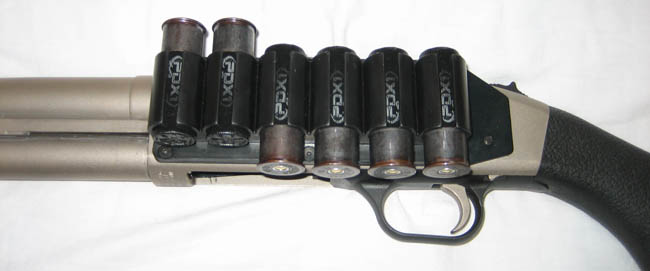
I bought a case of PMC Bronze 308 / 7.62 Nato for the rifle and that’s when my firing issues started.

My PTR-91 did not like the PMC ammo even though it was brand new and commercially produced . It would fire one round, the rifle would cycle the next round  and then fail to fire the following round. I tried about a dozen times and it would do this for every round that the rifle cycled. The only time it worked was when I manually worked the action. I thought that this was strange and cleaned the rifle and put it off to the side until I could call PTR.

I called PTR and they asked what kind of ammo I was using and they said that the PMC Bronze would be fine. The PTR rep sent me a new firing pin and spring. After installing the new firing pin and spring the firing issue was not fixed. At this point I went online and quickly realized that a lot of people were having problems with their PTR rifles. I came across forum posts about the PTR being picky about certain types of ammo. Here is the list that I’ve seen online.

  1. South Africa
  2. Winchester white boxes marked 7.62
  3. Venezuela Cavim
  4. Austrian (Hirtenberger)
  5. Some lots of German
  6. British (under powered) will not cycle action
  7. Indian (Over powered)

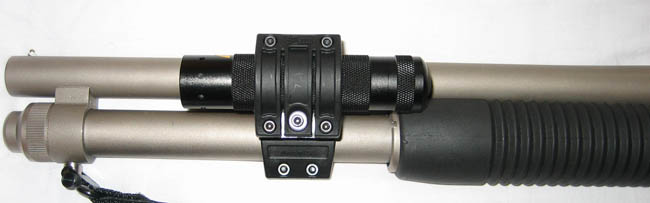
I also checked the headspace on my rifle with this feeler gauge from Amazon.com and it was within the recommended tolerance of .004-.020 at .017. I had all sorts of issues trying to figure out how to measure the head space on the PTR-91 until I found the following instructions to check the head space on a PTR-91.

  1. Let the bolt and carriers snap forward on an empty chamber
  2. Set the weapon to fire
  3. Pull the trigger
  4. Measure the gap between the bolt head and the bolt carrier should be .004-.020

Since my ammo was not on the list but it was sold as 7.62 / 308 winchester I thought it might not be to 308 spec so I switched back to the expensive Federal 308 ammo and the rifle worked like a champ. I then tried my friends PRVI 308 military surplus ammo and it went through it with no issues. I also used Winchester 308 hunting ammo and it went through it all up except for one misfire. For the final test I loaded a mix of all three types of ammo in a 20 round magazine with 19 rounds and fired the whole thing off without any issues. I’m going to test the rifle some more this weekend a write up my final opinion on the ptr-91 next week.

  • Share on Tumblr

S&W M&P 9mm – Grip Tape

I’m relatively new to the pistol shooting world and I had some trouble getting a proper grip on my SW MP 9. I used a suggestion by Chris Costa from the Magpul Dynamics Art of the Dynamic Handgun dvd and put some  Black Magic grip tape on the gun.

I  put some tape on the left and right hand side of the grip and a piece underneath the trigger guard.  This really helped me get a proper grip on the gun and  made it fell more secure in my hand. After adding the tape I went to the range and refined the placement of the tape and I’m currently using the grip tape placement below.

The grip tape was an inexpensive way to improve the feel of the handgun. I looked into stippling but I was not comfortable with modifying the handgun in that way. Here is a great link on how to stipple a firearm using a soldering iron.

SW_MP_50_9_Bottom

SW_MP_50_9_Left1

SW_MP_50_9_Right

SW_MP_50_Feet

Target at Fifty Feet

  • Share on Tumblr

Elzetta Flashlight Mount for Mossberg 590

I picked up an Elzetta Tactical Flashlight Mount for my Mossberg 590 last week since I heard great things about the company. The mount is very solid and holds my flashlight in a death grip. There is no way that the flashlight is going to come off the gun short of taking a hammer to it. I also added a Mossberg Speed Feed stock and a Tac Star Side Saddle to the gun. I wanted to get everything ready for a tactical shotgun course I’m taking in three weeks. I’ll have more about the training and the gear that I brought to it after the course is completed. In the mean time here are a bunch of pics of the gun and the accessories. As a side note I greased all the internal parts with white lithium grease and the gun action is as smooth as silk.

left_full

Side_Saddle

Speed_Feed

Elzetta_Left

Elzetta_Right

  • Share on Tumblr

Magpul Stock Spacer Sling Stud Install – Mossberg

by Woodsbum

I was lazy and only got out two posts for last week. I think today’s post might make up for it. GunGuy has a Mossberg 590 that he put a Magpul forgrip and stock on. The problem is that the spacers don’t have enough “meat” in the plastic to allow for installing a sling stud for hooking up a sling. That is where I was “invoked” (yes, I used the word ‘invoked’ for it is not often that someone gets the chance to use such an AWESOME word).

Here is the piece that I am talking about.

Magpul Stock Spacers

Magpul Stock Spacers

So after much deliberation, planning, plotting, scheming, drinking, and gazing intently into the eyes of this plastic piece I formulated a plan.

Step 1:

Mix your rum with your RC to begin the process. No project is truly kicked off until your beverage of choice is within arms reach.

Captain Morgan

The Good Captain

Mixed with:

RC

RC

Step 2:

I found the correct size bit and drilled the initial hole for the stud. Now remember that the hole you drill will end up only making a channel in the “guts” of the plastic. If you look closely, you can see how the bit goes through the top part, but the plastic isn’t solid internally. It is hollowed out to save on weight, money, costs, or because “plastic trees” are endangered. At any rate, you really have to make sure that the spacer is held firmly while you drill so that it doesn’t move sideways and mess up your hole.

Drilling hole

Drilling hole

Step 3:

Once you get the main hole drilled, you need to drill out the channel for the screw and a couple of other holes for your epoxy to set in. This will keep your epoxy from popping out of the hole as if you were only making a casting of the inside of the spacer. Look closely and you will see a hole on both sides as well as few additional channels I carved to give the epoxy some good footing.

Channels Dremel tooled out

Channels Dremel tooled out

Step 4:

I then installed the stud so that the threads tapped the plastic piece. I also pushed down really hard on the stud’s threads that were showing as it went into the spacer so that the channel I carved with my Dremel was actually threaded as well. Here is a picture of it all lined up and ready for the next step.

Ready for epoxy

Ready for epoxy

Step 5:

At this point I plugged the holes that I had drilled so that the epoxy would not run out and drip onto my work area. I also wanted to make sure that it was well contained within those holes that I had drilled for added strength.

Holes plugged

Holes plugged

Step 6:

In deciding upon an epoxy for this project, I looked at several. I even tested several. For whatever scientific reason, JB Weld was the best choice. It didn’t adhere to the plastic as well as other choices, but it really stuck to the threads of all my testing materials I worked with. It came down to a compromise of metal adherence versus plastic adhesion. To help with the plastic adhesion, I drilled those holes and forced the epoxy into those holes to work as a sort of pin. My other thoughts were to drill around the screw and use tie wire to essentially redneck it into staying, then epoxy it. I was afraid that this method would compromise the integrity of the plastic spacer too much and opted to use this method instead.

Epoxy time

Epoxy time

Step 7:

I used finishing nails to force the epoxy into the holes and channels that I had carved into the plastic with a Dremel tool. After an hour, I did go in and remove the putty I used on the back side of the stud so that I could check the penetration I got with the epoxy. It filled the hole well and seemed to be setting up as expected. Here it is after an hour of drying in my garage. I told GunGuy to wait for a couple days before he installs it and tries it out, just in case the epoxy somehow was slow drying due to its age. I really think it will be fine as of tonight, but don’t tell him that.

Finished and drying

Finished and drying

The rest of this project involved a couple more glasses of Capt and RC, a horrible movie that I can’t even remember now, and some pizza from Papa Johns. Other than that, I think this project is a wrap!

  • Share on Tumblr

Mossberg 590 Velcro Side Saddle / Shot Shell Tray How To

by GunGuy

I’m a big fan of Mossberg shotguns. I’ve owned several over the last twenty years except for a brief stint with the Remington 870’s. I’ve apologized for my cheating ways and now I’m back in the loving embrace of a Mossberg.

I added a Velcro HSGI shotshell tray to a used Mossberg 590 that I picked up recently. Here are some notes and pictures to get you on your way to duplicating this project.

Supplies Needed

Step 1: I prepped the side of the shotgun by wiping it down with Isopropyl alcohol several times and then let it dry.

Velcro_Side_Saddle_1

Step 2: Using the ruler and utility knife I cut the Velcro a little longer than the shot shell carrier and a little shorter then the height of the side of the receiver. The size of the Velcro strip was 5 .25 inches wide and 1.5 inches high. I used scissors to round the corners so they would not curl up.

Velcro_Side_Saddle_2

Step 3: Carefully I placed the Velcro just in front of the trigger group pins so I could have access to them when field stripping and also allow the serial number to be seen. The adhesive is very tacky so and it won’t come up once you put it down on the gun.

Velcro_Side_Saddle_3

Step 4:  I stacked several books on top of the newly laid piece of Velcro and let it sit for 24 hours until it cured.

Velcro_Side_Saddle_4

Step 5: Once the adhesive cured I put the shot shell carrier on the shotgun and gave it a test run by pulling it off and putting it on several times. I have a shotgun class coming up shortly and I’ll give it a thorough breaking in then.

Velcro_Side_Saddle_5

  • Share on Tumblr