by Gunguy
In my efforts to impart my hobbies on my better half I signed my girlfriend and I up for the Sig Sauer Academy Handgun Orientation (Handgun 101) class a couple of weeks ago. My significant other has never had any formal training before and I was worried that the formal education would be difficult to digest. Luckily instructors Ken Allen and Taki Okuno at the Sig Sauer Academy in New Hampshire made the class a joy to attend.
The class was about 14 people, half men and half women. We started off the class with an introduction and an overview of the class. Everyone had a instruction booklet, a Sig Sauer sticker and a Sig Sauer hat waiting for them in the class room. Ken and Taki went over the following in the class room before we broke for lunch.
- Responsible Firearms Ownership and Applications of the Handgun
- Firearms Safety for the home, workplace, and vehicle
- Safety Concerns and Practices While Training and While Carrying a Firearm
- Safe Use and Handling of Firearms
- Locking Devices and Techniques for Firearms to Prevent Unauthorized Access
- Potential Dangers (penetration, ricochet, misidentification, accidental discharges, etc.)
- Ready Positions
- Components and Operation of Modern Pistols and Revolvers
- Types, Components, and Purposes of Modern Ammunition
- Applicable Laws relating to the possession, transportation, and storage of firearms
- General Guidelines on interstate travel with firearms
After lunch we had a quick overview of the mornings instruction and then we went to the indoor range. Ken and Taki started by having us raise our hands and while they sized them up they picked the appropriate sized pistols for us to fire. We were separated into two groups and we were given very specific instruction on how to pick the pistol off the table in front of us, load the magazine and prepare to fire. We started off by firing one round, then two and then four depending on the drill. After finishing the first magazine we made sure everyone had their hands off the guns, the guns on the table and the range was clear. Ken walked down the line explaining to each student what they were doing wrong and how to fix the problem.
The great part about Ken and Taki was that they not only did they tell us how to improve our shooting but they also praised everyone on how well they did.
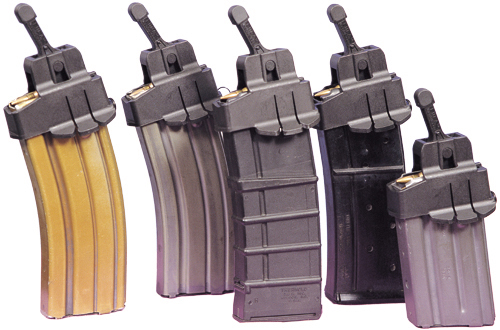
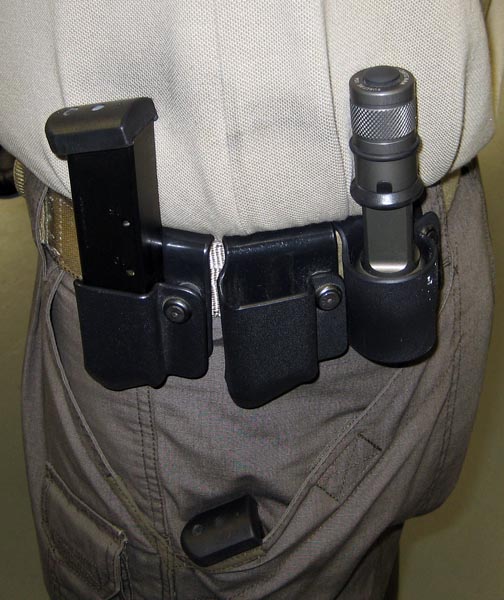
Everyone was pretty excited and amped up after the live firing portion of the class. We went to the classroom and did an after action report in the class room and everyone got a certificate of completion. Ken and Taki took questions from the class and I asked them to recommend an ammo loader and the company that manufactured Taki’s magazine pouch. Taki recommended the LULA Magazine Loader that he tested and recommends whole heartedly.
The magazine and flashlight pouches that Taki wore on his belt were molded plastic and very low profile. The company that makes the magazine pouches was Comp Tac.
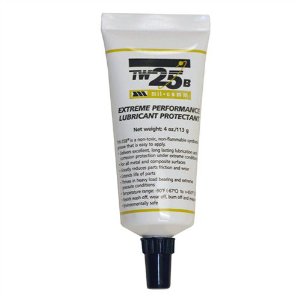
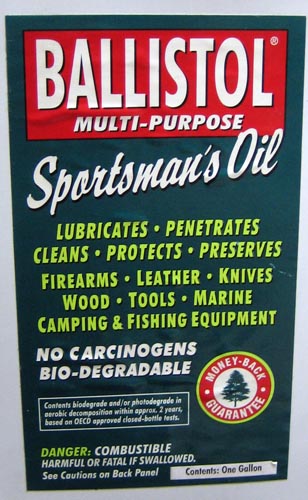
After the live fire brain dump we went to the back and went over how to disassemble our guns and perform maintenance. Ken and Taki took the time to explain the importance of cleaning our handguns and what lubricants to use to keep the guns running flawlessly. Ken and Taki recommend TW25B grease and Ballistol Sportsmans Oil. Both of these products are used exclusively by Sig Sauer on all of their weapons.
I recommend this class for all of those people who have not had formal training before. Even if you have been using guns half your life like I have you can still pick up some excellent tips that will improve your abilities. I’ve added some pics of the class below.
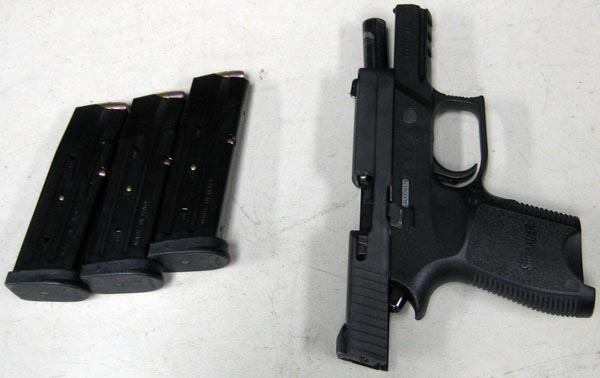
Sig Sauer P250
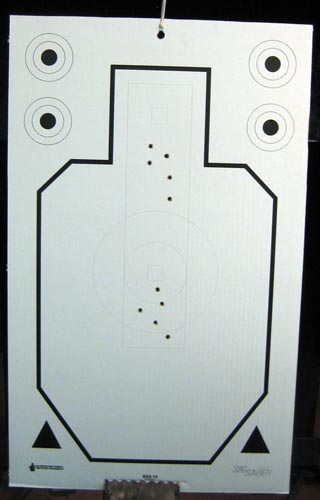
His Target
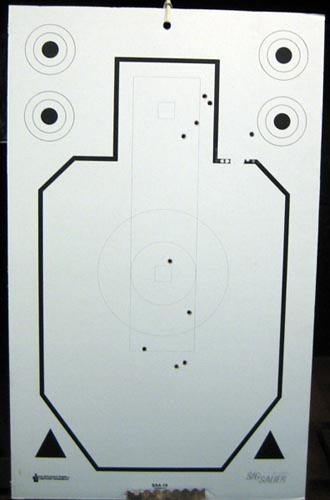
Her Target
LULA Magazine Loader
Comp Tac Magazine Pouches and Holsters
Ballistol Sportsmans Oil
TW25B Grease