by Woodsbum
My mother actually ran across this great site that covers some information about oven canning food. She knows that I am getting into a lot of these types of things and she thought that I would really like this information. As a matter of fact, I do like the post and thought that I would share.
*****************************************************************************
I recently was introduced t the idea of Oven Canning by: Deb Shaded Deer Schorzman
Sounded very interesting to me so I proceeded to do a little research via the internet. This was the most informative piece I found. I certainly think this is worth a try. I do agree that I would only use this method for dry goods. I always like when I can find a way to have an item last longer on the shelf and keeps rotation down. Which in the long run keeps food cost down.
Let us know if you have tried this and how it has worked for you.
Enjoy…
 I learned from a very dear friend, many years ago. It is called oven canning. She also taught me how to can using a pressure cooker. She was a lot older than I was, and knew so much. I loved canning, but stuck with fruits, jams, jellies and such, as you did not have to use a pressure cooker. I was so scared to use one–I could just picture it blowing up the whole kitchen. She told me, “Kid (she always called me Kid), they are safe to use. You just have to pay attention to what you are doing, and cannot get side tracked while they are on the stove.” So the learning began. And she was right, it was safe, and I have since canned up lots of great veggies.
One day while we were visiting and having coffee at her home, she said, “Well Kid, today I am going to get busy on my oven canning.” I asked, “Oven canning?” thinking she could not really be going to can stuff in the oven. I asked how safe is food canned in the oven? She said it will last for years and years. I thought okay … I will listen to her and let her tell me, but I am sure not going to can any food in the oven.
I told her I had a few hours until the kids got home from school, so if she wanted some help, I would be glad to help her. She started bringing out all the canning jars, and a big cookie sheet. Then she started hauling out cans and cans of stuff. She said she buys things while on sale, and when she gets enough to fill the oven, she cans it.
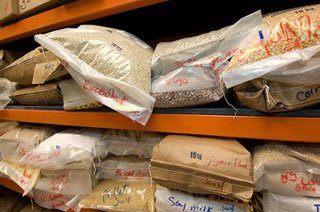
What she had in the cans surprised me. It was beans, oatmeal, cornmeal, flour, and all kinds of dry items. I know I had a shocked look on my face, as she started laughing and asked, “What did you think I was going to can in the oven?” I told her I had no idea, and was still at a loss as to what she was going to do.
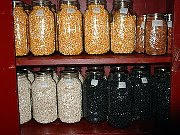
We started filling half gallon, quart and pint jars with different dry foods. When we had the jars filled, she turned on the oven to 200 degrees, and put the cookie sheet in, then put the filled jars on the cookie sheet. She filled it with all it would hold. She said now we can sit and visit for an hour. In an hour she got a damp paper towel and started taking out the jars, one at a time. She would wipe the rim with the wet towel, put the lid on and screw the band down tight. She was working steady and fairly fast. She would get one jar done then put it aside on a towel-covered area, open the oven and get out another jar and do the same thing. She said you have to be real careful and use a heavy cloth or potholder, as the jars are really hot. She used a small kitchen towel, which is what I use all the time now because you get a good grip on the jars, and it protects your hands. She got the jars all out and sealed, and then put in another batch and set the timer for another hour. She said all of her dry foods are now protected from bugs and critters, and will keep for years.
I started oven canning all of our dried foods at that time, and only a few months ago found out how long most of the foods will keep if stored right. Are you ready for this? A lot of them will last 20 to 30 years! I was shocked when I found this out. I know I have used items that have been canned 7 to 10 years or so, and they are great and are fresh tasting, just like when first canned. But 20 to 30 years was a real shock. They are to be stored where it is dry and not over 75 degrees.
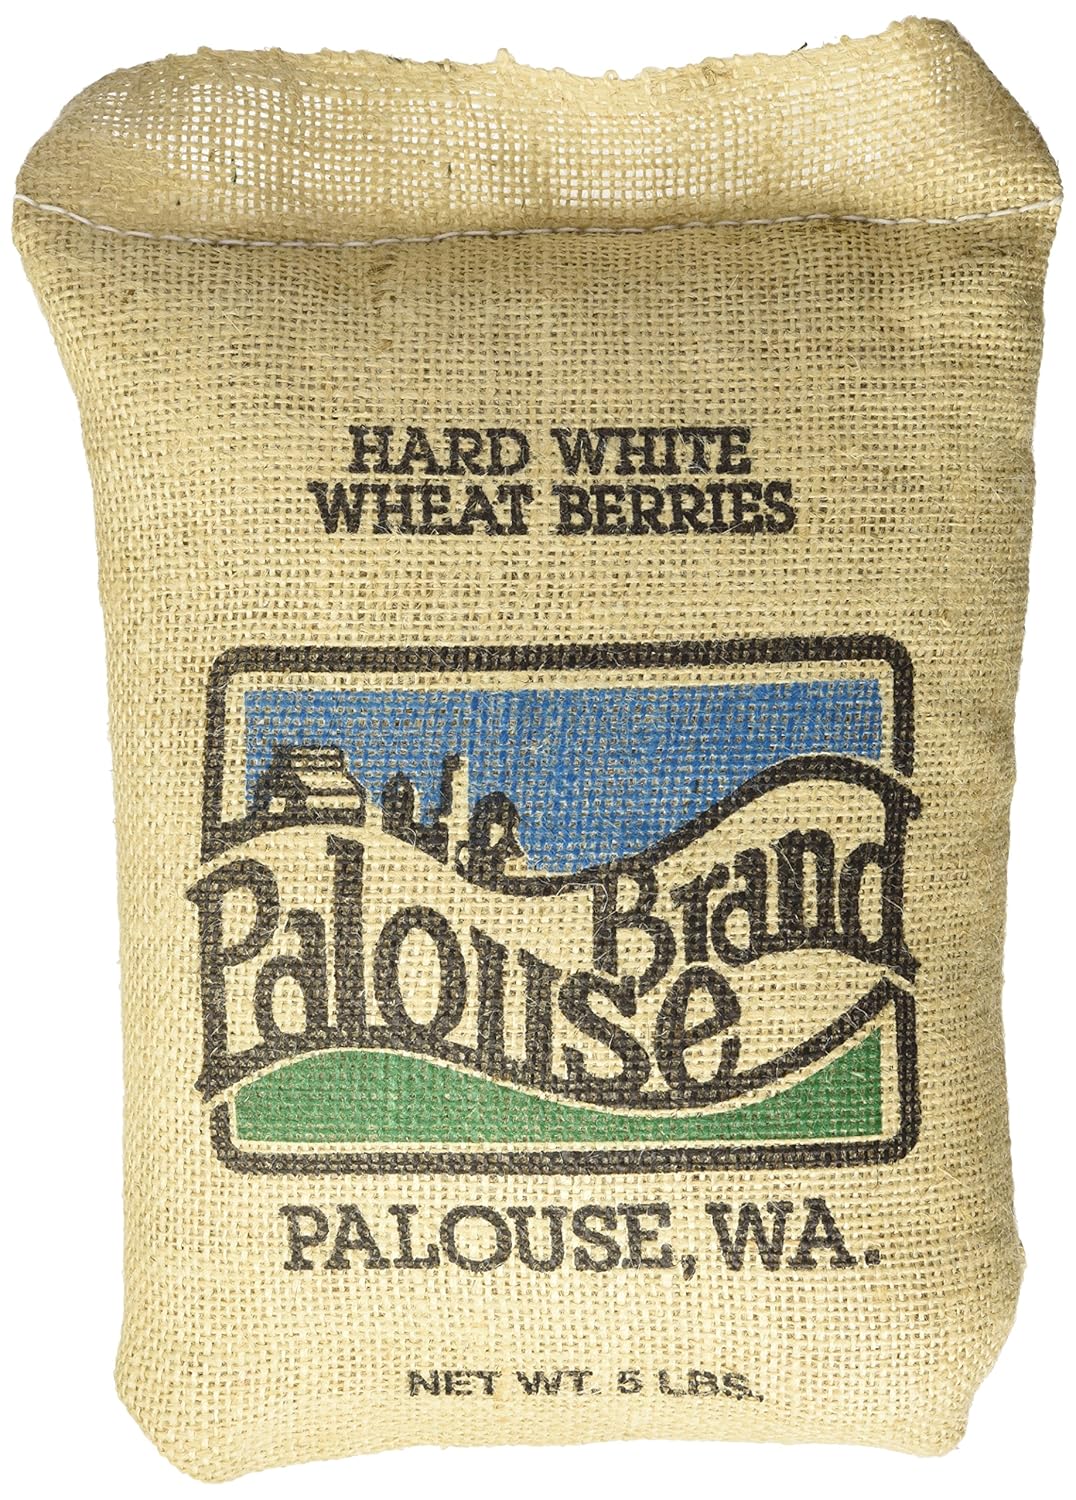
I oven can all kinds of dry goods beans, cornmeal, flours, rice, oatmeal, dried onions, dried carrots, dried celery, potato flakes, dried yams and sweet potatoes, cereals, pastas-the list goes on and on. I even oven can our dry boxed cereals, as I was tired of finding bugs in boxes that were unopened but we did not use up in record time. (The bugs were in the foods when packaged, as they were in the sealed bags, but not in the box they were put into.) Most of the cereals are even better once they are oven canned, as they have more crunch to them.
The only thing you can not oven can is dry foods that have oils in them. I oven can almonds, and pecans, but walnuts do not can good at all. They will go bad, but it is due to the amount of oil, so they get tossed in the freezer.
Like my friend of many years ago, I buy dried food when it is on sale, and when I get enough to fill the oven a couple of times, I oven can it. It sure is great having all the dry foods safe and handy to use.
Everyone I tell who has tried oven canning has told me how happy they are to know about it. The best part most of them tell me is not having the freezers filled with all the dry foods, so they now have space for the foods that must be frozen.
You can use most glass jars and their lids, as long as the lids have the rubber gasket inside. Once in a while I will have one or two jars that do not seal; I just put them in the pantry to use, as they are heat treated and in glass, so they are still bug- and critter-free.
Any herbs and veggies that you dry, you can oven can. I dried grated carrots and then oven canned them. I just used some in my homemade soup, and they are fantastic. I hope this is a big help to saving your foods, freezer space and money. It sure helps us each year.
Any questions that I did not cover, please ask via COUNTRYSIDE.COM, and put it under Oven Canning, I will see it and respond. If you leave a phone or email number, I will contact you. I don’t know it all, but what I do know I am more than happy to share.
Using a cookie sheet or large flat container is a darn good idea to set your jars on. When I first started oven canning I knocked over a pint of rice while getting jars out. Needless to say, the clean up took a lot of time and energy.
 Before and After
Happy oven canning.–Lil Roberts, Manteca, California
posted in COUNTRYSIDE magazine Sept/Oct 2011
**************************************************************************
I really am excited about getting some things together to set up some canning sessions. This is one area that I have not been as diligent in preparedness as I should be. It appears that I will need to take a trip over to Bi-Mart and get some canning equipment sooner than later.