
by Woodsbum
Ok… I have a confession to make that many of you already figured out. I am kinda lazy about certain things. Well, many things. To come to my own defense, however, I do try and work smarter and not harder. This being the case, I decided that I was too lazy to actually pull up long term memory or use trial and error to find the materials to build a bow drill set. In the past I would get a wild hair up my hind quarters and decide to go get some cedar and poplar to play around with just to show off. Since it has been a while I somehow fogot the “fingernail test” (knowing the right hard/soft wood combo) that I used to use to find the perfect drill/hearth combo. This made me decide to go purchase an actual bow drill set online so I had a working set to reestablish a working “fingernail test” for future field expedient bow drill sets.
WELL, it came in the mail today so I had to test it out……..
Here is the picture of the kit:
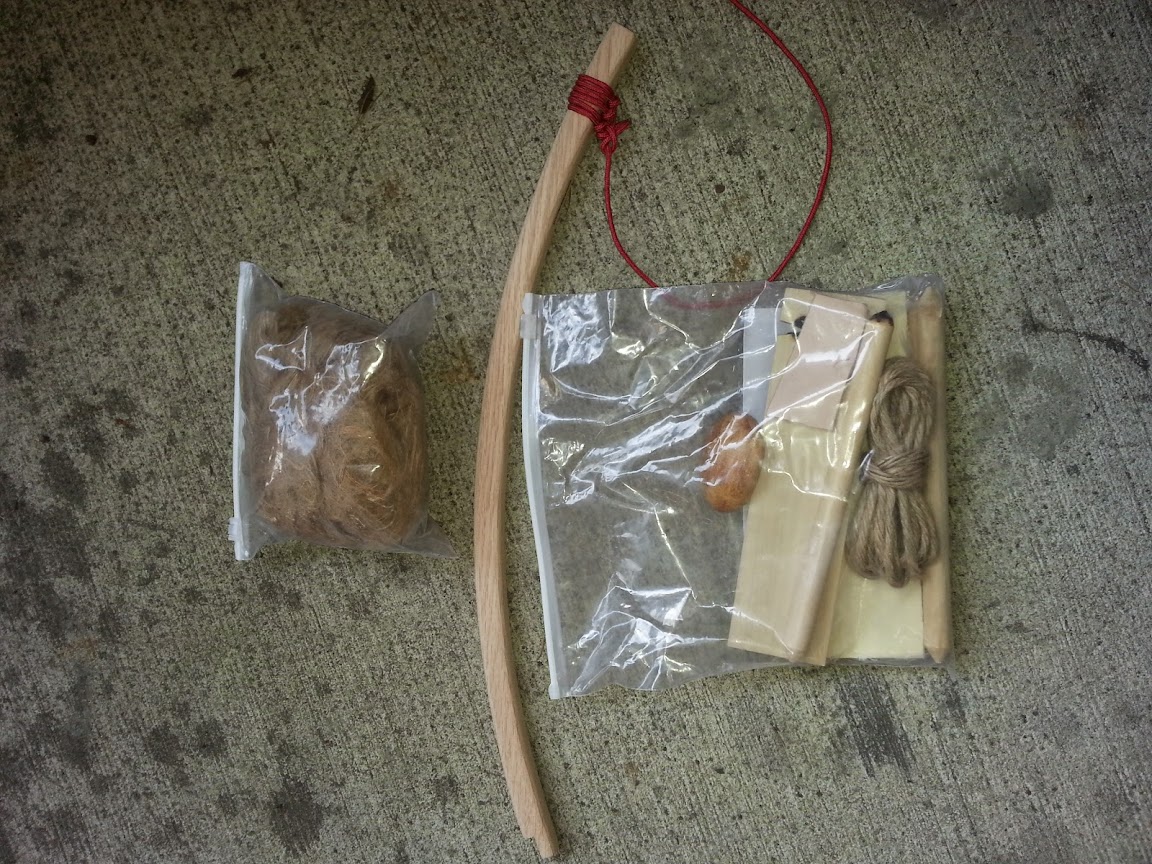
Primitive Fire Bow Drill Kit
The kit from Primitive Fire comes with:
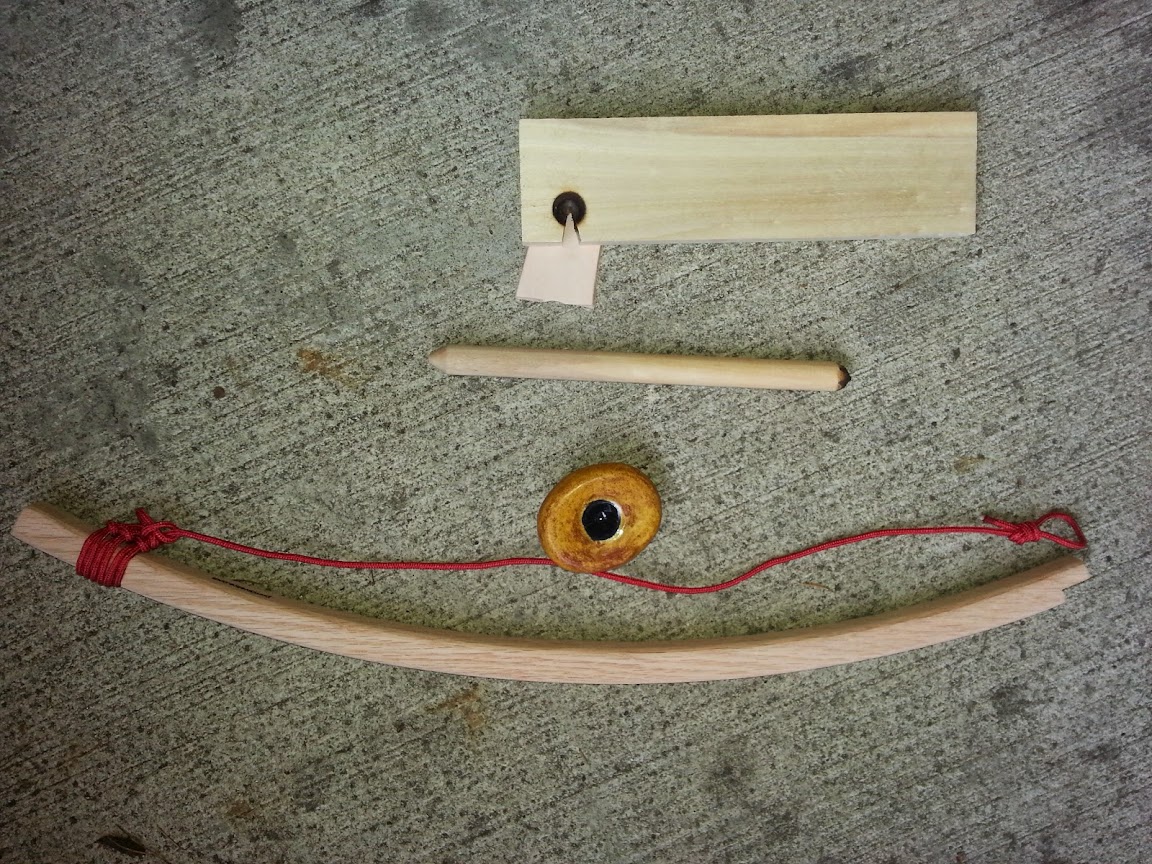
- 1 Hardwood bow
- 2 Cottonwood hearth/fire boards
- 3 Cottonwood spindles/drills
- 1 Ceramic palm rock
- 1 Quart size bag of shredded jute twine
- 12′ Jute
- 1 Leather coal catcher
- Instructions
Of course I had to play around a bit so I ran downstairs to the parking garage and got my implements of destruction ready.
Ready to play

A little powder produced

Smoke from a 10 second drilling session

Embers

Two embers
- The “palm rock” is awesome and I would have purchased this regardless
- The kit works very well and is easy to use
- As a kit to learn with, it is quite good
- If you can remember the hardness/softness of the wood you need to make a bow drill set work, you don’t need the whole kit….. Maybe just the “palm rock.”
- Extra, stripped jute is always a good thing…. Especially if you didn’t have to strip it.
I hope this helps you guys and you learned something. I have yet to pull out their instructions and look at them, but the whole idea is pretty straight forward. If you get one, I really doubt that you will be unhappy. Again, the “palm rock” really is nice……
