by Woodsbum
I can’t remember exactly, but it was about 18 months or so ago I saw an advertisement in The Backwoodsman for a nice little trout and game knife made by Wild Boar Blades. I called the number to get some pricing and information. Come to find out, the maker has a shop out in Silver Lake, WA and answered his own phone. The gentleman seemed like a great guy so I went ahead and ordered one of his knives.
Shipping was quick and the price was good considering I was getting something from a custom knife maker. Some of my custom knives have been over $600, so this was almost “chump change” in comparison. Again, I will say that the maker himself was great to talk to over the phone and the pictures of his work made his knives appear quite good. Then I got it in the mail……
Now I don’t want to pick apart someone’s work nor do I dislike the knife enough to not use it. There were just some quality issues that need to be addressed before I feel that it should have been released from the work bench.
First, let me show you the knife.
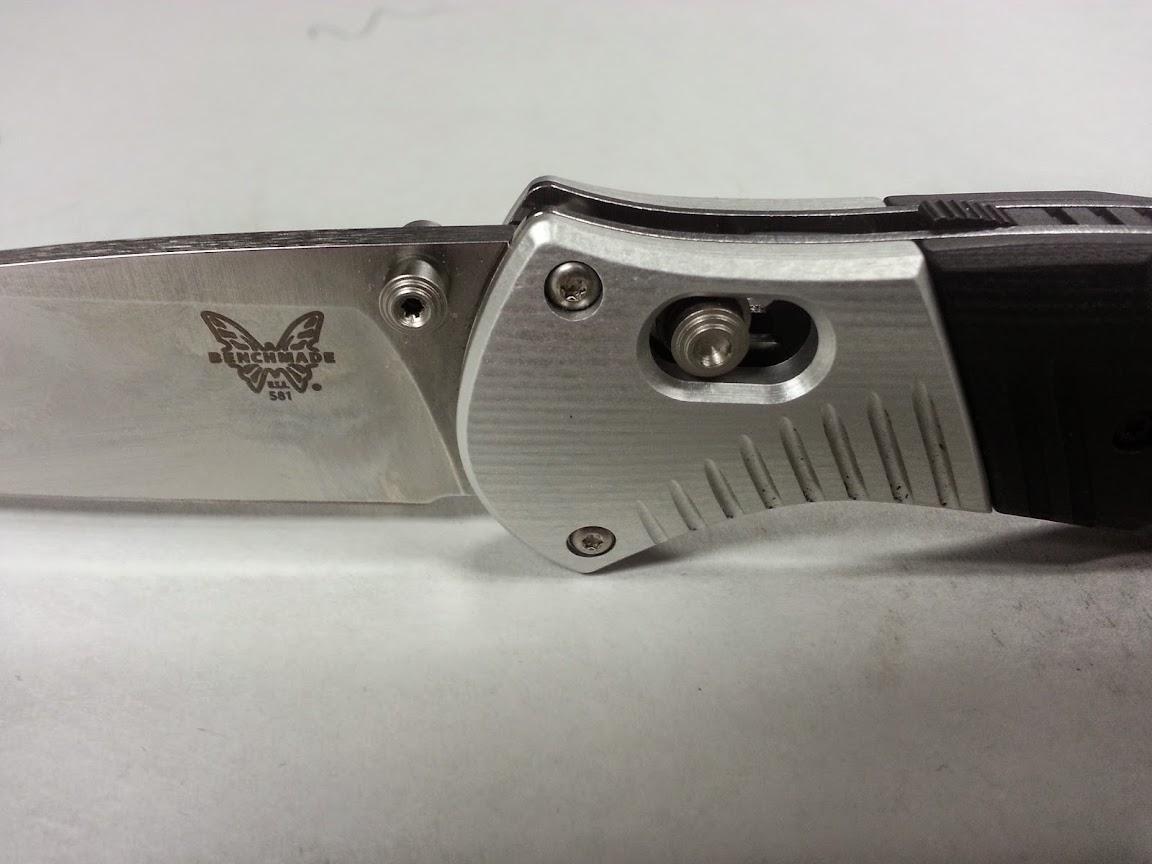
Wild Boar Blades Trout knife
As you can see, it looks nice from the pictures. Mind you, I have used the heck out this knife and both it and the sheath have seen better days. There are a couple maker errors that I found when I first got the knife, however. The first thing that I noticed was that the handle scales were not even. The maker did not square off the butt evenly and now there one side is annoyingly longer than the other. It is hard to see in this picture, but if you look closely you can see it.
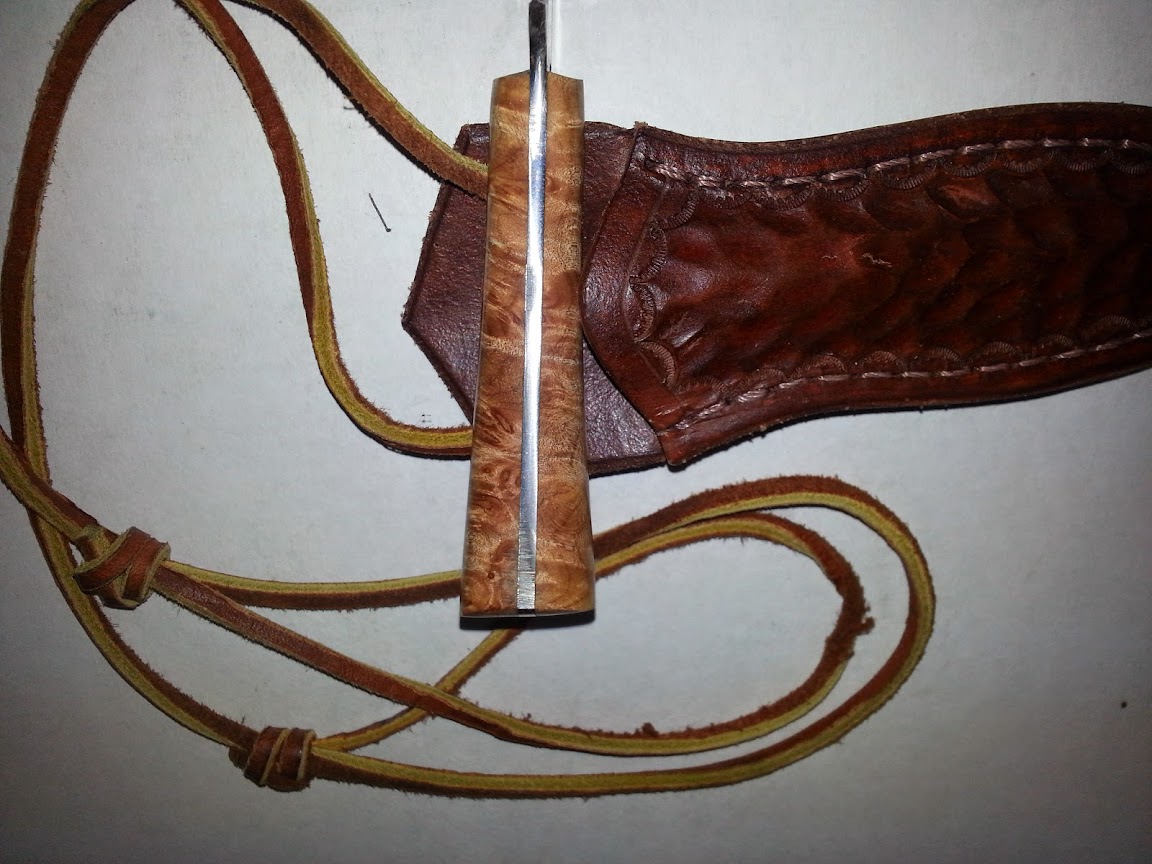
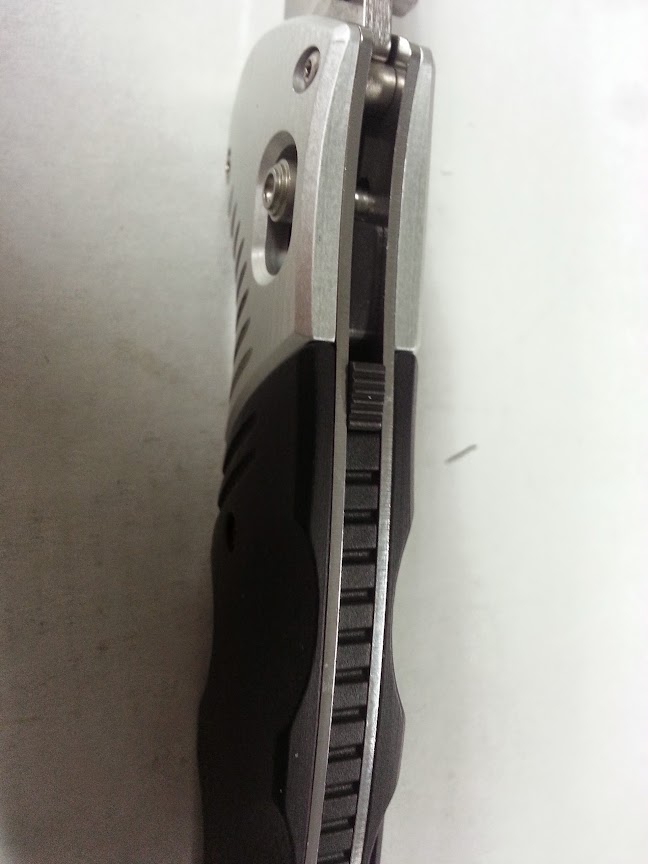
Crooked scales
You can also see the grinding marks on the tang right at the butt as well as crookedly ground scales up toward the top of the scales.
The grind on the blade was also way too sharp of an angle. It would not hold an edge at all. It took me several hours on a stone to get the angle to a workable angle. As you can see here, I did not do a perfect job. It is a lot better than it was, however. The blade came with a very sharply angled convex grind to it. The way it was done made it where the blade did not hold an edge nor could I get it very sharp. A flatter or more tapered grind would have been a better choice for this knife considering it was designed for cleaning trout and small game. It really came as more of a patch type knife than anything else. I still have many hours left to make it perfect, but considering the other flaws I will just let time and strop sharpening fix the edge.
The other issue that will require my attention is the stitching of the sheath. Even though the sheath is not evenly cut and the stitches were not properly aligned to the edge, the real problem is that the maker used an easy stitch with unwaxed thread. Of course the thread broke and is now in need of a complete restitching job.
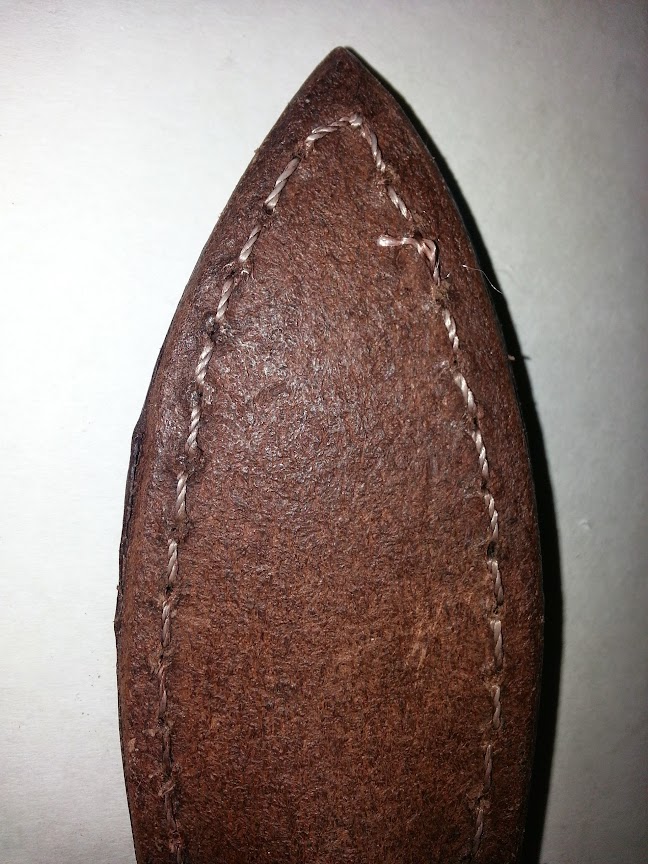
Broken stitching and uneven edge spacing
Now don’t get the idea that I hate the knife. The finish sanding and polish of the scales is awesome. The design and shape is phenomenal as well. I even like the maker’s mark and name of the blade company. I just think that there are some build and quality issues that need to be addressed.
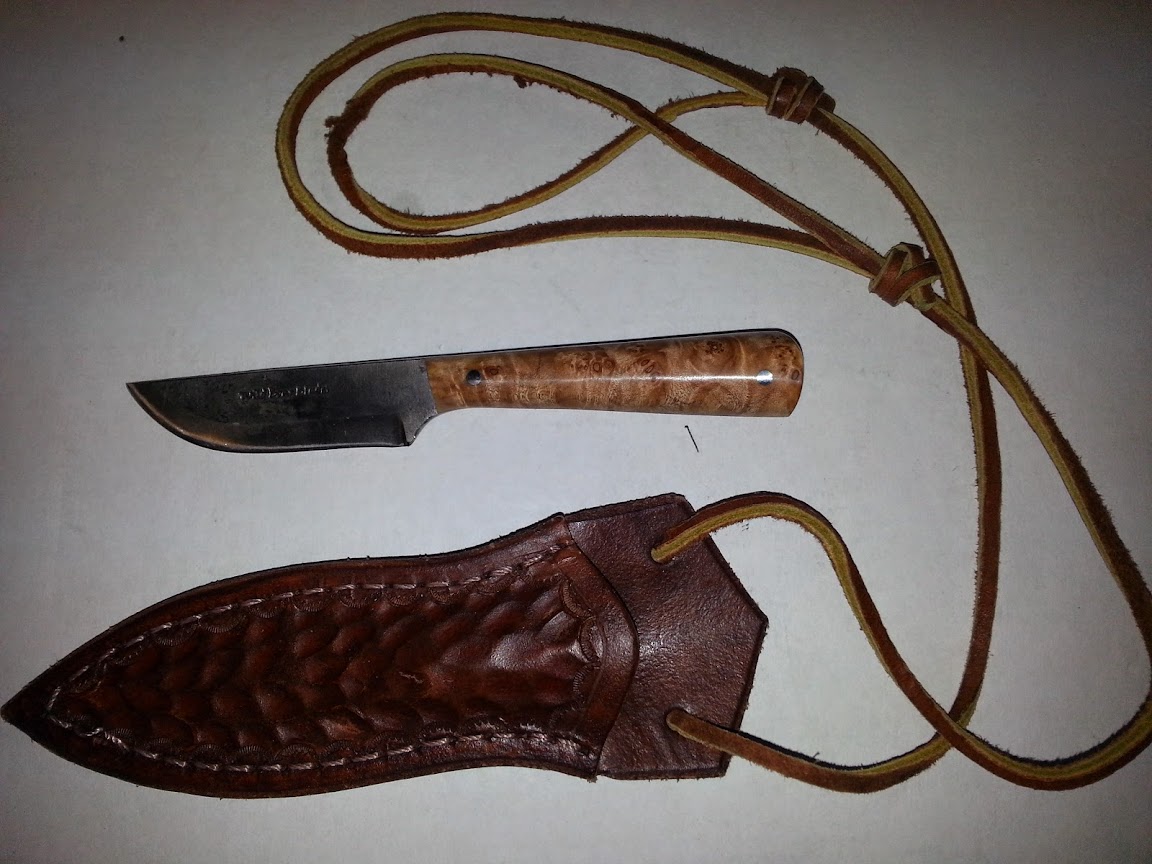
As a side note, I have used this knife quite extensively to clean small game and fish. It has cleaned 20-30 trout, several dozen ducks, a dozen or two rabbits, probably a 100 doves, countless squirrels and helped bone out my son’s deer. After flattening out the edge on the blade it is now sharp enough to work as it was originally intended. Again, it has a long way to go. As you can see below, it is sharp enough after meating out several racks of ribs last night to still cut paper without issue.
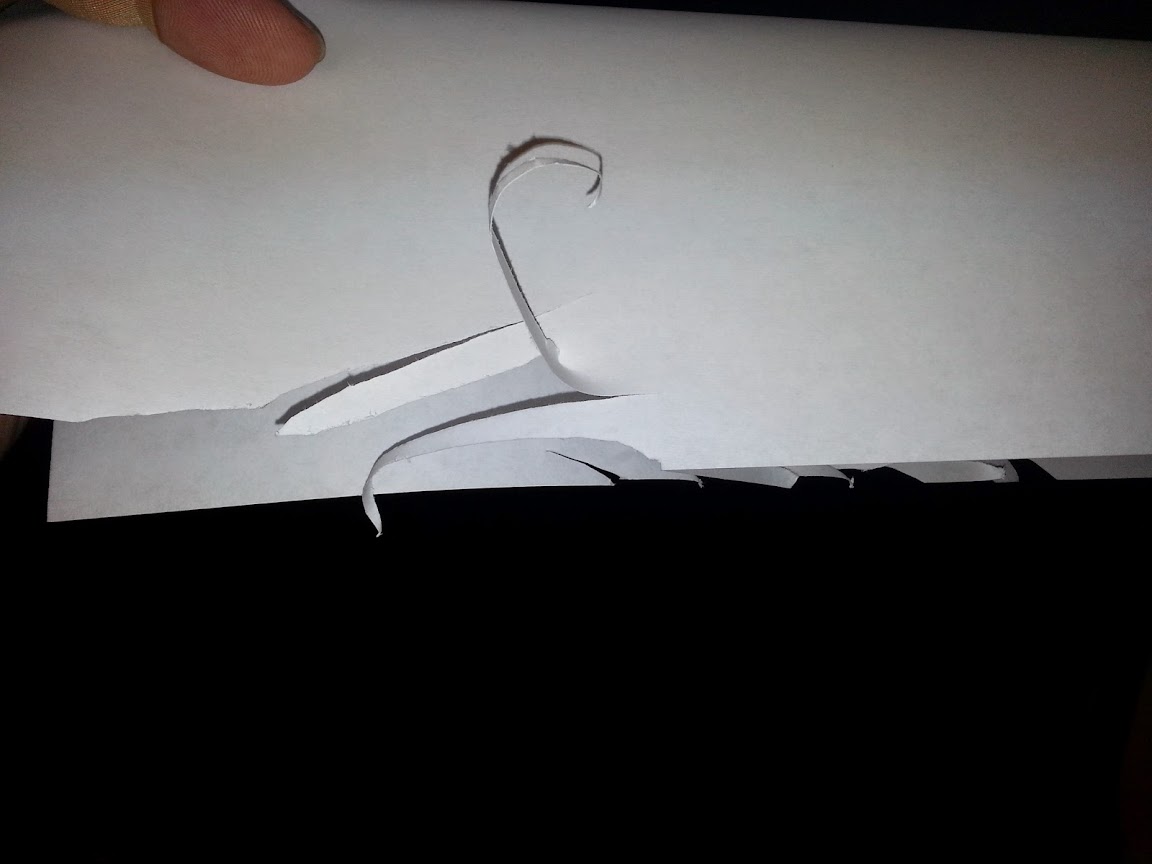
Sharp enough for now
If you have the skills to fix the blade when you get it or are like me and don’t care too much about using a blemished custom knife, I would recommend the shape and design of this knife. If you want a show piece or don’t know how to fix the edge of a knife to make it more suited for cutting up meat then I would recommend you look elsewhere.