Author Archives: Woodsbum

Willow Bark Tea

by Woodsbum

I recently started using willow bark tea to help out with my constant ache and pains associated with the over abundance of injuries that I have sustained over the years. It doesn’t taste bad and when mixed with nettles and local honey, it is quite tasty.

The use of willow bark is not something that is new. Natives have used it for hundreds of years for pain relief. All you have to do is harvest the bark at the right time and then boil it up. Willow can be either ingested as a tea or turned into a tincture, so that is another option if you so choose. I have never used the tincture because the tea is perfectly fine with me.

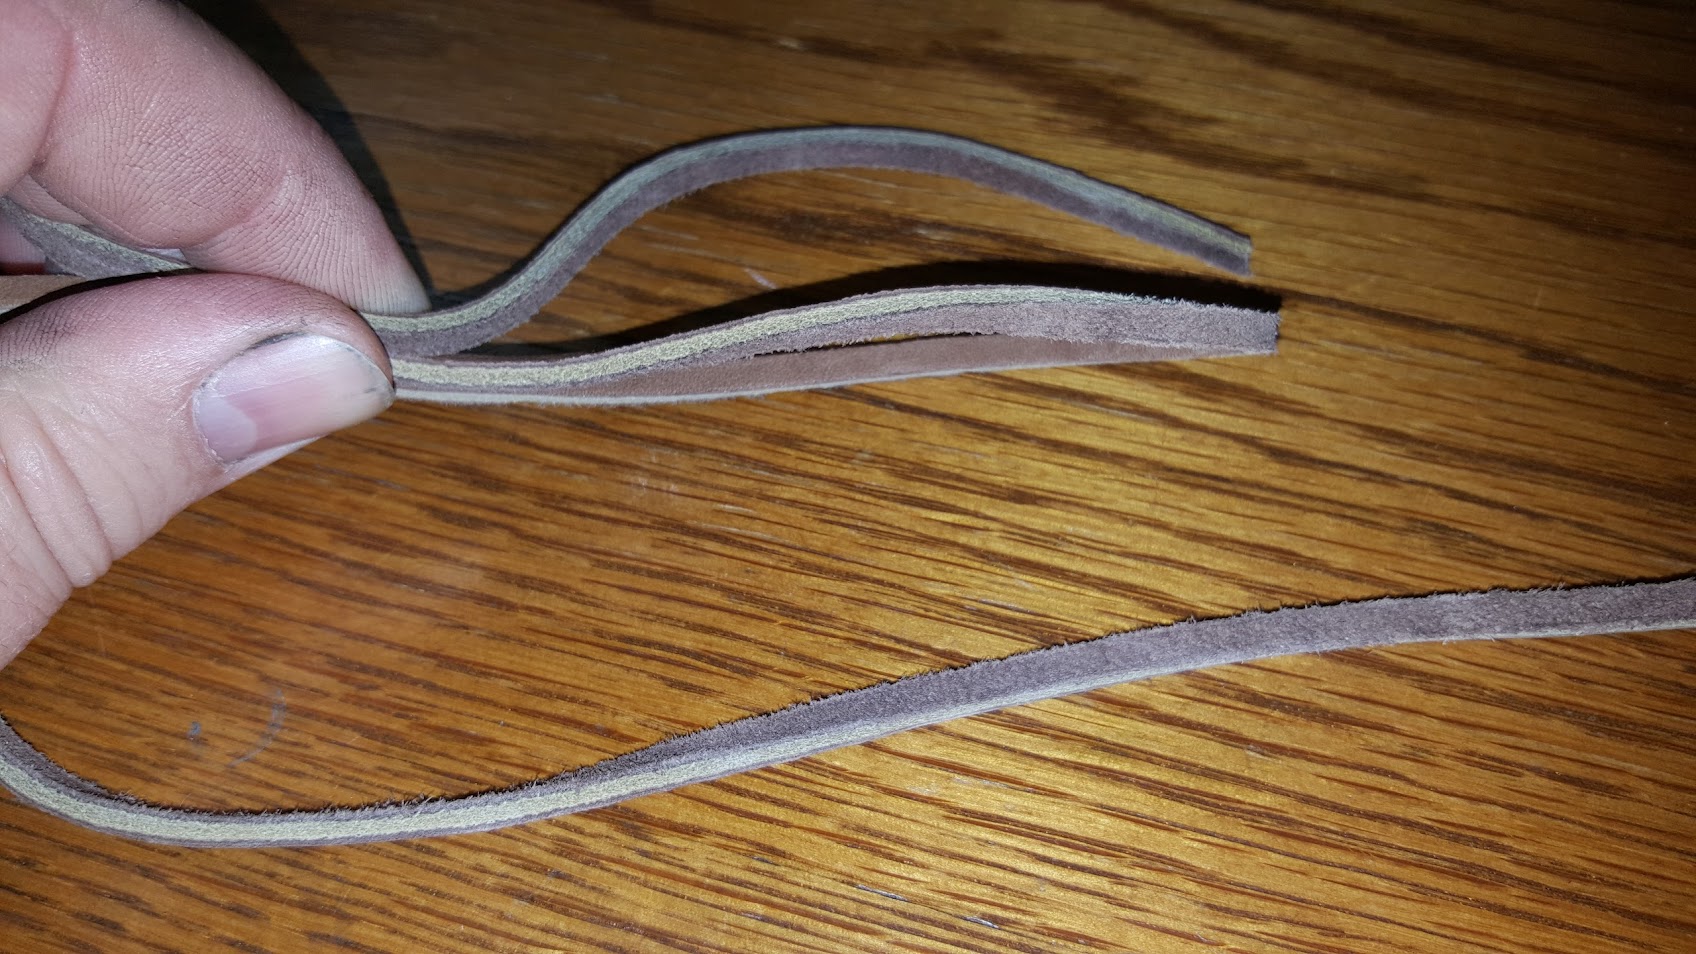
Of the whole process, it is always the harvesting of the medicine that seems to be the rub. What you are looking for is the live, bendy twigs at the end of branches or year old saplings. Either way you want to gather it in spring when the twigs turn to a bright color and start to bud new leaves. Once you identify and harvest your willow bark, just take a vegetable peeler and strip off the bark. Don’t get any of the pith or your tea will taste funny. Also try to keep the buds out of your harvest.

Once you have your bark stripped, dry the bits out on a plate or bowl. I built a drying rack out of screen so that whatever I am drying does so more evenly. If you do use a plate or bowl just make sure that you turn it every so often to keep the bark from trapping moisture between the bark and the plate.

If you are having issues finding willow just take a trip down to your nearest river or stream. Here in the PNW, there tends to be a plethora of willow somewhere along every year round waterway. It won’t take too much of a hike to find. Worst case take a trip to Sauvie Island or walk along the Lewis River for a bit. When you get to the point where the brush and trees are too thick to navigate there is a high probably that willow is what has stopped your forward progress.

When you get ready to make your tea, I am much less than scientific. What I do is take what I can pinch between my thumb, fore and middle fingers and then toss it into a tea pot. After it whistles at me I remove it from heat and put in some local honey and let it sit for about 10 – 15 minutes. This allows the bark to completely soak and it seems to bring out the best flavor for the tea.

Now is time for the science of what willow bark does for you: From my research willow has a varying amount of salicin, which is an active pain reliever that is similar to aspirin. If you ingest too much salicin, it can do harm and even cause Reyes syndrome in much the same way that aspirin can.

  • Share on Tumblr

Why You Should Always Be Safe

by Woodsbum

Just this week I was in a heated discussion with someone about why it is so important to follow safe gun handling procedures. For some reason this individual thought that it was perfectly fine to pull the trigger and muzzle flash people if he “knew” the gun was unloaded. Lucky for him, I didn’t witness him doing stupid things with a firearm or I would have been raising money for my legal defense.

To help illustrate why it is important to be safe with firearms at all times, please watch this video.

Even though the firearm was on safe and his finger was off the trigger, this shotgun will fire a shell every time you jack one into the chamber. The firing pin is still locked to the rear as well. If someone had been messing around with it and loaded a shell into the chamber while unsafe, there could have been a huge disaster. This literally could get someone killed. Thankfully, this owner is smart enough to follow range safety rules and has common sense.

For those of you who do know know firearm safety rules I have included the NRA fundamentals of gun safety below for you.

  • ALWAYS keep the gun pointed in a safe direction.
  • ALWAYS keep your finger off the trigger until ready to shoot.
  • ALWAYS keep the gun unloaded until ready to use.

For those of you who go to the range or were in the military, here are those common safety rules. These are actually from LtCol Jeff Cooper, the guy that made the scout rifle famous.

  • RULE I: ALL GUNS ARE ALWAYS LOADED
  • RULE II: NEVER LET THE MUZZLE COVER ANYTHING YOU ARE NOT WILLING TO DESTROY
  • RULE III: KEEP YOUR FINGER OFF THE TRIGGER UNTIL YOUR SIGHTS ARE ON THE TARGET
  • RULE IV: BE SURE OF YOUR TARGET

Whether you like to go with the NRA fundamentals or Cooper’s rules of gun safety, it all comes down to one thing – DON’T BE A DUMBASS…….  Assume every gun is loaded and will go off at any time without your assistance. If you think in that way at all times many gun related accidents can be prevented.

Be safe!!!!

  • Share on Tumblr

Physicians Desk Reference for Herbal Medicines

by Woodsbum

A few weeks ago I ran into an article that referenced the Physicians Desk Reference for Herbal Medicine. Considering my time in medicine and the fact that I work in a medical clinic, I was completely blown away by the fact that such a book existed. Of course I promptly went onto the Internet and purchased a copy. Here is a newer version of the edition that I purchased.

PDR for Herbal Medicines

PDR for Herbal Medicines

From the onset, I was blown away by this book. The amount of information in this book makes it one of the most comprehensive collections of herbal medicine documentation I think I have ever seen. The edition that I purchased go so far as to touch upon the different preparations and parts of the plants that are used for different conditions.

By picking up this book as a supplement to several other herbal remedy sources, I am finally beginning to feel pretty comfortable with substituting this method of healing for Western Medicine. Of course each person’s results will vary, I am at least feeling much better than when I was relying upon chemical pharmaceuticals. If nothing else it would be a great reference if you were unable to get to a doctor for whatever reason.


  • Share on Tumblr

Understanding Headspace

by Woodsbum

This discussion has come up many times between myself and my friends once we started building ARs and putting old military rifles back together. The fact is that many explanations are just overly complex in the way that they present it or the polar opposite. Somehow there doesn’t seem to be any middle ground on this subject. Luckily, Hornady has put together a long list of videos that cover a multitude of subjects on their YouTube channel. Their hour long video on headspace is really what every reloader should watch to ensure that they fully know what is going on. Even though I grew up reloading there were many things in this video that helped me to make more sense out of the whole process.

ENJOY!!!

  • Share on Tumblr

How I Use a Lanyard Hole

by Woodsbum

Many people have different uses for lanyard holes on a knife. This is how I use a lanyard hole more often than any other.

Especially with bushcraft knives, sheaths are made to cover most of the handle. There is usually just a little bit showing to allow you to pull the knife out. When you have large hands or are wearing gloves, this can be a pain in the rear end to deal with. It is easier than many other retention systems such as snaps, straps or toggles. Here is how the normal bushcraft knife looks in its sheath. This pictures does have a leather lace started in the lanyard hole.

SPL Knife in a Skab Leatherworks sheath

SPL Knife in a Skab Leatherworks sheath

As you can see, there isn’t that much available handle to get bear sized paws on. I build myself a leather “toggle” as I call them. This is what it looks like when I am done.

Ready for use

Ready for use

As you can see in the pictures, I not only have a good deal of leather to use in pulling the knife out of the sheath, but I can also use that leather to allow me to choke down on the handle for chopping. Since it slides to create a larger loop if desired, I have also been known to wrap my wrist so I can loosen my grip when carving or processing firewood. Although many of you see this knot and already know how to tie it, I figured I would give those that don’t a little tutorial.

The first thing I do is pass the lace back in upon itself to make a loop. It should look like this.

The start

The start

I then wrap the free end around the bottom of the loop to build something similar to a noose. When you get the desired number of wraps just pass the free end back through the top of the loop and slide everything together to make a tight knot.

Start of the wrap

Start of the wrap

Make sure you keep everything tight and slide the free ends down upon itself to make the cleanest knot possible. You don’t want the knot coming loose.

Finished

Finished

I have seen people put epoxy over knots like this, but I don’t recommend it. If you keep everything tight and clean there should be no issue during use. Sometimes knots do slide loose. If that happens to you, then just retie it. It really isn’t a big deal.

Over the years I have seen a multitude of different knots used. It really doesn’t matter how you put this together, in all actuality. The big thing to remember is that the lanyard hole on a knife can be used. So many people just ignore them and complain when they have problems drawing their knife or with their knife slipping while chopping. Remember that these knifes are tools like any other tool. Use them and their features as intended when needed.

Good luck!!

  • Share on Tumblr