
by Woodsbum
This is the second part of my AR painting experiment. If you did not see the first part, you can check it out here.
Painting and AR – Part 2 is about the actual painting process as well as what I learned while actually painting on the camo pattern. This was actually harder than I had anticipated or realized it would be.
As a stencil, I used these that I found on Amazon. They are designed for airbrushing and the pattern actually looked really good when painted. I did find a could things out regarding these stencils, however. When painting with them it is necessary to block off other parts of the stencil that you are not using. For instance, if you want the middle cutout you have to block off all the other cutouts on the stencil. This was a bit of a chore to deal with due to the paper “bib” I made to protect from over spray made the stencil a bit bulky. It also caused all sorts of build up of paint in and around the actual stencil. By the time I was done with each cutout I was almost scraping off the additional layers of paint so I didn’t smear or drip in unwanted areas.
I did realize quite quickly that the easiest way to fix you mess ups was to fit a portion of the stencil over the messed up area and just paint over the spot needing touch up. It is not necessary to actually match up the stencil to the exact shape you just painted. The new lines just add additional shape to the colored camo splotch. While painting, I found this to be an all out lifesaver when I messed up.
Here is a quick couple of pictures of both my progress and the layout of my painting area.
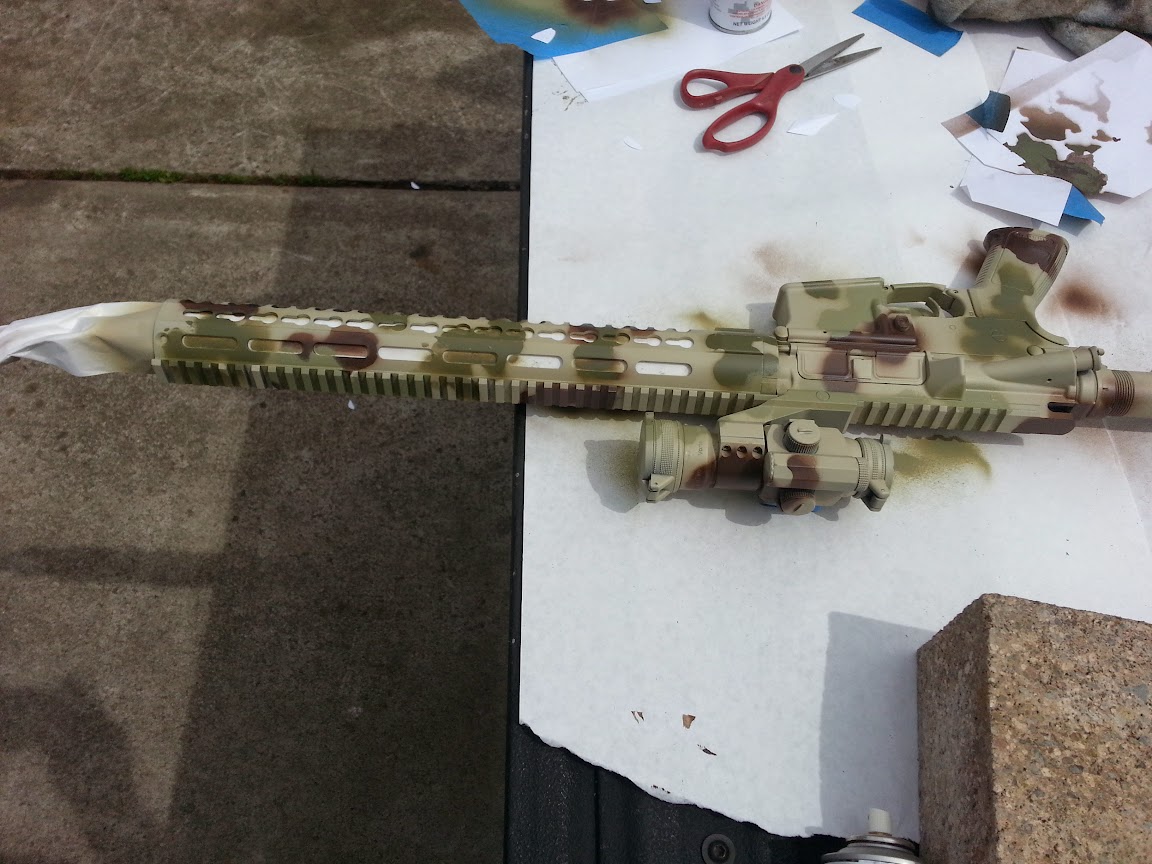
Painting area and progress

More of my working area
As you can see I also covered up the rubber control section of my Vortex Strikefire 2. I did this so that I would not have a lot of paint chipping off the rubber or getting on everything after it dried. Paint on rubber just seems to take forever to dry. You can also see the paper that I inserted between the handguard and the barrel. This will give it a really nice look when done.

Masking job
Here is the final pattern from the right side of the rifle. I took this picture before I unmasked everything so that you can see the difference that the dark barrel makes with the pattern. I would also like to point out that I just painted over the dust cover (closed) to help keep a nice pattern. When the dust cover is open, there is a black hole that blends right in. We used to keep the dust cover closed while in the field to lessen the amount of cleaning we had to do, so this is how it will be most of the time that I carry it.
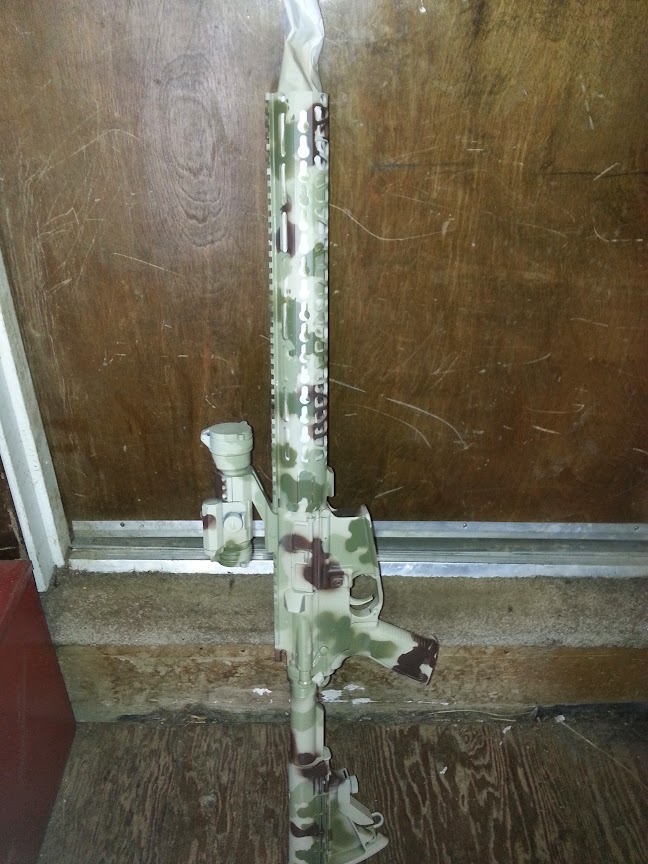
Finished, but still masked
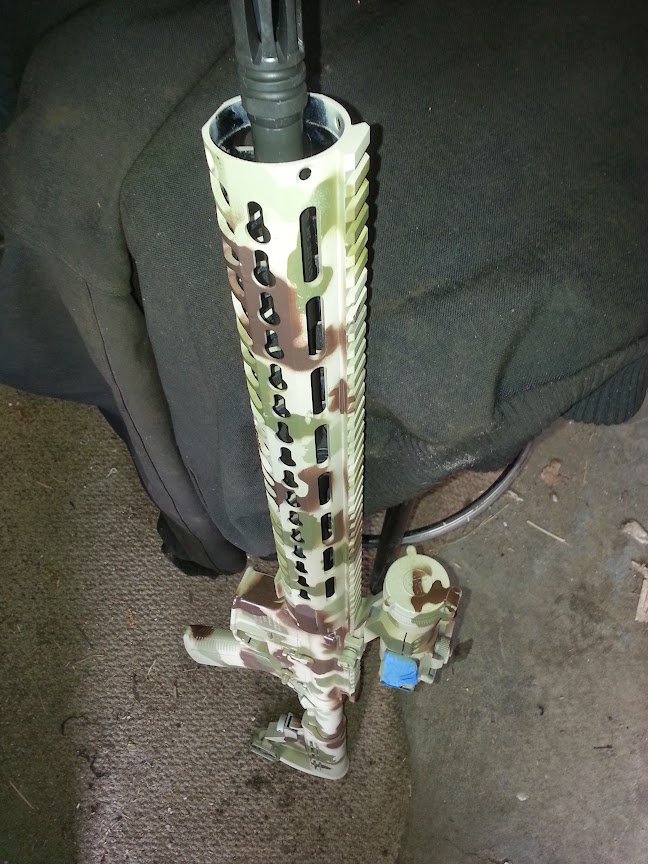
View from top
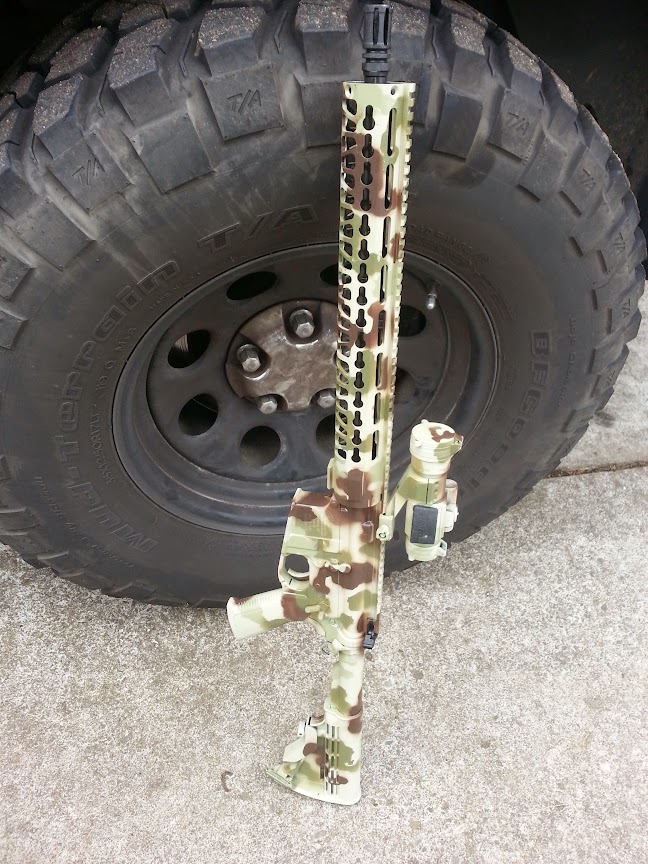
Finished camo

Tossed in a bush
