
Looking Back at Hurricane Irene

by Gunguy

I used to live several blocks away from Zone A in NYC. When Mayor Bloomberg issued a mandatory evacuation for Zone A before Hurricane Irene came ashore my lady and I decided to go upstate to the Catskills to avoid any potential flooding. We were located at ground level and we had little faith that our apartment would not get flooded. As luck would have it our apartment was fine when we got back. Unfortunately for a lot of residents in the Catskill Region they were on the receiving end of Hurricane Irene.

After we got to our destination we went to the Fresh Town in Margaretville, NY to do some groceries and stock up on water before the hurricane hit NYC. We expected some rain and some wind. I have been going to the Catskill region with my family for 26 years and we never thought that a hurricane would cause any damage at all. Unfortunately I was severely wrong. It started to rain around 1 pm or so in the afternoon on our way back from the store on Saturday.

When we got home we turned on the TV and watched the reports along the East coast. We were hopeful that he storm would slow down and not hit New York State too hard. I kept calling my family in the city to get periodic updates. They said everything was going ok and that it wasn’t that bad. When I called on Sunday the 28th they said that everything was great. There was no flooding in their homes and the sun was out.

Meanwhile in the Catskills the rain was relentless and showed no sign of stopping. Previously it rained all night and through out the day on Sunday. We heard local radio reports that some local towns were flooding but we didn’t know how severe it was. We were loosing power intermittently and finally around 5pm on Sunday we lost the power all together. I cooked our dinner on a gas grill in the rain while wearing my water proof boots, jacket and pants. After dinner we listened to the radio by candle light and played monopoly. We decided to go to bed early and wake up in the morning and get a fresh start on our journey home to NYC.

When we woke up we were surprised that the power was restored.  We quickly realized the day before that we were really fond of electricity and flowing water and we were very happy to have it back. While watching the news we saw video of a river raging through Margaretville. We saw the CVS Pharmacy and the Fresh Town adjoined to it being completely ravaged by water. It was heart breaking. Fresh Town came in a short while ago and took over for the A & P that was in town previously. The company did an outstanding job in renewing the building and having a great selection of produce and beer. Now the whole building was destroyed by the worst natural disaster that I ever personally witnessed in my life.

After witnessing the flooding in Margaretville, NY and the near complete annihilation of Prattsville, NY on TV I started to get seriously concerned regarding our departure from the Catskills. The irony wasn’t lost on me and my significant other. We went to the Catskills to escape the potential damage in NYC to only find ourselves in the middle of a serious natural disaster with almost no way out.

We packed up our things and closed up the house and headed out on route 30 to find that it was closed. After speaking to a NY State Trooper we found out that Route 23 north of us was closed too, as well as parts of the NY State Thruway. He suggested we head back home and hunker down till the roads were cleared. Both of us had work the next day so we decided to take the long way home. We traveled west through the mountains to Oneonta, NY and then towards Binghamton, NY before catching route 8 south and then onto to 86 west to the Palisades Parkway south bound into NYC. The total trip time with rest stops and traffic was 7 and 1/2 hours, which is about 4 and 1/2 hours longer than it would take usually. We got home safe and sound and we learned some lessons which I will go over shortly.

  • Share on Tumblr

A Bit Off Topic – Officiating Weddings

by Woodsbum

I know the whole concept of officiating a wedding is a bit off topic considering everything else that is posted on this blog, but I decided to post this for the following reasons:

  1. This whole blog is about doing things yourself and self reliance.
  2. Officiating your kid’s wedding saves money and adds to the special day.
  3. You get to do and say what you want within guidelines of the law.
  4. It’s my blog and I think this is important if you don’t like being at the mercy of others.

This last weekend I performed the wedding ceremony for my daughter. It was a simple, beach wedding that was not very formal or elaborate. As a matter of fact, I made the bouquet and the veil that attached to my daughter’s Cabela’s ball cap…..  I know. A bit redneck, but it was how she wanted it. Just to show you how easy it can be to make a wedding bouquet I have included a picture of what I made for her. This was before I did the camouflage ribbon bow and dangle things off the handle.

Daughter's Bouquet

Daughter’s Bouquet

The whole thing cost me about $55 for the flowers, ribbons, green foam handle and cone shaped base that the handle slipped through. My daughter loved it and I was happy to have been able to make it for her.

Back to officiating the wedding……

Many might not know it, but it only takes a few minutes and about $25-$30 to become an ordained minister with an online church. As far as the state we live in is concerned there are only a few requirements for the ceremony.

  • Someone with a certain credential must officiate, such as judge or minister of any kind.
  • Both parties must verbally agree to the marriage with witnesses present.
  • A license must be purchased.

That is it. If you can get those particulars covered, you can officially marry people. I went through Universal Ministries when I got my ordination. At the time that I got mine there was a few question quiz thing, but that is now gone. You just sign up and order your wall certification. Since there is a physical location for the church, this will actually pass as a regular ordination in most states. Some states don’t care. Just make sure to check your local laws.

After the ceremony I did have to have some signature boxes filled in and will have to mail off the certification of ceremony completion. Seriously, it was so easy that I almost feel like there was something missing.

The hardest part was figuring out what to say. What I did was go over the different lessons and advice that had helped make my marriage as strong as it is today. My wife and I will be married for 20 years this year and we have seen many marriages fail for any number of reasons. Having had the chance to council the kids before they did the wedding and then highlight the important pieces during the wedding is what I feel is a very important piece to their potential success. Marriages are so hard now a days that getting them off on the right foot and with realistic expectations is very important. I am hopeful and confident that I did get that across to them.

For those of you who have ever considered conducting a wedding ceremony for someone, I really do recommend it. It was great to have been the one that stood up and married my daughter off to a great guy. I really was honored to have been able to do it, even though I was nervous as all get out!

I wish my daughter and son-in-law the very best and really do suggest you step up and do something like this for your loved ones. It really will make the day that much more special.

  • Share on Tumblr

Contact! A Tactical Manual for Post Collapse Survival

by Gunguy

This manual is the result of a detailed consideration of a societal collapse and the civil shift and aftermath that would impact individuals and families who are intent on survival. The purpose of this manual is to provide information to enhance the security, tactics, and survival skills of law-abiding citizens who are faced with civil disorder, lawlessness, violence, and physical threat in a post-collapse environment. The information in this manual is derived from training and experience gained from service with special operations forces (SOF) and subsequent employment as a security contractor in Iraq and Afghanistan.

It is a distillation of tactics, techniques and procedures (TTPs) adapted to the threat and environment anticipated in this type of scenario, in order to provide the knowledge needed to survive in a world turned upside down. It is no longer just survival of the fittest but survival of those prepared.

The manual will take you from self-defense as an individual, team and family, and on to tactics, techniques, procedures and training that can be used by tactical teams that you may need to form in order to survive or to resist tyranny. In a serious post-event scenario, one of total collapse with several months or years before recovery, families, groups and communities may be forced to create such tactical defense forces to protect personnel, loved ones and resources against hostile forces. There is something in this manual for both the tactical newbie and the military veteran.

Contact A TActical Manual

  • Share on Tumblr

The Joy of a $15 Knife

by Woodsbum

I am a big fan of custom knives. When I say, “big fan” I am talking about 6 of them and 3 others on order. My son has 2 that I bought him. Most customs cost around $350 on average, so I have made a substantial investment in cutting instruments. My distrust of production and dedication to custom knives has become so ingrained in my being that I actually have found myself giving a “meh” to everything but a Becker at Cabela’s the other day. That only got a “it’s ok.”

There does seem to be a couple exceptions to this whole custom knife kick I am on. One exception is my EESE’s. For whatever reason, I love these knives. They are simple, tough, and keep an edge like no other production knife I have seen EXCEPT my $15 knife.

My $15 Knife

My $15 Knife

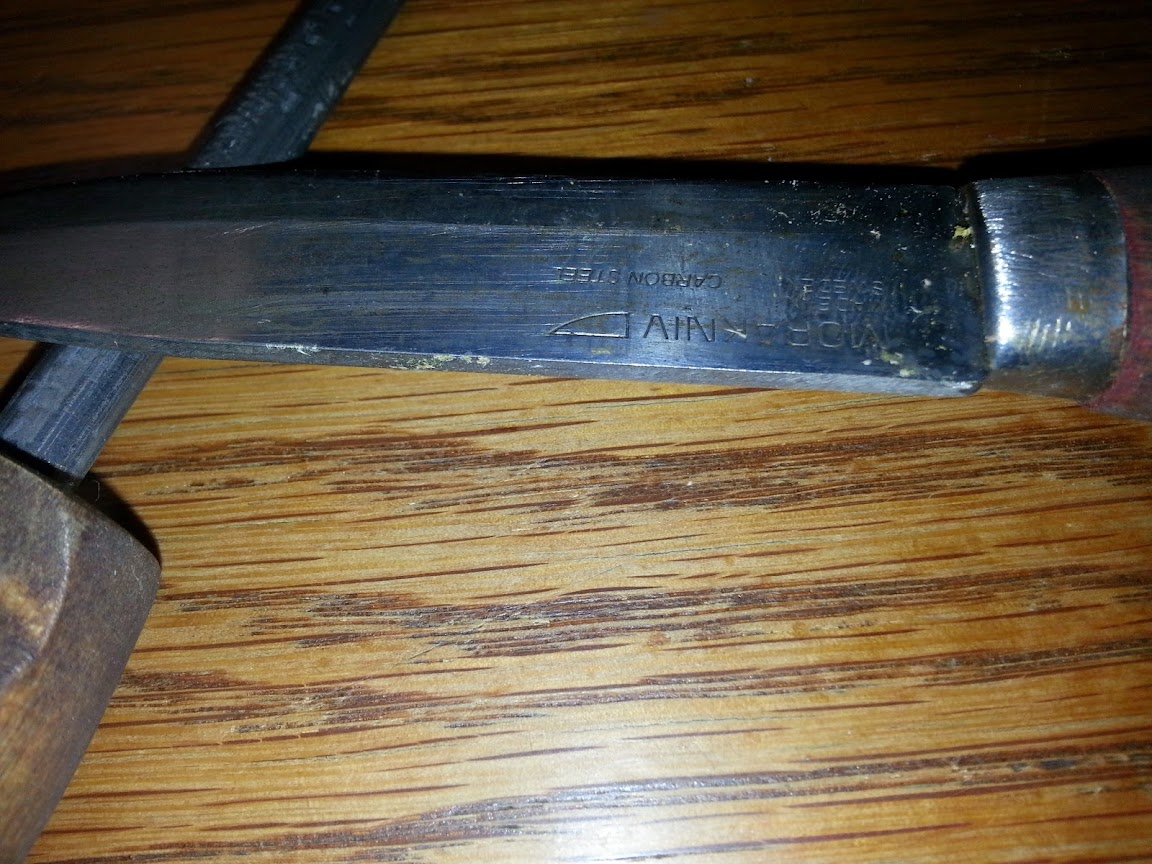
This old Mora Classic 2 has been used, abuse, sharpened with belts, new edge put on with a belt sander, dropped, kicked, drowned, and it still shaves hair with only a little bit of time on a strop or stone. This thing is amazing. If you look closely, you can see how bent the tang/handle are. It is much harder to see in pictures, but is painfully obvious when using this knife. Long story short is that I have used it so much for fuzz and feather sticks that I bent it a bit.

Bent Tang

Bent Tang

Now many of you have already discovered the sharp steel goodness of the Mora line of knives. This was one of my first and the only one from the “old days” that somehow survived. Some were gifted to friends and family. Many more just ended up lost. I did break one while trying to baton a very hard piece of cedar that was borderline fatwood. Here is the final surviver of all the torture dished out upon the batch of Moras I got years ago.

As you can see, this has been slightly modified. I sanded down the bubble of a handle that comes on it for two reasons. One was to mellow out the bubble and the other was to get rid of the red lacquer that covers the birch handle.

Sanded and Grooved Handle

Sanded and Grooved Handle

As noted by several people, this industrial strength coating stinks and is so injected into the wood that there is NO way that it could be anything but harmful to your health. The worst part is that it gets REALLY slick and slimy after living in the PNW’s squishy environment. To help make it less “hazmat on a stick” I sanded the lacquer off and carved in a corkscrew type groove around the entire handle. I found that this made a HUGE difference in making the handle more PNW friendly.

I also had to make a modification to the spine of the blade.

Squared Off Spine

Squared Off Spine

So that I could use the spine of the blade to strike a firesteel, I squared off the back really well with a file. The lightly discolored area between the handle and the “dirt patina” as I call it gets the most use against a firesteel. I have actually used it so much that it is in need of a bit more squaring off and the edges have rounded out a bit.

My last modification to this knife was more for me than the knife. I built myself a sheath and made a matching firesteel. When you get your Mora it does come with a plastic sheath. Mine broke in less than 24 hours during its first camping trip. I also lost a couple knives because it fell out of the original sheath. My suggestion is to make something better immediately after getting your knife. The sheath I made has been waxed and Liquid Wrench is squirted inside the sheath to help keep the blade from rusting. This is very important here in the PNW. It gets so wet over the winter that anything you have used in the field will rust and keep on rusting. By heavily waxing the sheath and squirting oil into it very once in a while you knife will not be as apt to rust.

Mora Neck Knife

Mora Neck Knife

This $15 knife I ordered online has been a great knife for many years. Be aware of the following things that I have mentioned previously:

  • Handle needs detoxed from the red lacquer.
  • Original sheath is crap
  • Square the spine
  • Abuse, but no heavy batoning or it will break

Other than that, this knife is solid and will last you for years. Enjoy!!!!

  • Share on Tumblr

US Forest Service, An Axe To Grind

by Woodsbum

I ran across this video a while ago and thought you guys might like it. It is put out by the US Forest Service and is about logging, axes and shows some really amazing old growth video. The great part is that it covers about anything you ever wanted to know about an axe and didn’t know how to ask. This truly is a great instructional video.

Enjoy!!!

  • Share on Tumblr