
by Woodsbum
This past weekend I met up with a few other guys and started a new project to build my first bow. The whole process is actually fairly easy and straight forward. Well, it was up to this point at least.
We used the following instructions to do our project: link but there were additional instructions at this link. The hardest part was actually finding the wood. I ended up getting a 10 foot chunk from Home Depot and cut the middle portion out. It is better than anything else I could find, but it is definitely not the quality needed for making a good bow. With a backing, however, it is usable.
The first step was to cut the wood to length. They recommend using the length of your “wingspan.” Basically measure from finger tip to finger tip with your arms outstretched. For ease of measurement, I just cut mine at 76 inches. This allowed me to divide it into 4 equal 19 inch sections. You can easily read the instructions that contain the measurements so I won’t bore you wit those details. I only suggest that you pick an overall measurement that won’t be a pain in the rear to actually mark out on the wood.
This is basically what we are building.

Bow we are building

Tools and bow
For those of you who want to make something all spiffy and nifty just remember that this is a basic bow. It won’t earn you any longing stares of envy from others at a shooting range, but it seems to be a great starting point to learn. In all reality, it isn’t that bad for something you are making yourself.
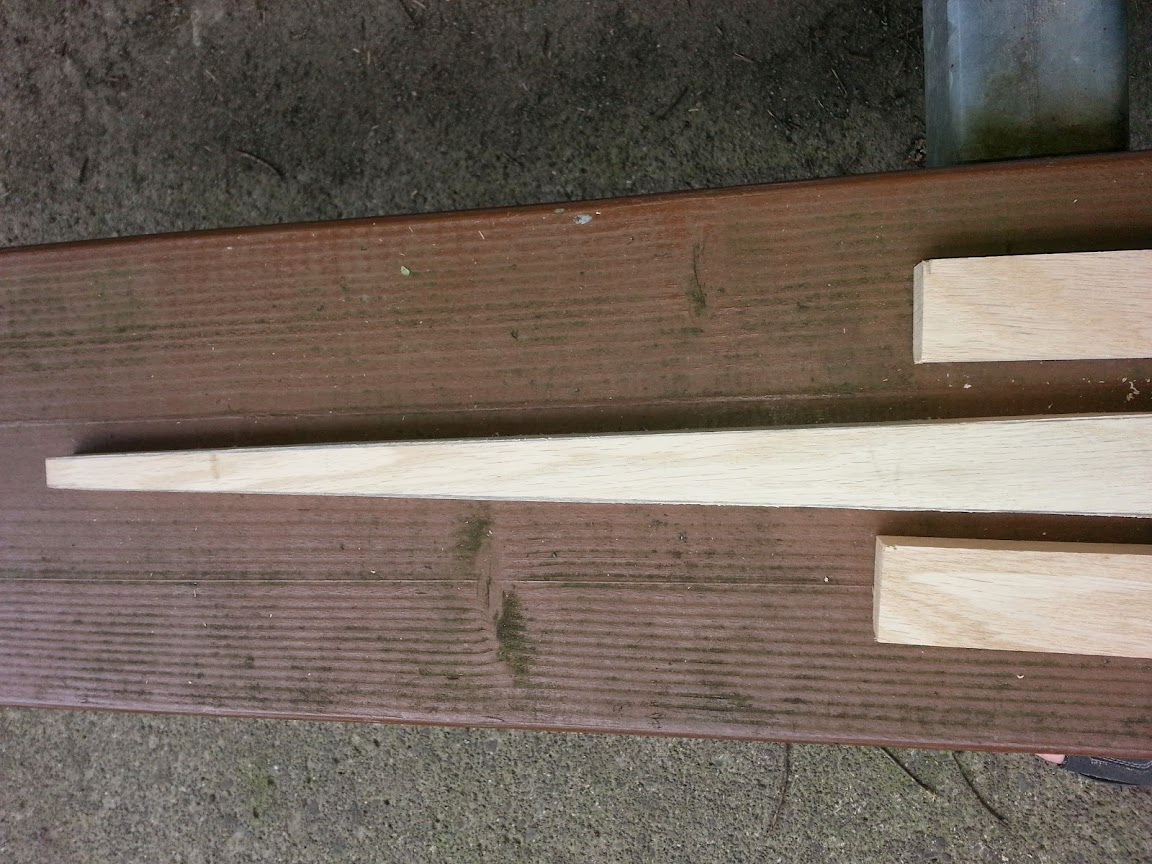
I do have a couple tips for you that I learned (the hard way) after shaving off the 2 ends of the board.
- Be really careful of your lines.
- Straddle the board to hold one end with the other end tied off/clamped down/etc.. This position gives you good working area and access as if it were a shave horse or something.
- Use long strokes with the wood. It keeps the sides much smoother and cleaner.
- Don’t rush.
Here is a good picture of the rasping progress after about 30 minutes. Granted, I got much quicker and better as I went along.
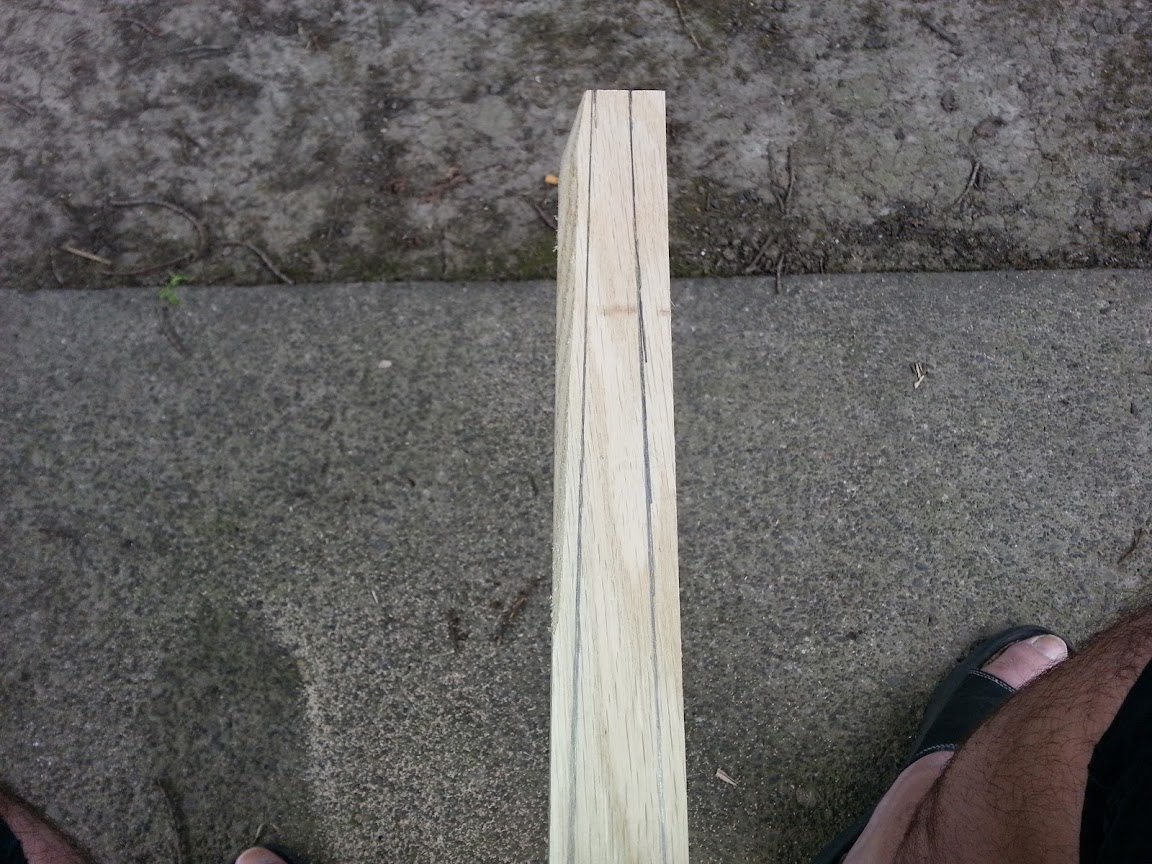
Bow being made
Prepped end
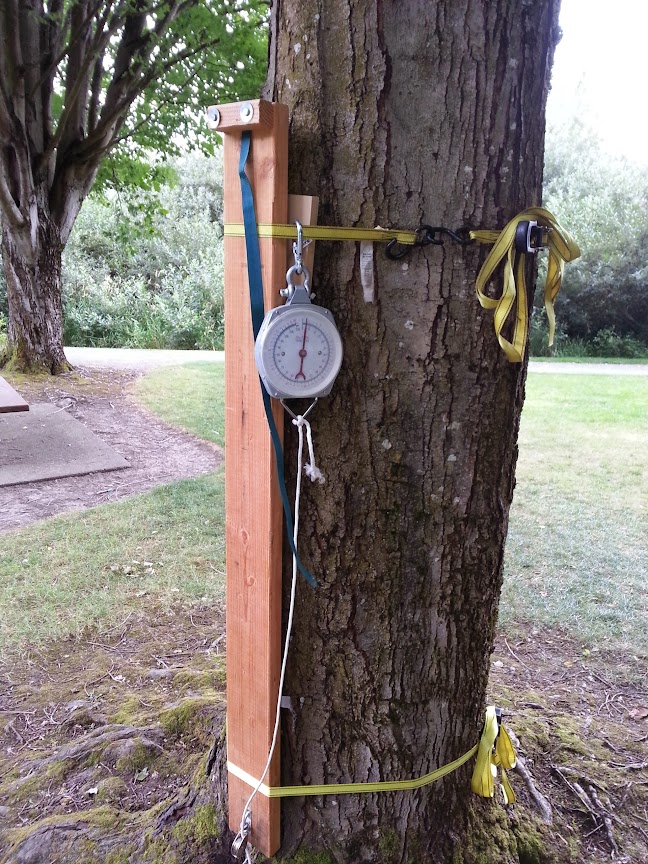
Scale and frame to tiller our bows
This is a picture of all the books that Rick brought with him and has used to get to his current skill level in bow making. Several of these titles will be added to my collection eventually. This really seems like it will be a very addicting hobby.

Some books I will have to add to my collection
