by Woodsbum
Because it has been extremely hot outside, I put off doing any posts that would include the whole “sweating” thing. Today, however, I decided that I needed to play with some sort of sharp tool and make a mess. To successfully tick off our cleaning people, I had Gunguy go grab his Condor Scout Hatchet so I could do some quick feathersticks and fire prep. Oh yea. Vacuums are going to be working overtime this evening!
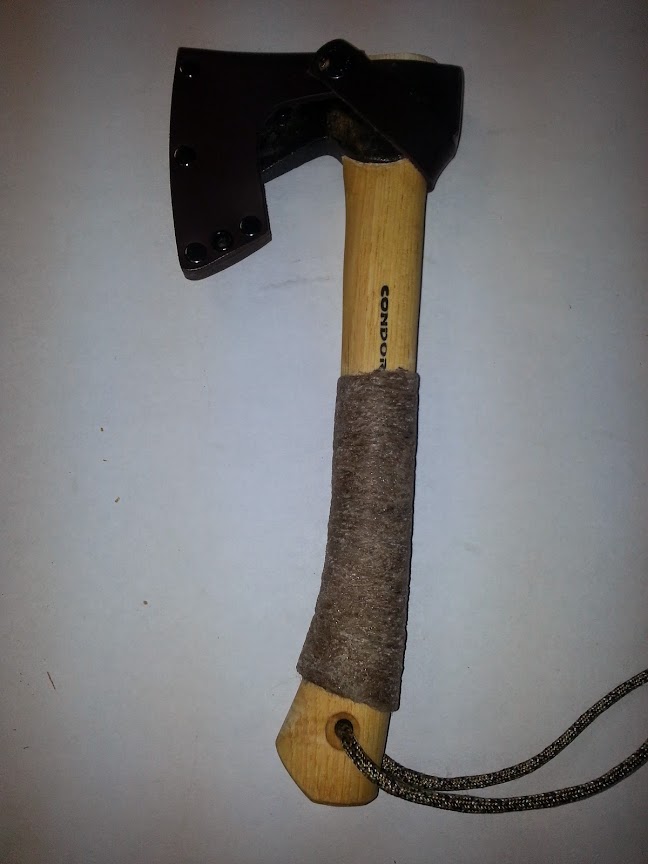
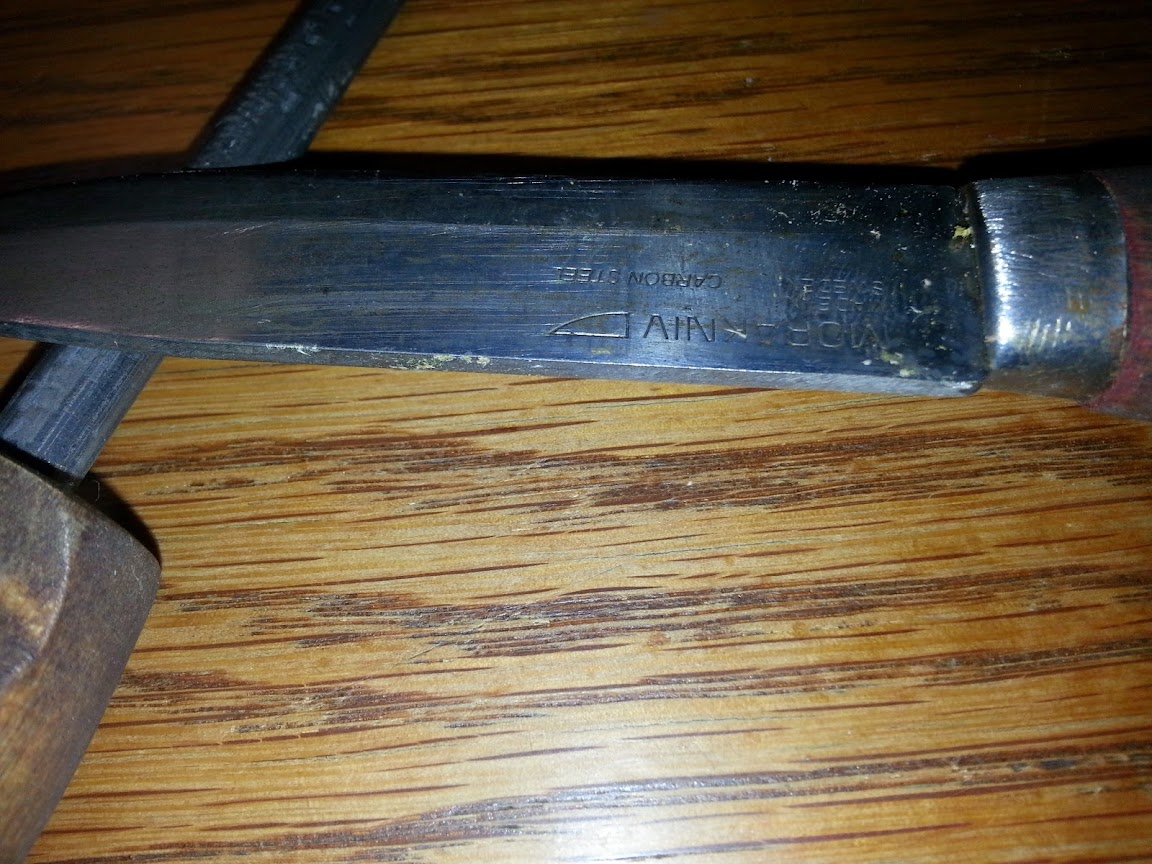
Condor Scout Hatchet
The first thing you might notice is the wrapping around the handle and the lanyard. The lanyard is just simple parachute cord while the wrapping is a bit more. We took jute twine and whipped the handle. We then used epoxy and covered the jute twine completely, leaving a solid and smooth coat over the twine. Once that was dry, we sanded it to be completely smooth. It now has a solid wrap on the handle that gives a bit more girth to the handle for ease of gripping, but also gives just enough texture to make it less likely to slip.

Jute Whipping Coated in Epoxy
When I first came across these “baby axes” as I called them, I really thought that they were a gimmick or fad that really needed to just run its course. After playing with Gunguy’s Condor, I am now looking at getting one for myself. They definitely do fit a specific niche and would make my kuksa carving go much quicker.
First thing I want to point out is the nice weight and size of this hatchet. I personally carry a vintage Hults Bruk hatchet that has definitely been around. The problem is that it is about 50% more weight and size than these mini hatchets floating around. This makes it a bit unwieldy when it comes to fine, detailed use.
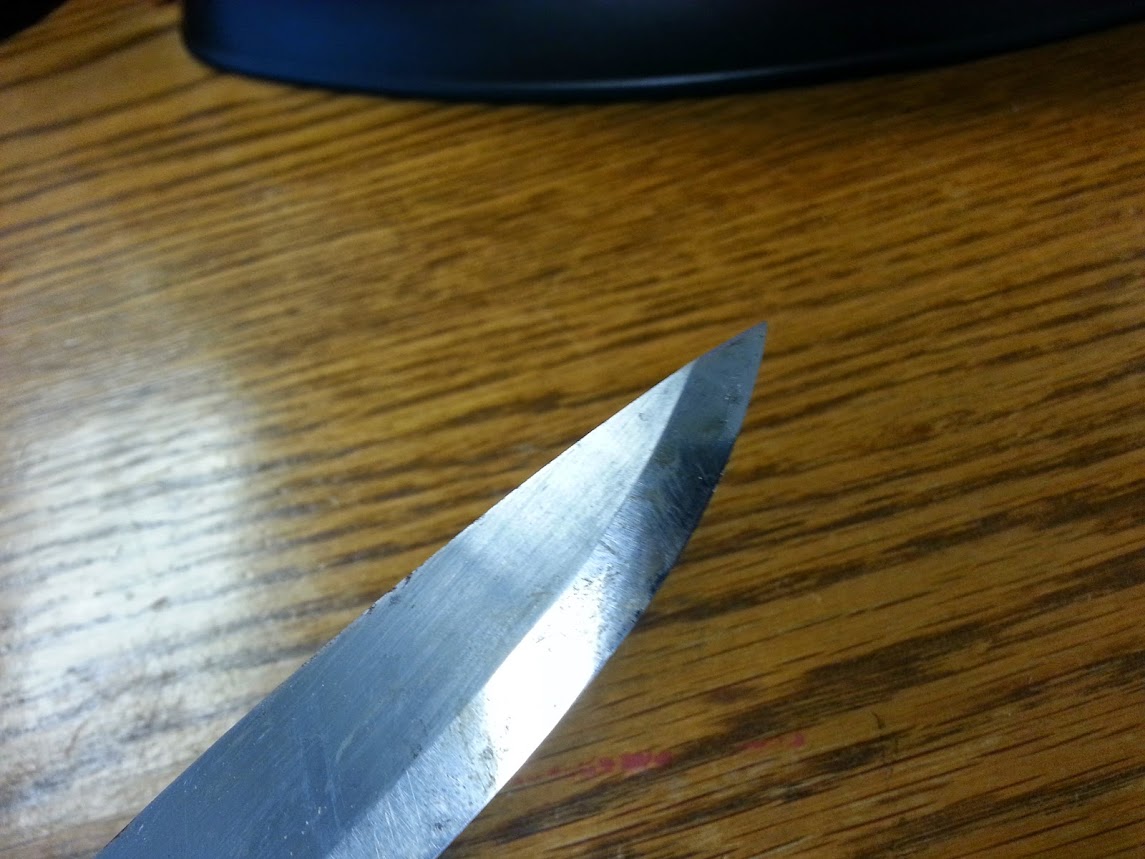
Another difference in these little hatchets that make it different than other axes is the definite convex grind. Most hatchets have a flatter grind that leaves a really thin taper to the edge, whereas these mini hatchets have a sharper and more pronounced grind to them. It seems that I can actually get this axe quite a bit sharper than mine that I normally carry. I also have found that it doesn’t roll or chip and edge as easily. Take a look at the grind on this hatchet.
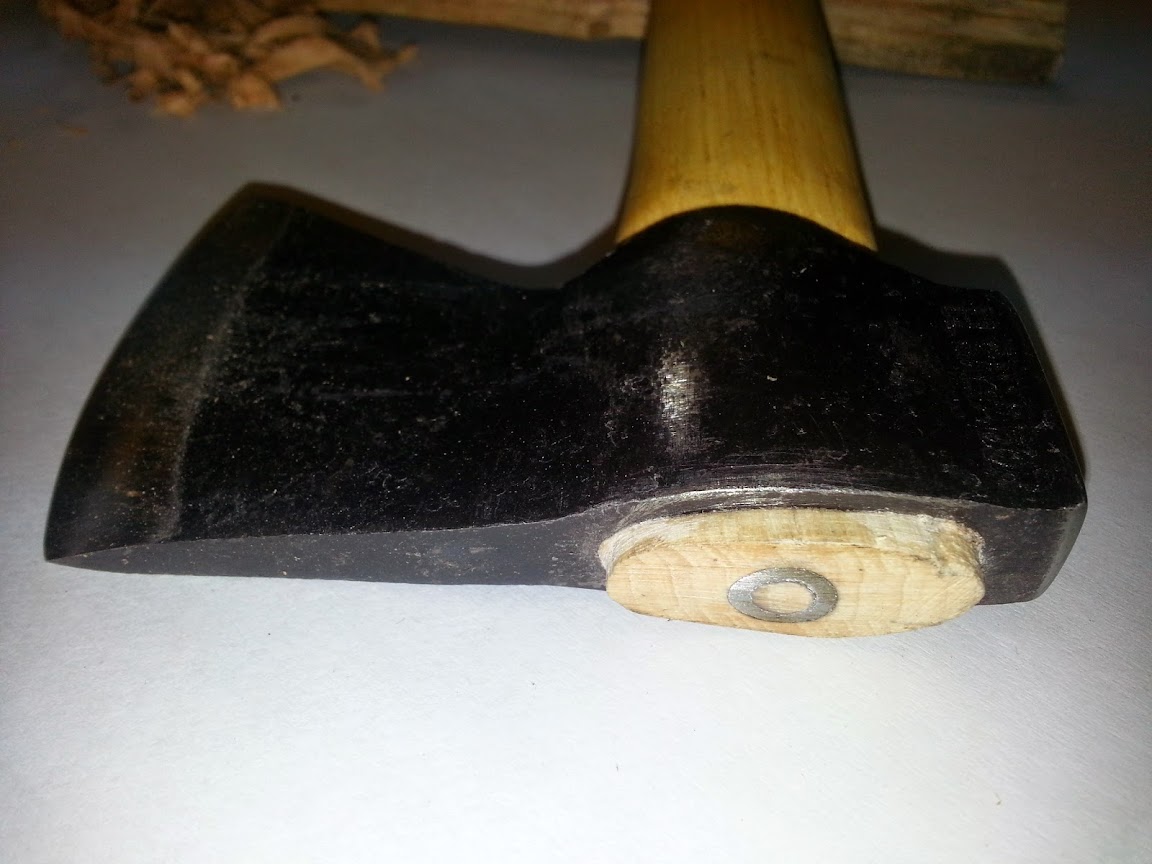
Condor Scout Hatchet
To properly make the mess I desired, I started splitting off a few good chunks from one of the several split rounds I have in the back of my truck. Doesn’t everyone carry dry split wood in the bed of their truck?
Even though it is a very light axe, it split the chunks off quite easily.
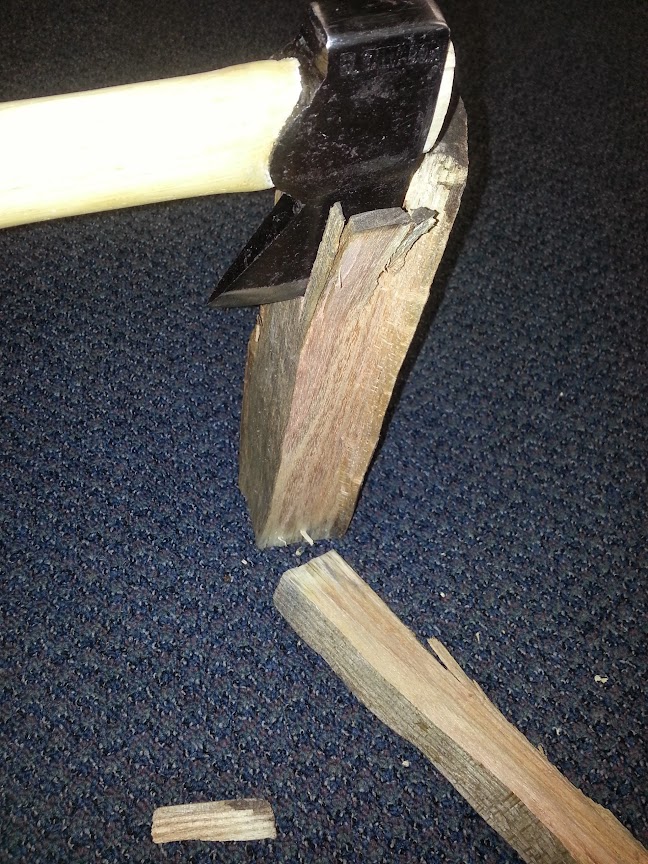
Making Featherstick Materials
I then took the larger chunk and split it into a few smaller pieces so I had some good feathering material.
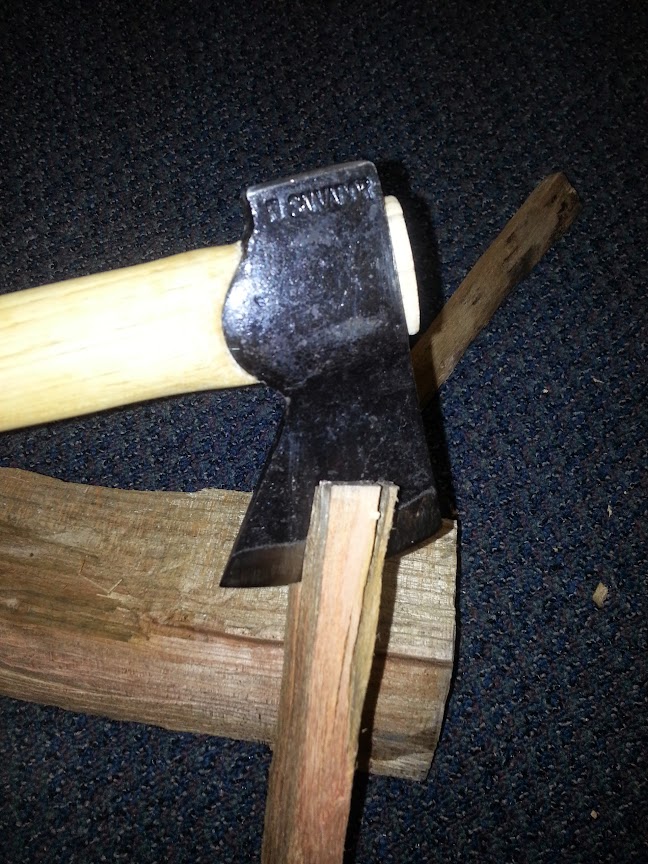
Making Featherstick Materials
It works very well. Even though it is hard to admit, it actually did a better job of splitting than my Hults Bruk. It would be due to the type of grind it has. This is much more conducive to splitting with the sharper angles.
Here came the real test of the hatchet. Could it take this rock hard, pitch infused, dry as British humor, piece of wood and make feather sticks enough to actually light with a firesteel?
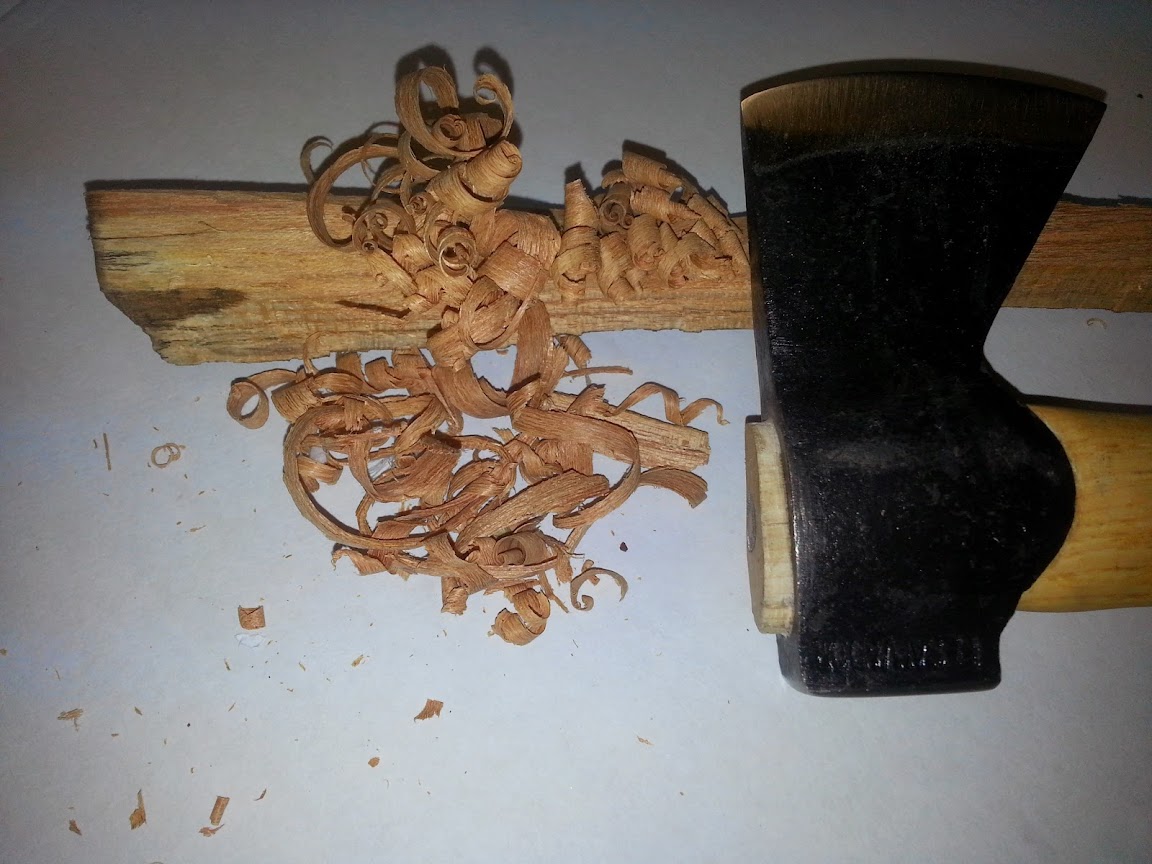
Feathering with the Scout Hatchet
Now for the moment of truth….. Will it start?
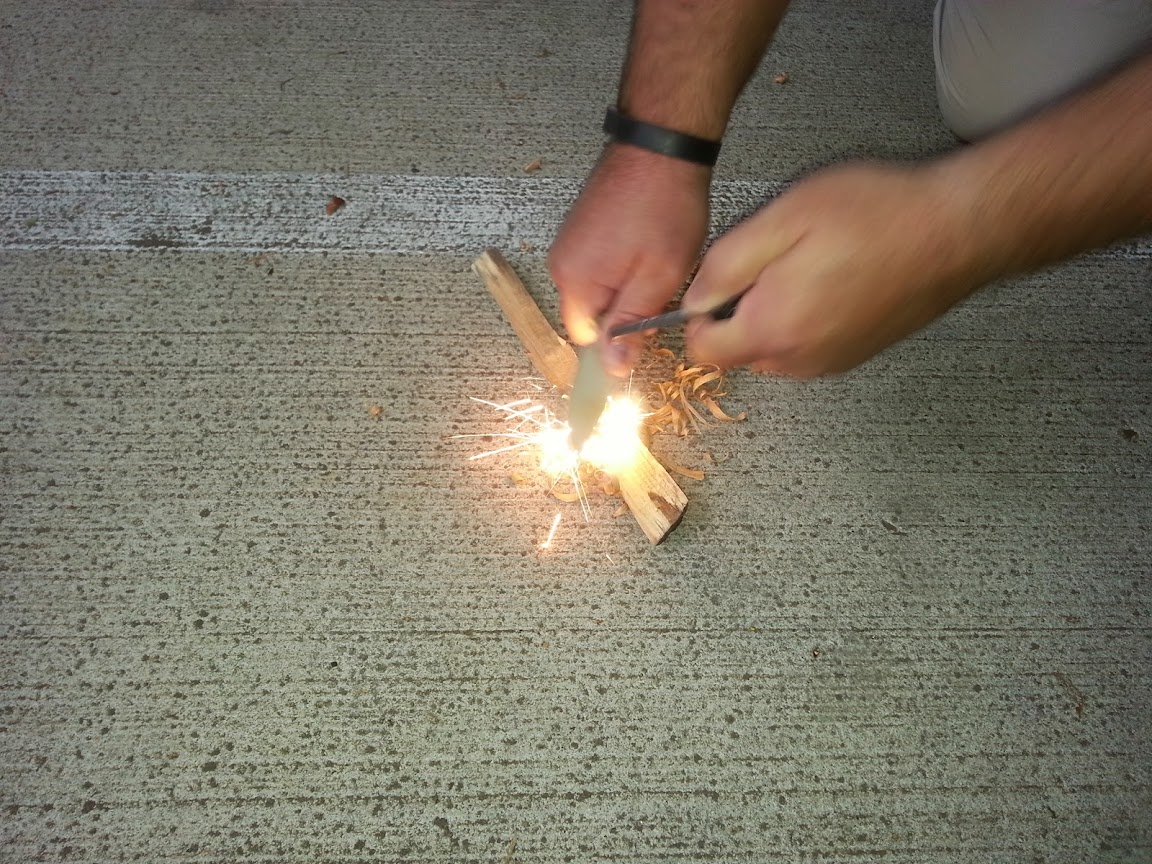
Starting a Fire in the Parking Garage
Well, it took a bit. The wood was REALLY hard and was kind of stubborn. It did start though.
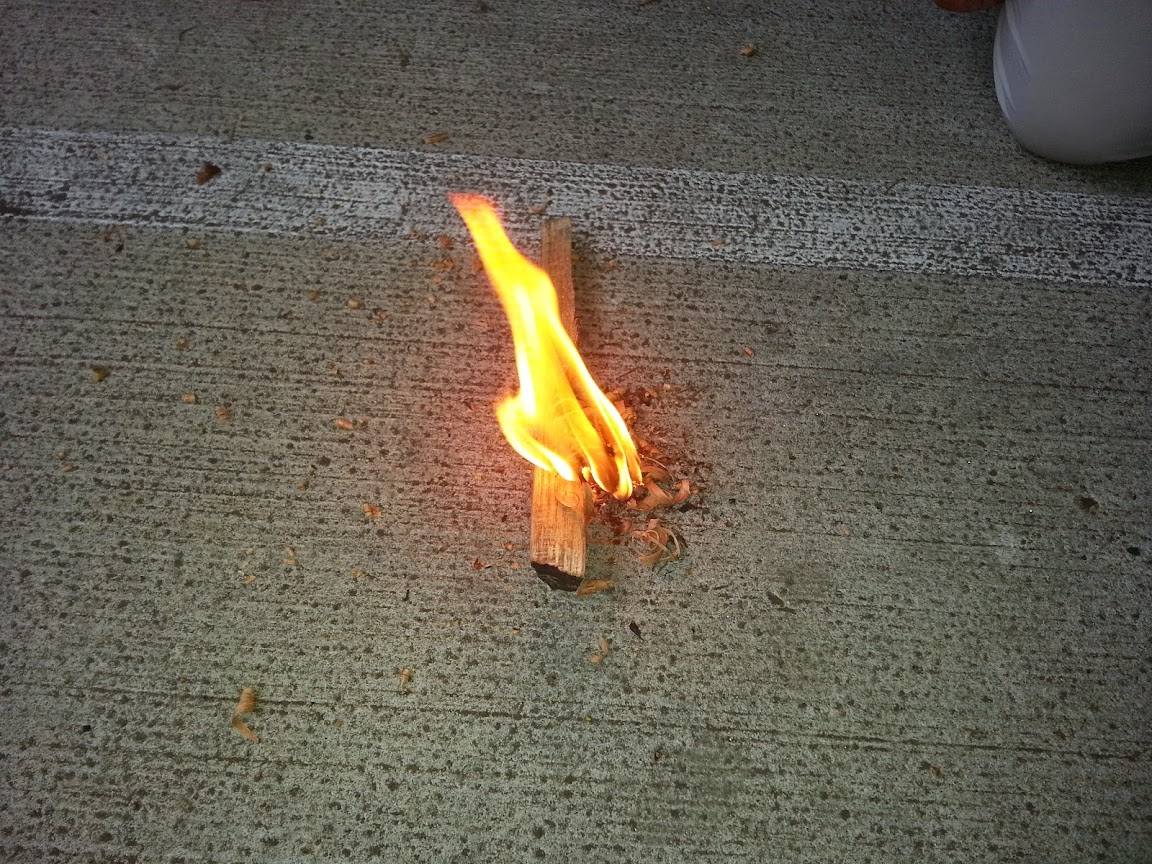
Success!
Here is my conclusion:
Many tools are available for purchase. These tools come in a variety of qualities, prices, and configurations. If you can get by with a small “baby hatchet” for most of your fire prep needs, good on you. Your tools should really reflect your skills set and preferences. Seeing as how this Condor Scout Hatchet can and will perform the tasks in which it was designed, seems to keep an edge fairly well, can be used for making cuts similar to carving, and is fairly inexpensive I would have to recommend this axe if it fits your kit.
Good luck and let us know how this axe works for you. I can definitely attest that it will successfully prep materials needed to get yourself a fire!