by Woodsbum
Yesterday the UPS driver finally delivered all the boxes that were supposed to have been dropped off last Thursday. It only took an extra 2 working days due to holiday laziness. I guess I should actually be happy that it arrived at all with only 1 of the boxes having been opened up and rifled through. The reality of having received the latest addition to my body armor has made me a bit giddy. I am not sure how odd it is to want to sit at a desk all day in Level III plates and work on computers. HR would probably send me in for an evaluation.
This post is Body Armor – Part 3. If you are looking for Part 2 or Part 1 of the series you can follow those links to get caught up.
Since my first post, I finally have my AR500 plate kit that includes both front and back plates as well as 6×8 side plates.

My AR500 Deal
I originally picked up some ceramic plates that were 12×10, but they were WAY too small for my torso. These are 14×11 and fit much better. They also fill out the whole carrier pocket so there is less fabric flopping around the sides of the plate. The coverage is also MUCH better as is the overall fit with the thinner, metal plates. I felt like Raphie’s brother in A Christmas Story where he can’t even drop his arms.

Carrier and plates now
A couple thoughts on these plates and this carrier:
- They are about 2x heavier than the ceramics I had. Even though they are 2 inches taller and 1 inch wider, this additional 30-ish square inches of steel vs ceramic adds a lot more weight.
- The thinner construction actually allows more unhindered movement with the steel plates. All four plates are actually the same thickness of one ceramic plate.
- Steel is a lot easier to deal with in regard to “being careful.” Ceramic can easily break or chip. These steel plates are much more sturdy and thus allow for easier transport without fear of damage.
- My carrier with plates is almost the same weight as my daughter’s Army IOTV (current issue military body armor), maybe even a touch lighter with both all geared out.
- As opposed to ceramic, these plates can withstand more shots. The tags alone on my ceramic state that it is rated for 3 hits and these plates are rated for 6. I am no rocket surgeon, but I think that is twice as much……
Here are a few pictures of the tags and the plates themselves. I do wish that the side plates were curved, but it really isn’t too big of a deal. I plan on wearing them upright and forward so as to create more frontal protection. This will also work well with the abdominal plates and carrier that I ordered. The IIIa will cover the rest of my side and kidney area. Although my back will not be nearly as covered as my front, I feel fairly confident that most bullet impacts I should fear if I really need this armor will be from the front. My kids are not THAT bad of shots and they like me so back armor is less important. If I keep a 2nd LT bar off my body, I should be fine (that was a joke in case you were wondering)…….
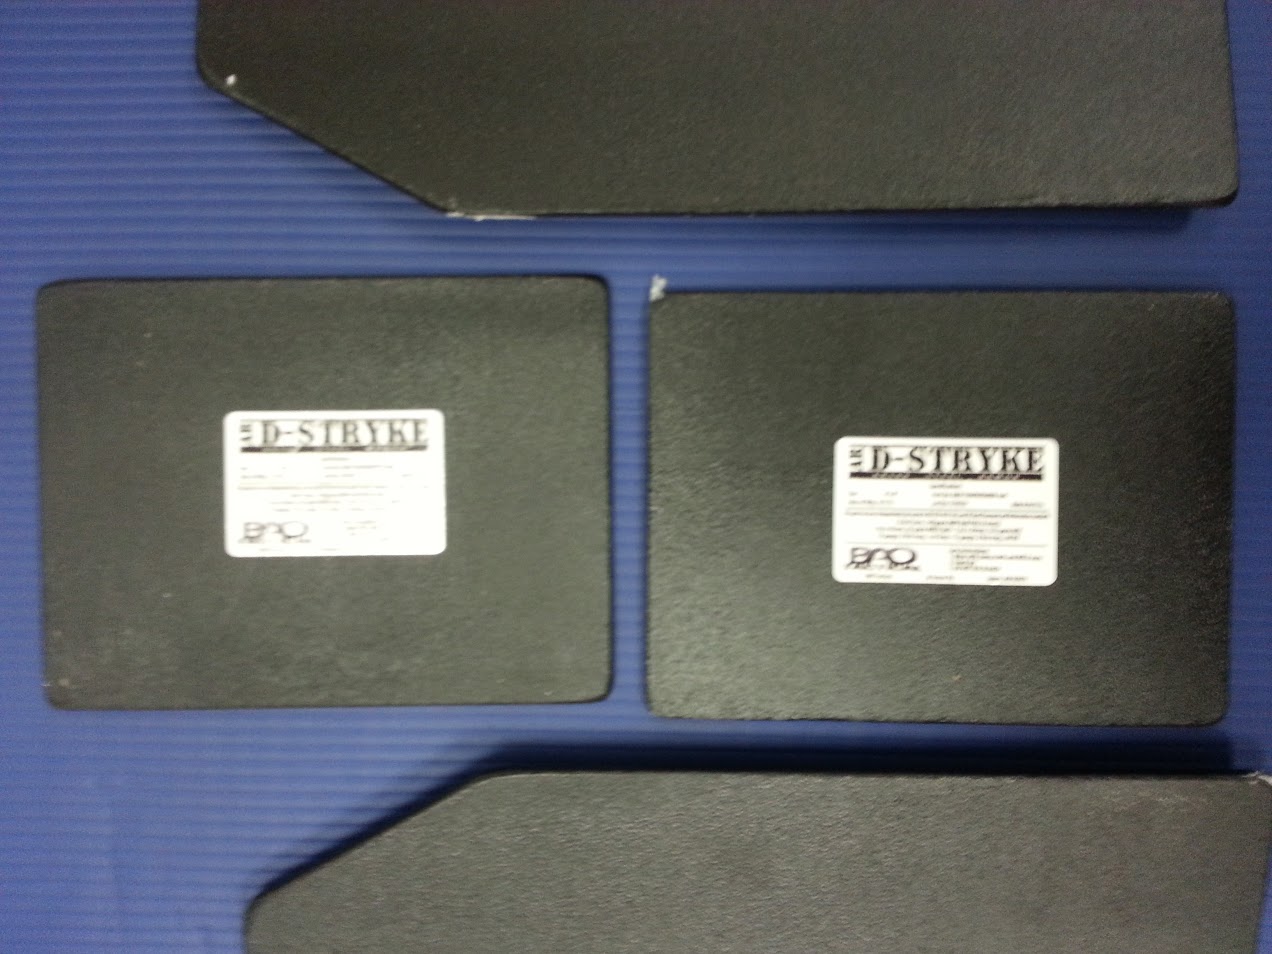
Side Plates
The plates themselves are rated to take 6 shots of 148 gr .308 (ok – 7.62x51mm) hits. If you were buying plates for a SHTF (Shyt Hit The Fan) type scenario, this might be a good choice. If you are buying it because you are the main protector of your family and you don’t trust that cops will show up in time to save everyone then these are perfect. Since I am getting this setup due to the later and not former reason, I think I have a winning combination.

Armor tag
I guess that everything really depends on your particular needs. Since I won’t be going into direct combat (hopefully) with mine, I think the $200 price tag for a complete set of plates is a great deal and I couldn’t be happier about it. Even if you use this equipment daily or regularly to protect you, I also think that this is a great setup. My daughter is actually looking at getting the Level IV version of these plates for her upcoming deployment. All the ceramic ones she has been issues are bulky and have cobwebbed edges, so at least she knows these will take a beating and still protect.
The next update in this series will either be when my side plate carriers come in or when I get the abdominal plate. Either way, I will keep you guys informed as I upgrade my load out.