Monthly Archives: March 2014

Hammock and Tarp

by Woodsbum

This last summer, one of my best friends in the whole world and I went camping to test out my new hammock setup. He wasn’t nearly as impressed with things as I was.

Roscoe the hound

Roscoe the hound

Well, we set out to go and spend a weekend up in the hills and try out my first hammock outing. I have been using tents, tarps, and various configurations thereof for years. Most recently, I have found that using an insulation bed of fresh tree boughs has been my camp of choice. This doesn’t work so well when Park Rangers are watching your every move. They have a habit of freaking out on you when you start cutting down any low hanging tree branches.

To assist with getting things lighter and more “park accommodating” I have started buying lighter and more mainstream equipment so I have a choice in how I camp.

Cutting weight had to start somewhere so I started with carrying equipment and shelter as my first weight saving changes. Getting an Osprey Aether 70 helped a lot, but the real transition from heavy gear to “as light as possible without spending a crap load of money” did truly take place with getting off the ground.

The first thing that I really did was modify my sleeping arrangements. I will cover other things that I did later on.

Keep in mind that I have suffered from back pain due to injury so I need a really soft place to sleep. This made me do some research into how to handle my problem, thus discovering hammocks. Now, I don’t really do things halfway when I take a plunge. I just go for it with the best information I can find, then adapt or modify as needed. So I went to Amazon with my list of needed gear and started filling my cart.

The gear that I purchased was an ENO Double Nest, ENO Bug Net, Aqua-Quest Sil Tarp 10×7 ft, Whoopie Slings but buy 2 for a ridgeline, Hennessy Snakeskins, webbing that I made tree straps out of, and an underquilt that I had my mother make. For an overquilt, I just used a MSS.

By swapping all this out from my Thermarest Pad and Eureka tent (says it weighs around 7 lbs my mine always weighed over 9 for some reason) I was able to drop about 5-6 lbs and an unbelievable amount of space from my pack. Most importantly, I was able to sleep much better than the 1/2 inch of foam and air pad that the Thermarest provided.

There are a few tricks, however.

In case you missed it before, I dropped over 5 lbs (closer to 6 lbs) of weight by swapping to a hammock. This helps the dogs (feet) when they start barking (hurting) after a long hike. (I tend to translate my choice of words, in case you hadn’t caught that either)

So here are a few things that you need to take care of almost immediately if you do swap over to a hammock.

  • Get rid of the carbiners that come on the ENO Double nest. Replace them with some lightweight climbing ones like these. The “stock” ones are about 2 lbs a piece or something crazy. This is no joke. They are solid steel and I call them “Hammock Girders.” You can actually drop the carbiners totally if you want, but it does make it easier for setup and take down with them.
  • Turn one set of Whoopie Slings into a ridgeline for your hammock. This helps to get you the right slack so that you can sleep diagonally. Either that or tuck more of the Amsteel into the compression section so that it will hold as a ridgeline. If not, they tend to slip…. A lot.
  • Let all the ropes and extra straps, etc, hang or you will get water dripping down into your hammock while you sleep.

So here is a good picture of the whole thing set up.

My hammock setup

My hammock setup

Here is the whole campsite.

Camping in the trees

Camping in the trees

Here is a great view of one of the waterfalls I ran into along the river.

Scenic waterfall

Scenic waterfall

All in all I loved the way that the hammock packed and functioned. The ridgeline made a huge difference in my comfort. There is a certain happy medium that you have to find between too slack and too tight. If you end up making the move over to hammocks, you might want to set it up several times to get used to the process not to mention how you like it set.

It was really nice to have a place to sit as well. The bug net worked as a great place to put my boots while sleeping, too. There are all sorts of really nice add ons, books, and resources. I recommend everyone getting into hammocks do the following:

I hope that this has been relatively informative for those that are thinking about making the transition to the trees. There is a lot to the change, but it is well worth it for ease of packing in addition to the saved weight. Check it out and see you in the trees!!!

  • Share on Tumblr

Battle of the Rusty Knives

by Woodsbum

I reside on the squishy side of Washington. We get an obscene amount of rain here. This creates many problems (or challenges if you took any “leadership” courses). Because of the constant rain and wet environment, rust on your high carbon blades is a real issue.

What can you do? Should you put wax on your blade before you go out? How about using a polishing wheel to get rid of the surface rust? Patina works, right? Should I just use blades that have a thick coating on them like enamel or paint? Maybe I should transition to only using ceramic and flint knapped blades?

Well……  Here is my solution.

After searching high and low for a way to keep my pistols and knives from rusting, I just started going old school. In some readings I learned that many people (throughout history) used some sort of oil skin or oil rag to keep their metal items in to protect them. This got me to thinking…… 

Where do my knives and pistols live life more often than not? Their sheaths and holsters of course! What if I was to oil the inside of the sheath or holster?

“BAH! That would ruin the sheath or holster! You are crazy and that won’t work!” many people told me.

Well, I am here to say that it does work and it works really well. I keep my pistols in well oiled Cordura type holsters when not in use and I use well oiled leather holsters when I am out in the woods. The oil seeps into the leather and continues to protect, displace water, and prevent rusting. It also keeps the leather from molding or rotting due to prolonged exposure.

Here are a few pictures of my well oiled leather:


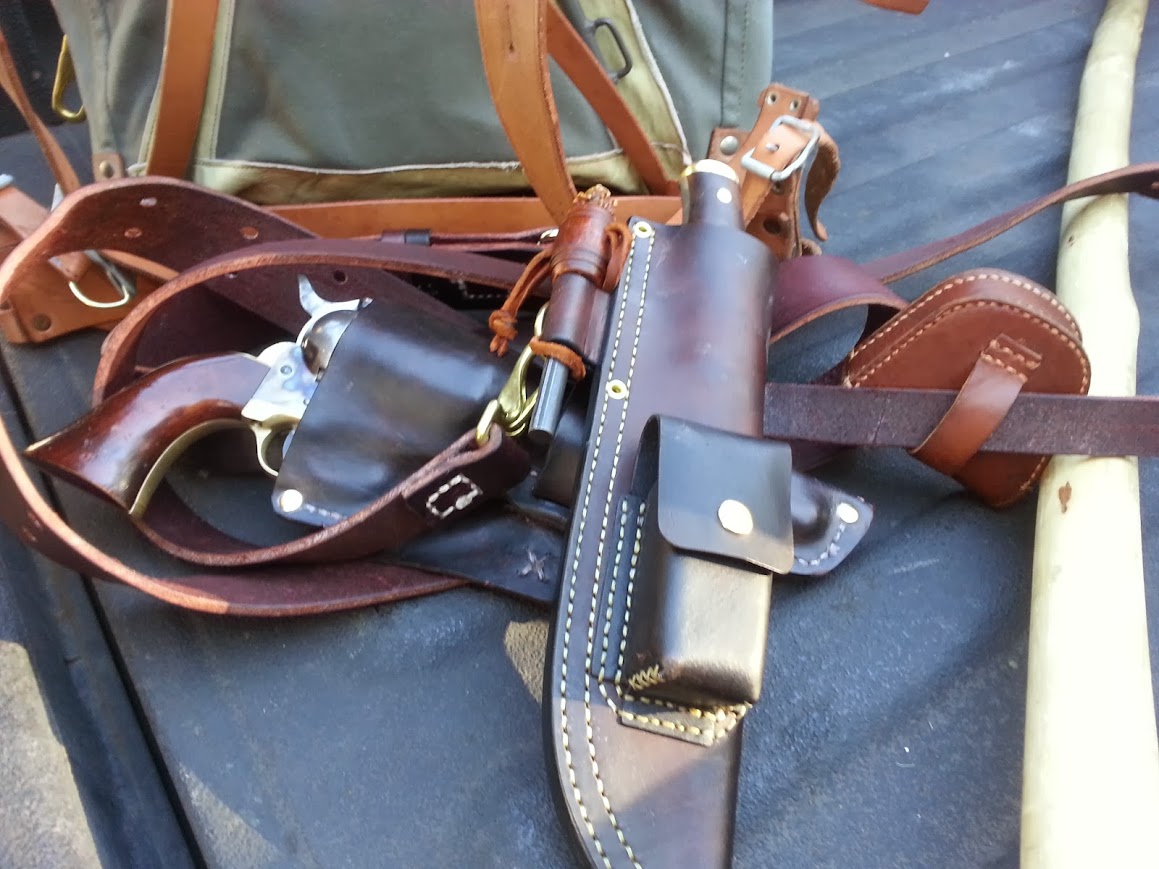
This sheath was custom built, but was heavily waxed and was causing some rust to build up on my blade. Here it is after I oiled the inside. No more rust!

My field gear

My field gear


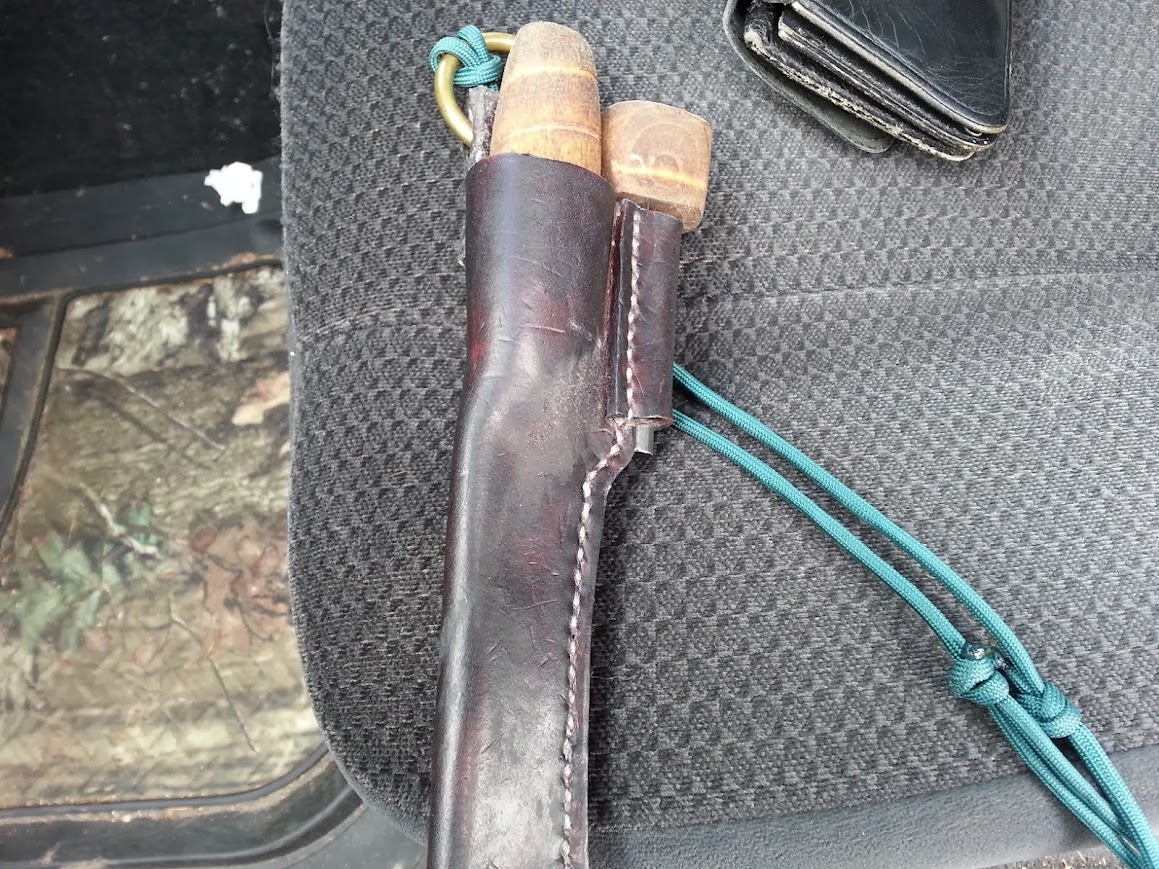
I made this sheath. I first tried waxing it and using Sno-Seal. Blade went right to rust spots just because of the humidity. I then sprayed the inside down with oil and all is now grand.

Necker with Mora and homemade firesteel

Necker with Mora and homemade firesteel


I also made these (except for the Condor – but the sheath is well oiled). After dying them, I oiled the crap out of the inside. No rust.

Some leatherworking I did

Some leatherworking I did

Some leatherworking I did

Some leatherworking I did


Now this one I did a little different. All I did was oil it and put Sno-Seal on it. First the Sno-Seal with heat to melt it in. Then I soaked it in oil. Came out looking really good and it doesn’t rust the blade. I have done several just like this and can post a picture of the pattern upon request. I still have one leather blank all cut out that I use for a pattern.

Another necker and homemade firesteel

Another necker and homemade firesteel


I don’t have a picture of it right now, but I also got an Adventure Sworn knife and sheath that I had to oil. After just a couple hours of being out in the Washington weather, I was getting rust spots on the blade. Once I oiled the sheath and the blade, it all went away and have not had any issues since.

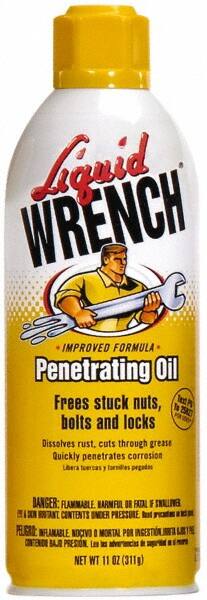
Now you may ask, “What sort of oil do you use?” Well, I have tried several types to include, WD40, RemOil, Barricade, and CRC. None work nearly as well as Liquid Wrench.

Liquid Wrench

Liquid Wrench


I don’t know what they put in it or how it works so well, but it is the product of choice to spray inside your leather products for rust prevention. Now, it does make your leather products smell and I have yet to get a good solution for that other than some drops of vanilla. That means you might have to weight the benefits versus smell if you bow hunt. I have used vanilla (Mexican vanilla you get from the little bakeries down south) on a piece of cloth and then wipe the inside of the well oiled leather down. It cuts the smell tremendously. My son and I were 12 yards away from the deer he took and it didn’t know we were there, so it helps obviously. If you are strict about your scent control, you might want to only use the oil method for camping equipment. Just giving fair warning.

Since I first started using oil to coat the inside of my sheaths and holsters, I have yet to get any rust on anything. Every time I try and do something different, I fight the rust game. You can use my trick or not, but it does work.

Thank you for looking and let me know if you have any other, well used and practiced methods of fighting rust in places as squishy as Western Washington!

  • Share on Tumblr

Building a Bushcrafting Pack

by Woodsbum

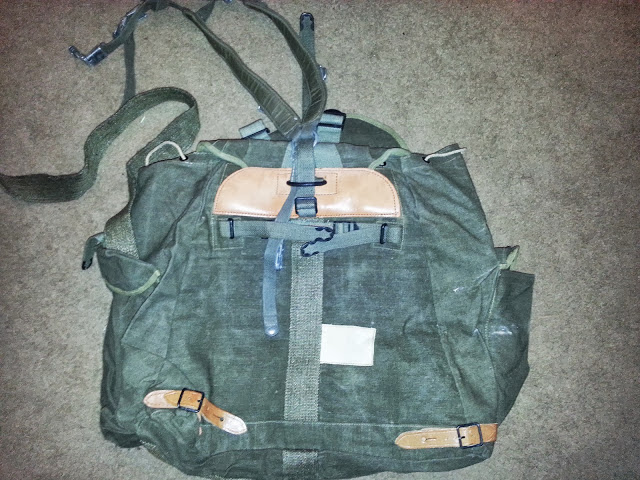
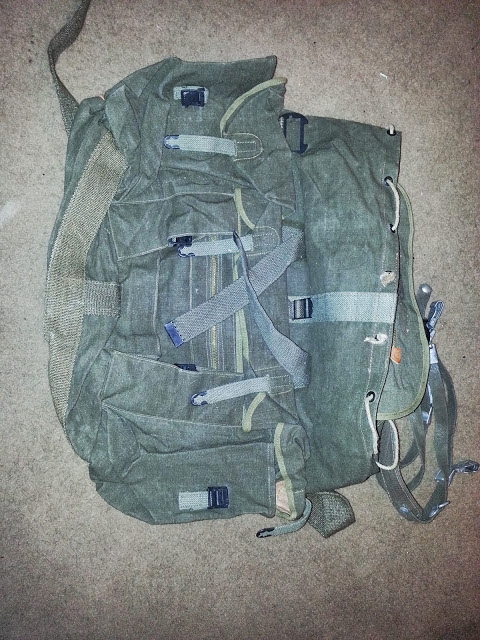
I ended up getting one of the French Air Force Tap canvas packs from Sportsmans Guide. When I got it there were about 4 extra lbs of steel, webbing, a horrible strap system, and general fat that needed trimming. The 3 lbs referenced by Sportsmans Guide description must reference only the amount of crap you have to chop off this thing. The scale at home said that it was almost 10 lbs when I took it out of the packaging.

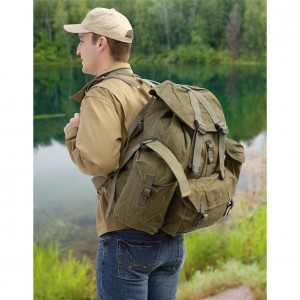
This is the picture of what they say it is supposed to look like.

French Air Force Tap Pack

French Air Force Tap Pack


Here is what it really looked like:

French Air Force Tap Pack

French Air Force Tap Pack

As you can see there are some really odd things strapped on and sewn on this pack. Here is a look at the outside/back.

French Air Force Tap Pack

French Air Force Tap Pack

I immediately cut off the extra straps and unnecessary hardware to drop the weight by (no joke) almost 4 lbs. It’s new, slimmer figure weighs in about 5 lbs with the couple of rings, axe carrier, and leather reinforcements.

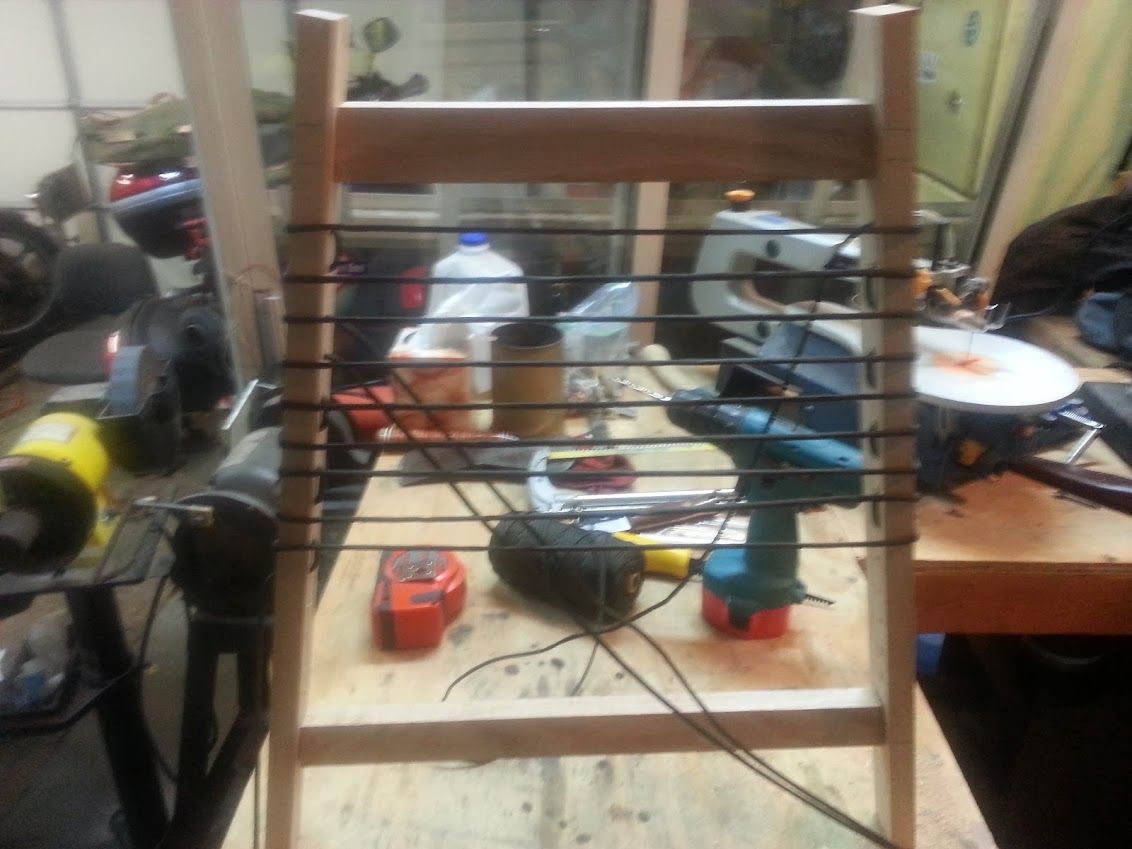
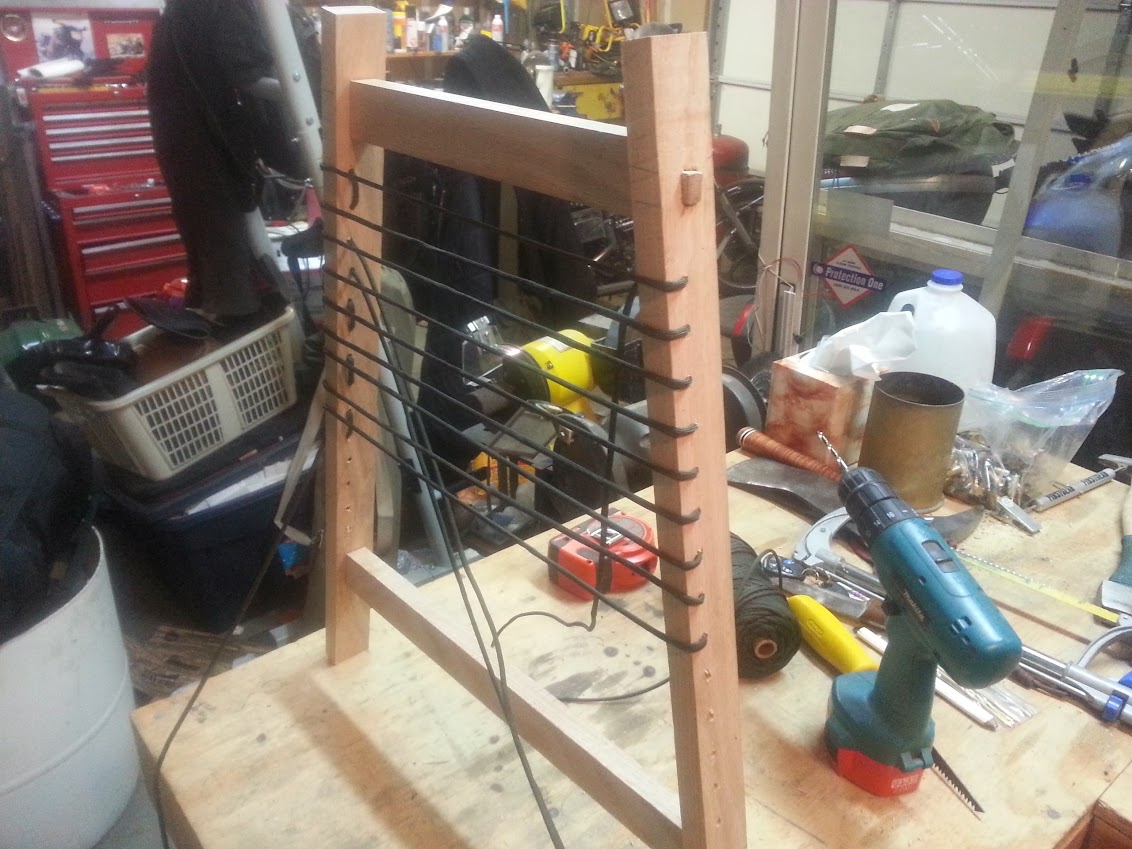
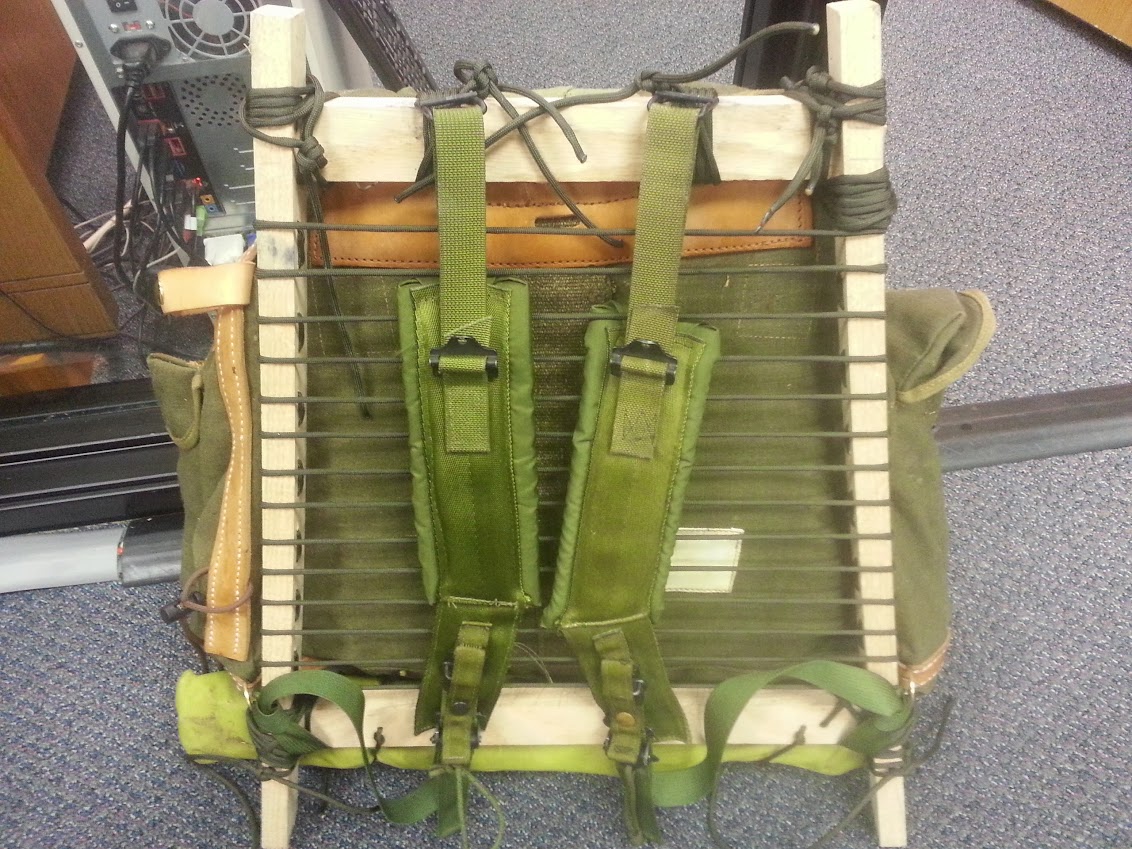
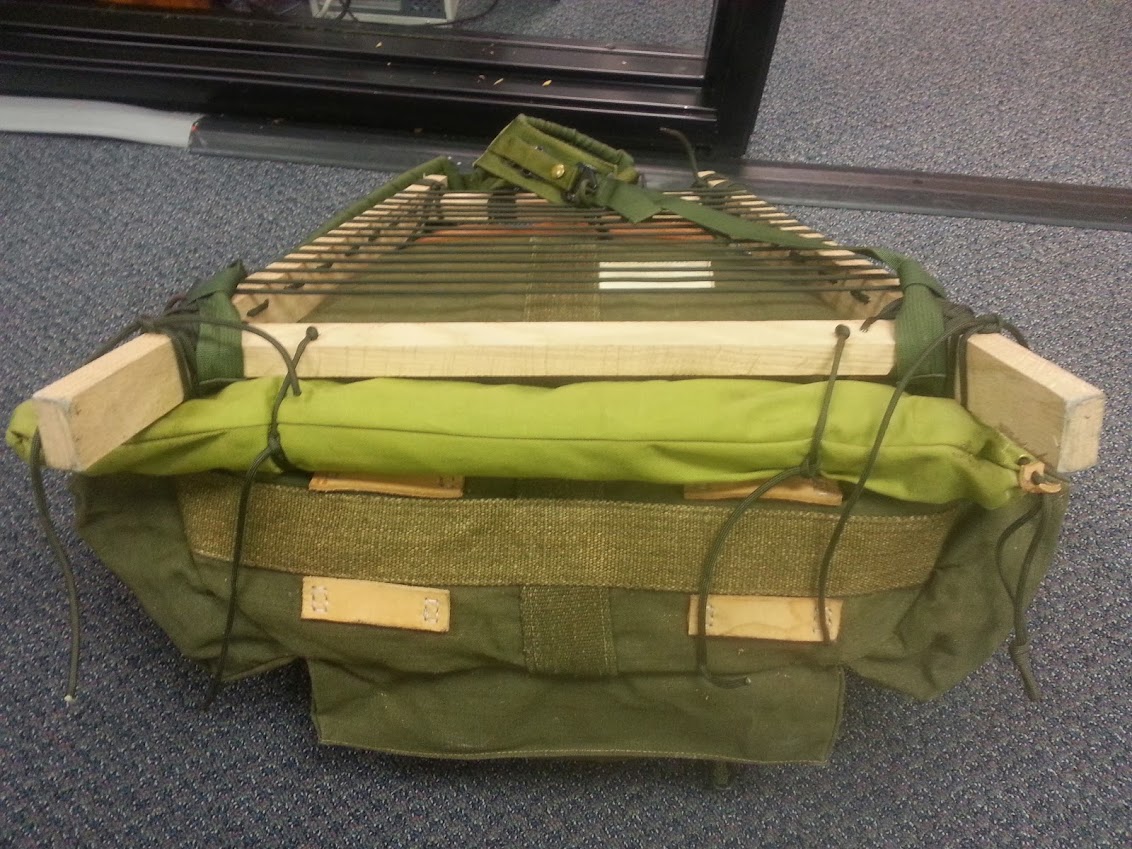
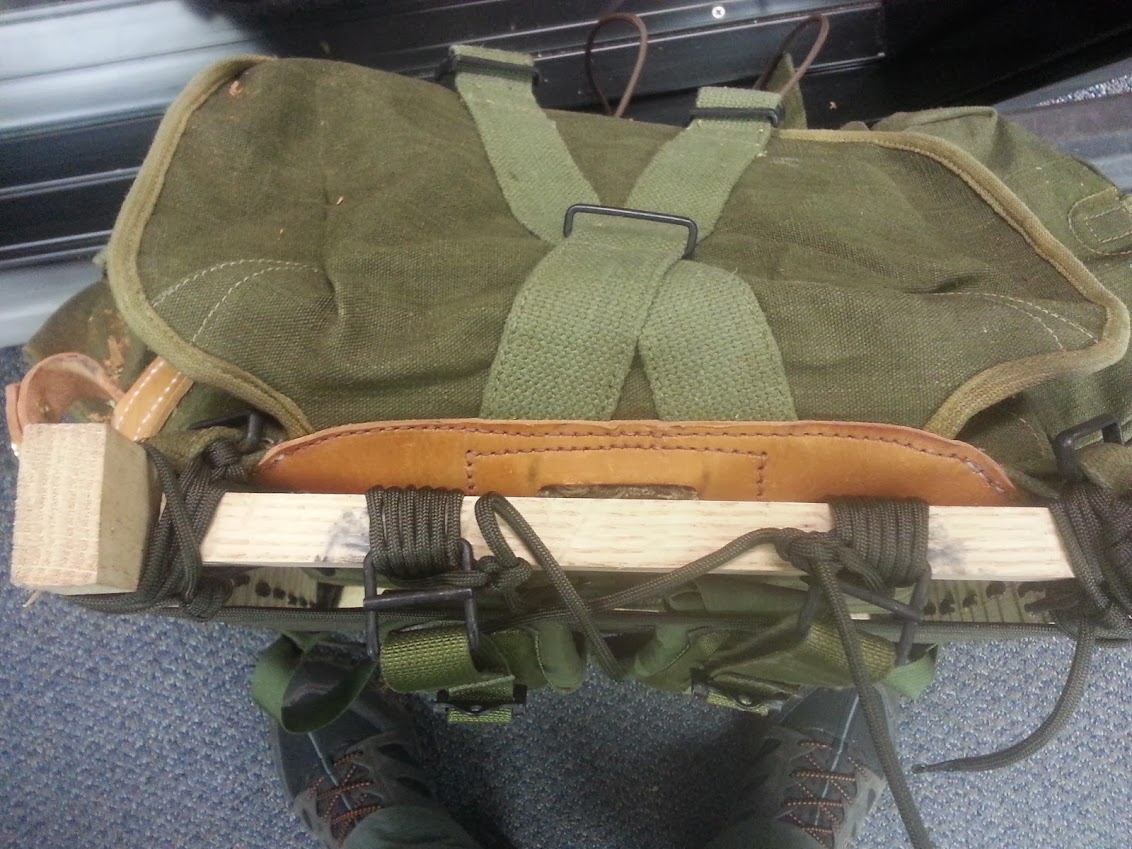
I then went to town with building a frame.

DIY Homemade pack frame

DIY Homemade pack frame

DIY Homemade pack frame

DIY Homemade pack frame

After all was said and done, I used some 550 cord and strapped it to the frame. I might revisit this later, but so far it works really well.

DIY Homemade pack frame

DIY Homemade pack frame


Here it is all loaded up with the BigDaddyHoss saw strapped onto the bottom.

DIY Homemade pack frame

DIY Homemade pack frame

DIY Homemade pack frame

DIY Homemade pack frame

DIY Homemade pack frame

DIY Homemade pack frame

DIY Homemade pack frame

DIY Homemade pack frame

Here it is on an outing. The canvas keeps the water out very well and it rides quite nicely on trips. I do have to add some all thread or something to the back side of the frame. The 550 cord laces are torquing the frame and I don’t want my tabs on the frame cross pieces to break. Here it is with an M39 pack for comparison. Overall, this thing is pretty big.

DIY Homemade pack frame

DIY Homemade pack frame

In conclusion, I spent about $36 for the pack and another $15 in materials to put it all together. I did recycle the original shoulder straps to make a harness for a quiver. It works quite well and is amazingly comfortable with several adjustments that I kept from the original straps. I will eventually post some pictures of that as well.

Thank you for looking!

  • Share on Tumblr