Colt Cobra Range Report

by GunGuy

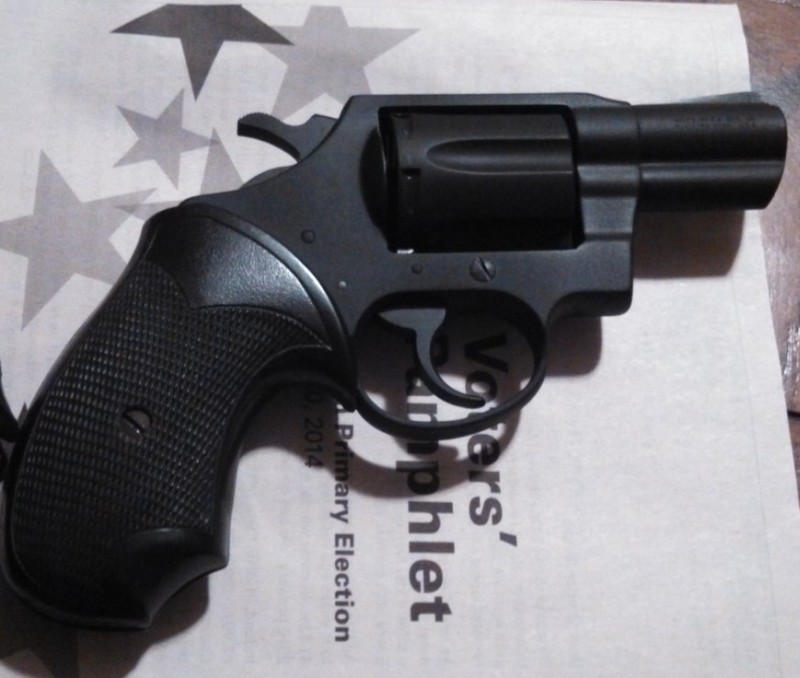
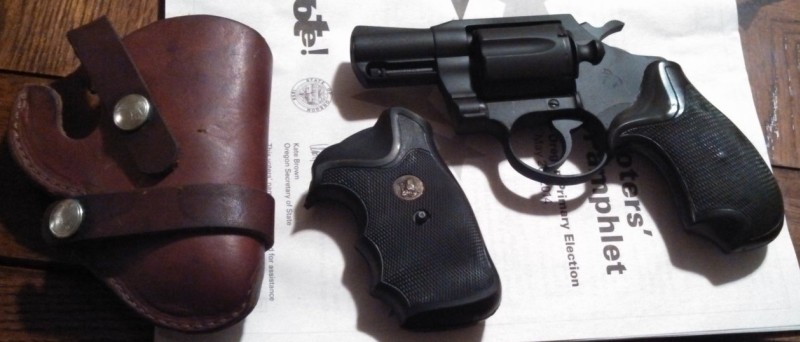
I picked a Colt Cobra revolver a little while ago and had a chance to take it to the range to put it through its paces.

I tried three different types of 38 special ammo. Since this revolver is over 40 years old and there is no way of knowing what kind of abuse it has seen over the years I wanted to only shoot the lowest velocity ammo that is commercially produced. I tried the following.

Hornady Custom 38 special XTP Hollow Point 158 grain – 800 fps
Magtech 38 special FMJ 158 grain – 755 fps
Inverted wadcutter handloads 158 grain – 650 fps

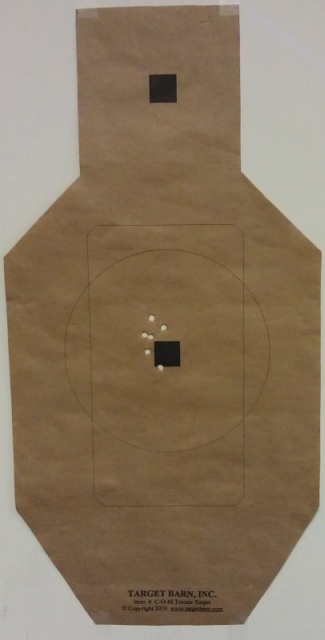
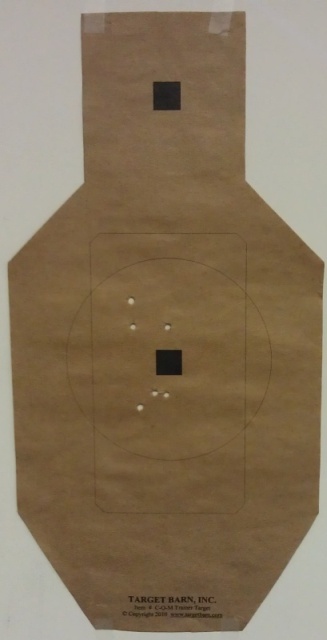
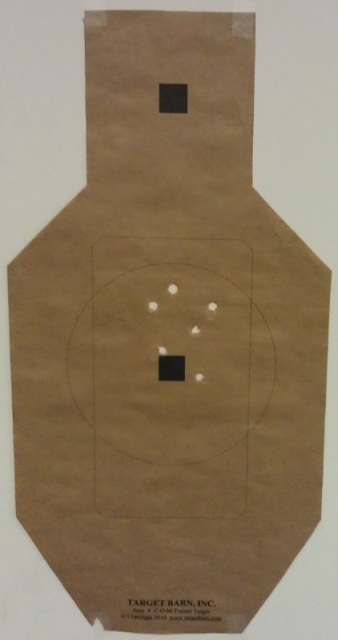
I was shooting slow aimed fire with two hands in single action at 7yds. It was 62 degrees outside and slightly cloudy. The best results came from the 158 grain Hornady 38 special hollow points. I was very surprised with the tightness of the group. The recoil was minimal across all three types of ammo with the lightest and most pleasurable being the custom handloads.

Pics below.

colt cobra right

colt cobra left

Colt Target Hornady

Hornady Custom Ammunition 38 Special 158 Grain XTP Jacketed Hollow Point at 7 YDS

Colt Target Magtech

Magtech38 SPL 158 Grain Full Metal Jacket at 7 YDS

Colt Custom

Custom handloads with inverted wadcutters at 7YDS

  • Share on Tumblr

ESEE 3 with Sheath and Grizzly Firesteel

by Woodsbum

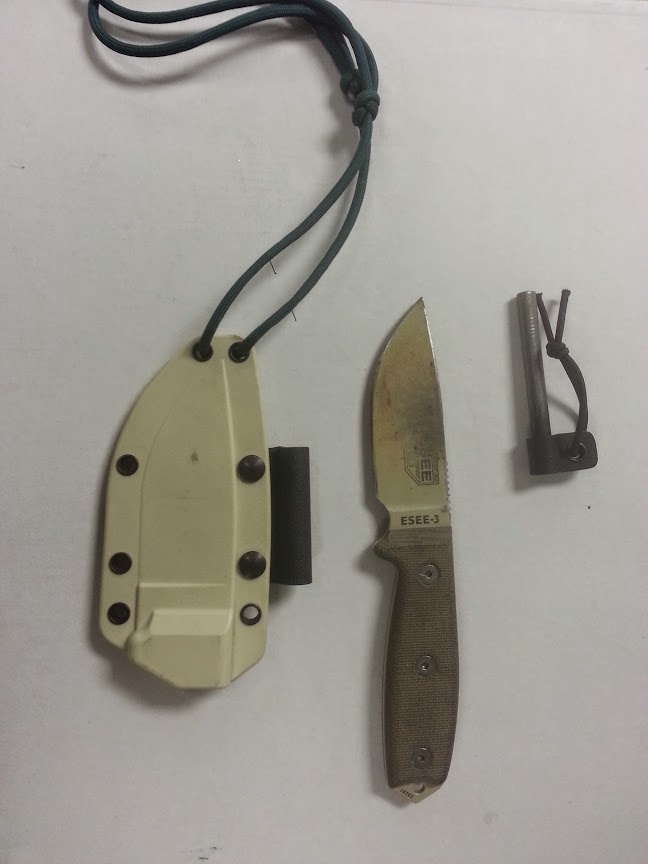
Several years ago I picked up an ESEE 3 knife for use as a bushcrafting neck knife. It is tough, keeps an edge, is light weight for its size and actually fits my large hands. There are all sorts of reviews and perspectives on this knife floating around the Internet. What I wanted to do was to show you how 3 years of hard bushcrafting use will do to this knife and how a few good accessories will make this a phenomenal field tool.

My ESEE 3 with Grizzly sheath and firesteel

My ESEE 3 with Grizzly sheath and firesteel

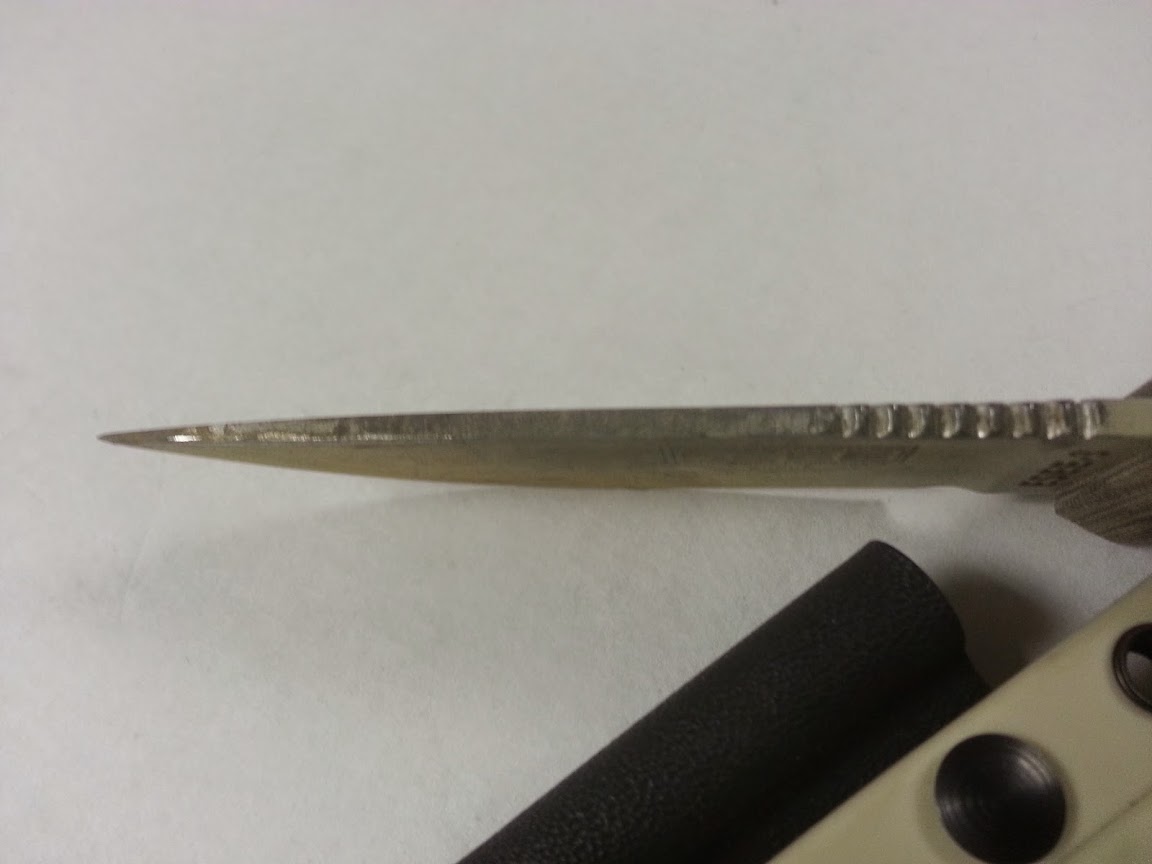
First off, let me talk about the knife. I got this as a NIB “catch and release” from someone who did not like the weight or narrow stature of this knife. This allowed me to get it at about 60% of the normal cost without it having ever been used. It was still in the plastic that it was shipped in. This is important to note because all the wear and tear you see was done by me in the woods. When it came to me I found that it had some sort of odd coating over the entire blade, excluding the sharpened edge. This made it impossible to use as a striker or to get a spark off a firesteel. I went ahead and squared off the spine of the blade and made it capable of use with a firesteel. This was the only modification I made to the knife itself.

Squared off spine

Squared off spine

The other accessories that I got that made this the great field tool that it is were the ESEE sheath and a firesteel from Grizzly. The sheath is very well constructed and has an internal tension type retention for the blade. It will hang upside down all day long without issue, but will pop right out with only a little pressure from my thumb and a pull. It also does not rattle at all in the sheath while hiking, hunting or general be-bopping around in the woods. The firesteel stays in place very well in the molded Kydex attachment. All being said, this is a very nice setup for someone wanting a dependable field knife.

As you can see from the pictures, I have used the firesteel quite a bit. It is not a tough as one of the H60’s, but it is a close second. I would not hesitate to use this as my primary fire igniter or as a secondary system in case something happens.

There are clips for the sheath that allow you to carry the knife in a variety of ways. Since I wanted something that I could slip around my neck for any number of outdoors activities like duck hunting or general camping, I opted for a neck carry. As time as gone on, I am now considering getting a clip to attach this knife to my tactical chest rig. Only time will tell if I move forward with that plan, but it is definitely something that I have been considering.

I can not speak highly enough of this configuration. For less than $150 you can get a screaming deal on a knife configuration that will last you a lifetime if you take care of it. I highly recommend this for anyone looking at a production type field knife.

  • Share on Tumblr

Debris Huts

by Woodsbum

Considering the “Arctic Freeze”, “Polar Invasion”, “cold front that made me shiver in my Jockeys”, or whatever you decide to call it that just rolled in, I decided that a quick post on making a debris hut might be a good idea. For those of you who do not know what a debris hut is, just think of a framed in structure with lots of leaves and branches over the top for insulation.

Here is the structure of one that we use when the bad weather comes in and we get stuck up in one of our camping areas. As you can see, my lazy hound likes it.

Debris Hut Frame

Debris Hut Frame

Debris Hut Frame

Debris Hut Frame

I first found this structure while hiking up in the hills. Later on I found that this has been used quite extensively by several trail crews and hikers that get caught in bad weather. There are piles of downed boughs and debris from previous users of the hut not far off. During the summer months, however, it seems to be more used for people to put a tarp over one side while leaving the other side open for ventilation. Although this is not the best example of a debris hut, it does give you a real world picture of what these types structures can be used for as well as their versatility.

Because I have never felt it necessary until now to have pictures of the building process, I am going to borrow a bit from the Internet. Here is a link to Wiki-How’s page on building them. I would like to toss out that the biggest reason that these type structures fail is due to a poor ridgepole and supporting structure. Many times I have found my friends scrambling to get out of their collapsed structures. Even though I find it humorous, they do not and in a real survival type situation this type thing could be bad.

This video is done by a very skilled bushcrafter that I know from BushcraftUSA. There are dozens of these type videos out there, but considering I know him from the Internet I felt that his was the best to use.

There are numerous variations of these type structures that are only hindered by your imagination. The important thing to remember is that you will need some strength to the frame and lots of insulation on top to ensure you don’t get cold/wet.

I hope everyone found this post informative. If you want even more resources on woodman structures, I suggest you get this book. About any type structure you would want to build is covered in this book. It also goes over such necessities as heating and waterproofing. It is truly a great resource.

Shelters, Shacks and Shanties

Shelters, Shacks and Shanties

  • Share on Tumblr

Day of Wrath – Book Review

Just like his book, ‘One Second After’ Mr. Forstchen has the ability to put the reader directly into the very real scenarios that he describes.

In ‘Day of Wrath’ William R. Forstchen again dares to think the unthinkable by imagining the effects of a series of coordinated attacks on the American heartland by ISIS, the savage Islamist terrorist organization currently sweeping across SYRIA and Iraq – with its sights set on a Middle Eastern Caliphate ruled by Sharia Law. ISIS has also threatened to bring their brand of savagery to America, and this is what the author lays out for us – depicting the brutality of one eight hour period.

It’s frighteningly real and the reader can easily put him/herself directly into the story. Both of his books are must reads for Americans, especially those who don’t believe that our country is vulnerable to attacks.

Day of Wrath

  • Share on Tumblr

Smith and Wesson Model 13-1 – Great Find

by Woodsbum

Because I got so lucky and ended up getting a very fair price for a wonderful firearm, I decided to do a quick write up on it. I felt that this was important because it seems that everyone is so engrossed in automatics and tactical firearms that many phenomenal pistols get overlooked and ignored.

Here is my newest bush pistol, the Smith and Wesson Model 13-1.
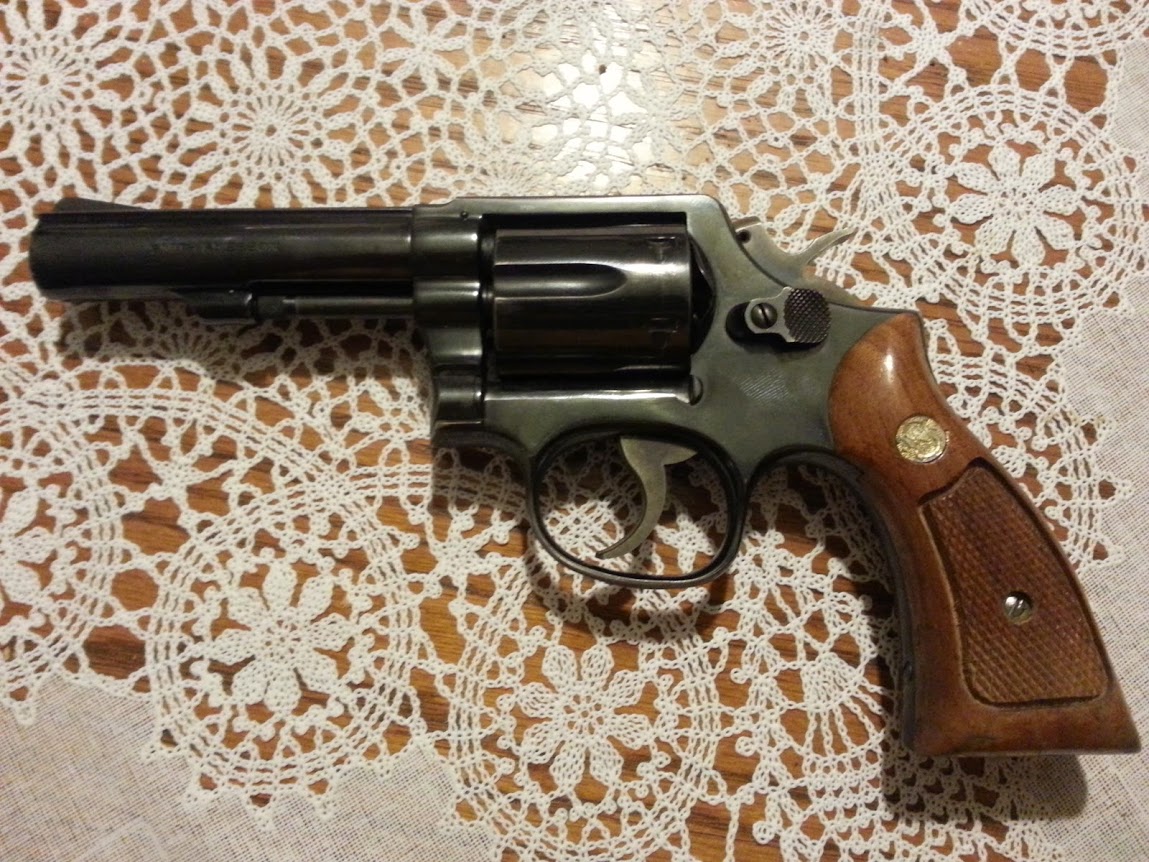
Smith and Wesson Mod 13-1

Smith and Wesson Mod 13-1

I am almost a little embarrassed to admit, but I almost passed on this pistol. These pistols are the old military and police models that remind me of the 1980’s TV shows like TJ Hooker. It doesn’t fit my hand very well, and I am not fond of that little bump at the top of the handle. Overall, it just isn’t that pleasing to my eye. Then I handled it and started to think more logically about this little gem.

First off, this pistol has fixed iron sights. There are no adjustments to ding up and where you point it is where the bullet seems to go. Secondly, the entire cylinder swings out for the allowance of speed loaders to be used. Speed loaders are about $10 – $15 per loader, which is more than cheap enough. There is even an extractor that almost dumps the spend cases from the cylinder. Third, this is a .357 so I can also shoot .38 for cheaper plinking. Fourth, it is a revolver that mechanically allows all 6 cylinders to be loaded without the firing pin resting on a cartridge. You have to pull the trigger all the way for the hammer to go completely forward to strike a primer. I can now carry all 6 cylinders loaded without worrying too much. Lastly, the action is incredible for both single and double action. I swear it is the smoothest action I have ever used in a factory pistol except for the Python and Anaconda. It is incredible and the double action is smooth enough to not seriously through your aim off. It’s great.

Here it is from the other side.

Smith and Wesson Mod 13-1

Smith and Wesson Mod 13-1

My entire thought on this pistol was to get it all rigged up for use as a bush pistol. As such, I ordered an old military M-3 style holster and borrowed a set of oversized K frame grips until I get the ones I want. Here is what the holster looks like.
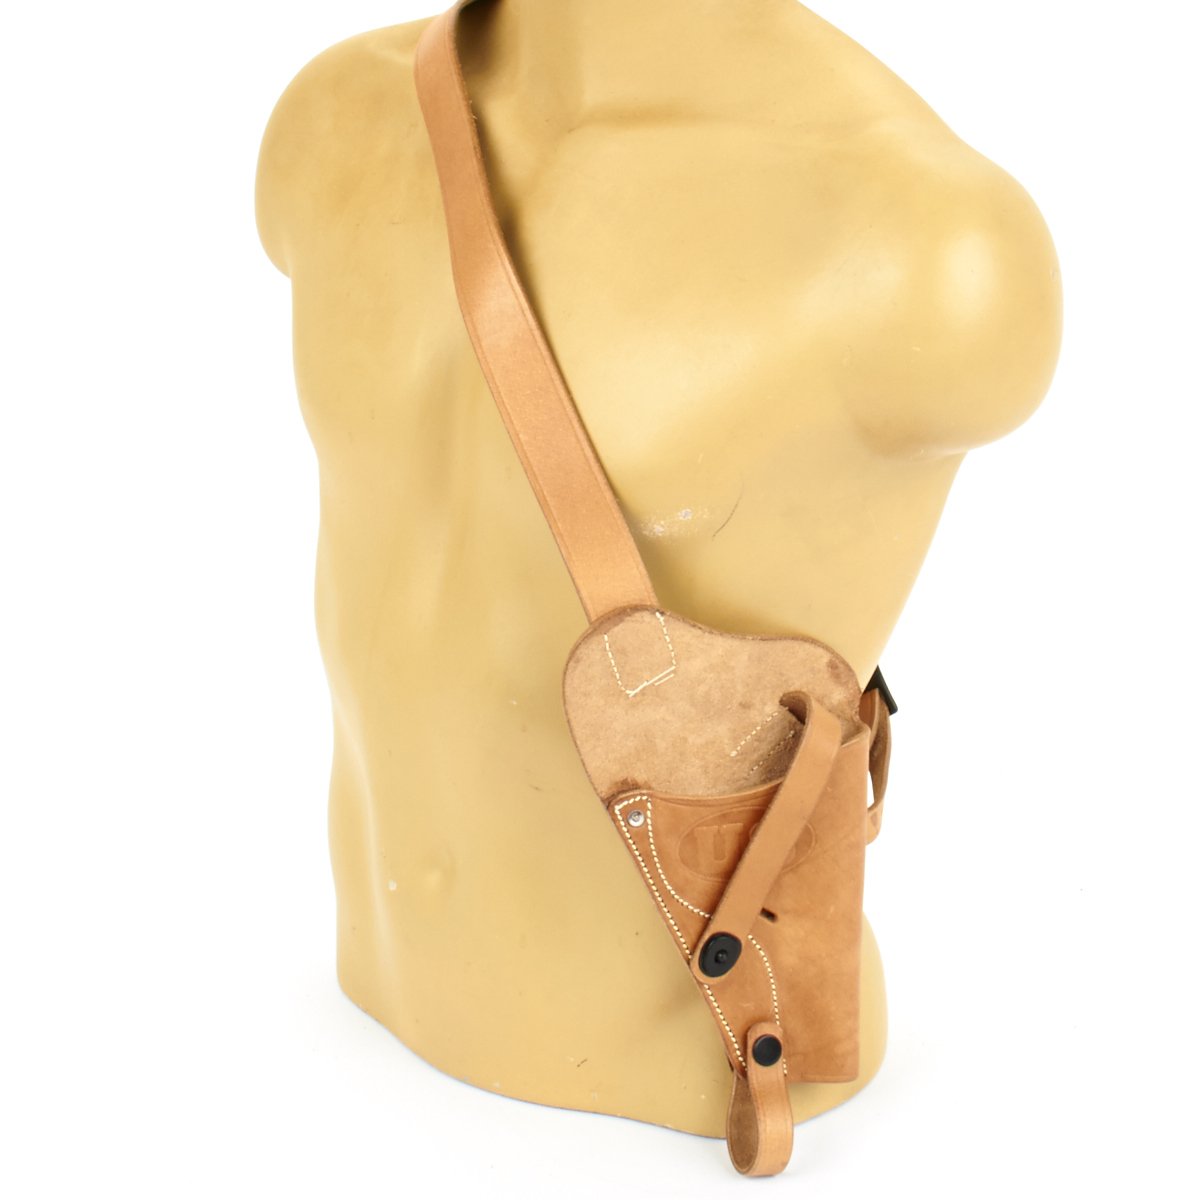
M-3 .38 Holster

M-3 .38 Holster

Here are the old, borrowed grips I threw on there for now.
Butler Creek Grips

Butler Creek Grips

Now back to my thoughts……  I already have a single action .44 mag that I built a cross draw holster for. It is an absolute nail driver, but it is a .44 mag. Both the pistol and the ammunition is heavy if you carry much of it. By getting something a bit smaller in caliber and a considerably lighter pistol, I will have a much easier to carry package. Even if I only carry a few .357 and mostly use .38 I will be much farther ahead with consideration of weight.

The other thing I wanted to do was cut down the length and size of my bush pistol. My .44 has a heavy frame and a 6 inch barrel. Even though that is not too bad for someone my size (6’4″ and the size of a small black bear) it does get unwieldy after a full day of trampling through the brush. By even cutting down a few pounds and 2 1/2 inches of pistol length it will make a difference after a hard day of hiking.

I did think about just using one of my semi-automatic pistols like my Glock or Beretta. The problem with that was the whole idea of having something that I could get completely nasty and dirty without creating doubt as to whether it would fire. I also wanted a pistol that could double for hunting if need be. By getting a .357 and 4″ barrel, I could quite easily take a deer if I needed to.

After really considering the possible scenarios and using some logic that skirted around my dislike of the frame/shape of the pistol, I did get it and have been quite happy ever since. This really taught me a valuable lesson that I would like to pass along to my readers. Just because you might not like the “old school” look of something, don’t discount its usefulness. This 1970’s pistol looks exactly as such, but it really is a diamond in a pile of cut glass. It’s smooth, dependable, and tough enough to take anything that I might dish out. Most importantly, however, is the fact that I found an old pistol that was unloved and have now given it a good home……  Poor little lost pistol!!!

Now get out there and find your own bush pistol.

  • Share on Tumblr